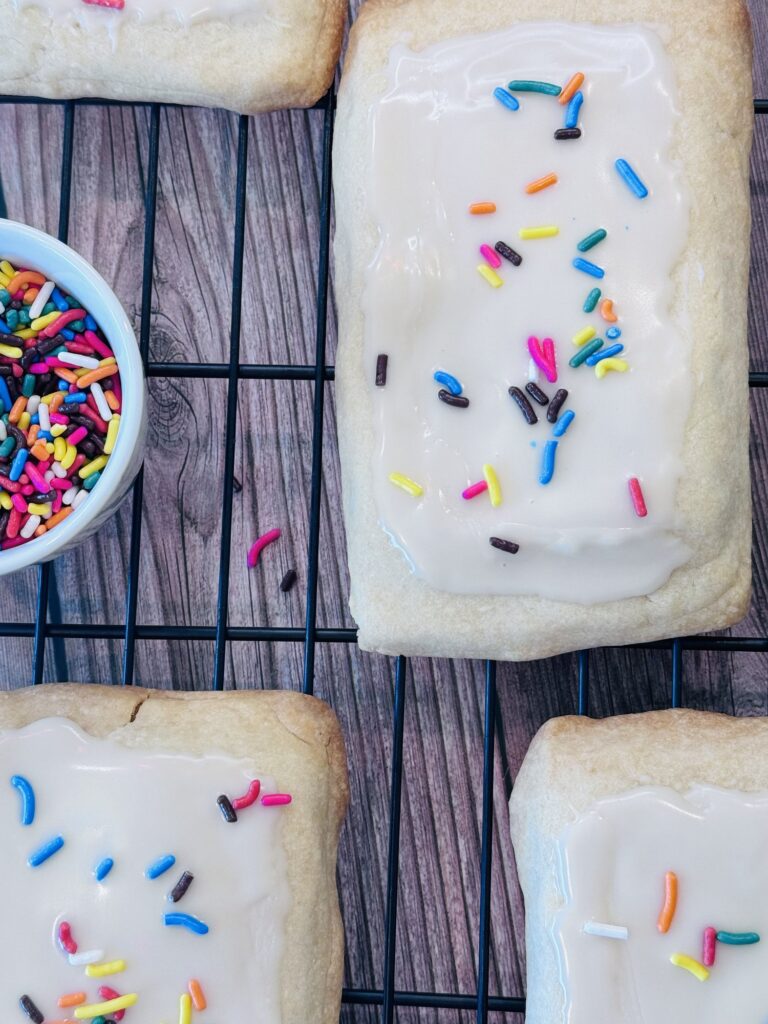
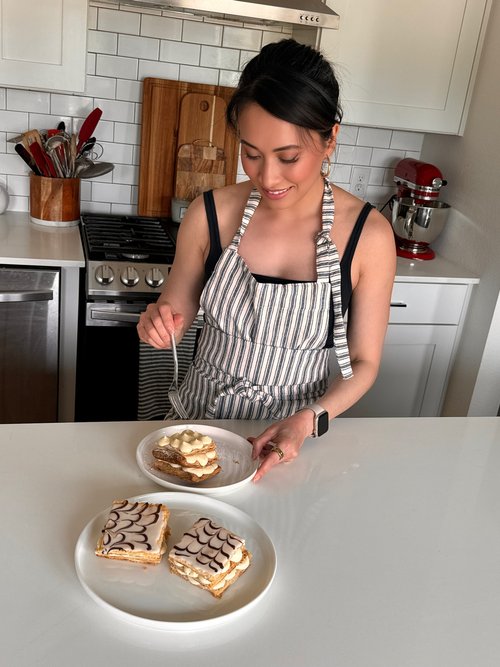
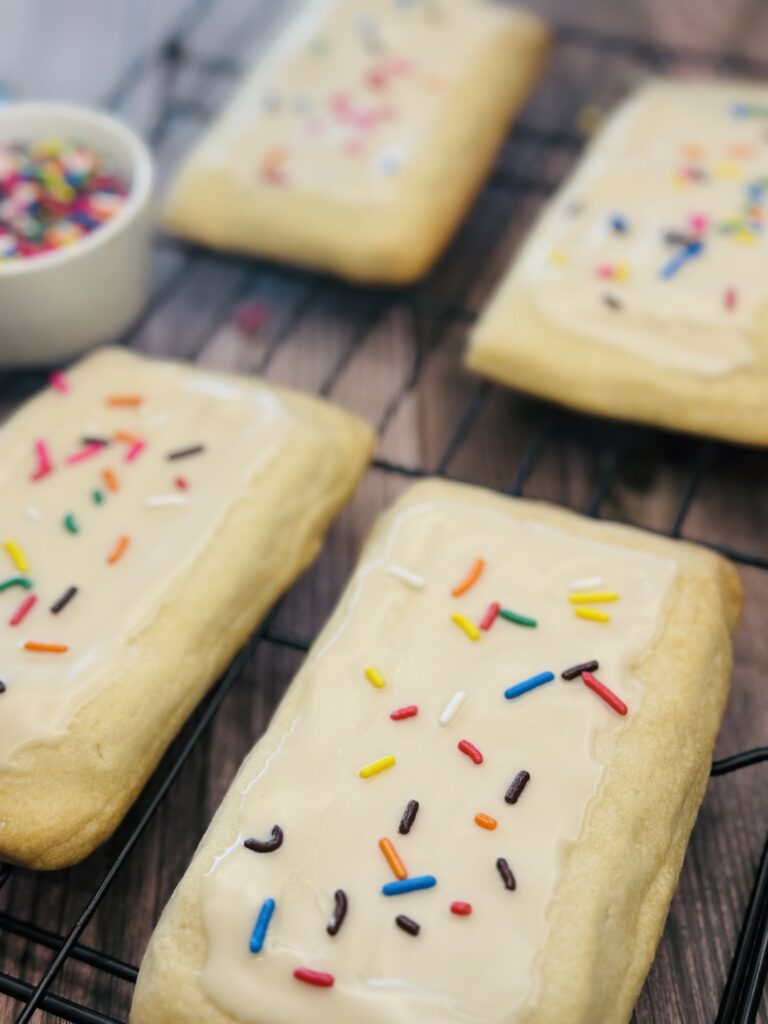
I’m back with another nostalgic childhood treat—the Kellogg’s Pop-Tarts. Eating Pop-Tarts is like biting into a piece of childhood nostalgia, with its biscuity pastry, sweet frosting, and delicious filling, it conjures up childhood memories for me every time. It was also the first comfort snack for me growing up where I can actually “cook” it myself, by popping it into a toaster.
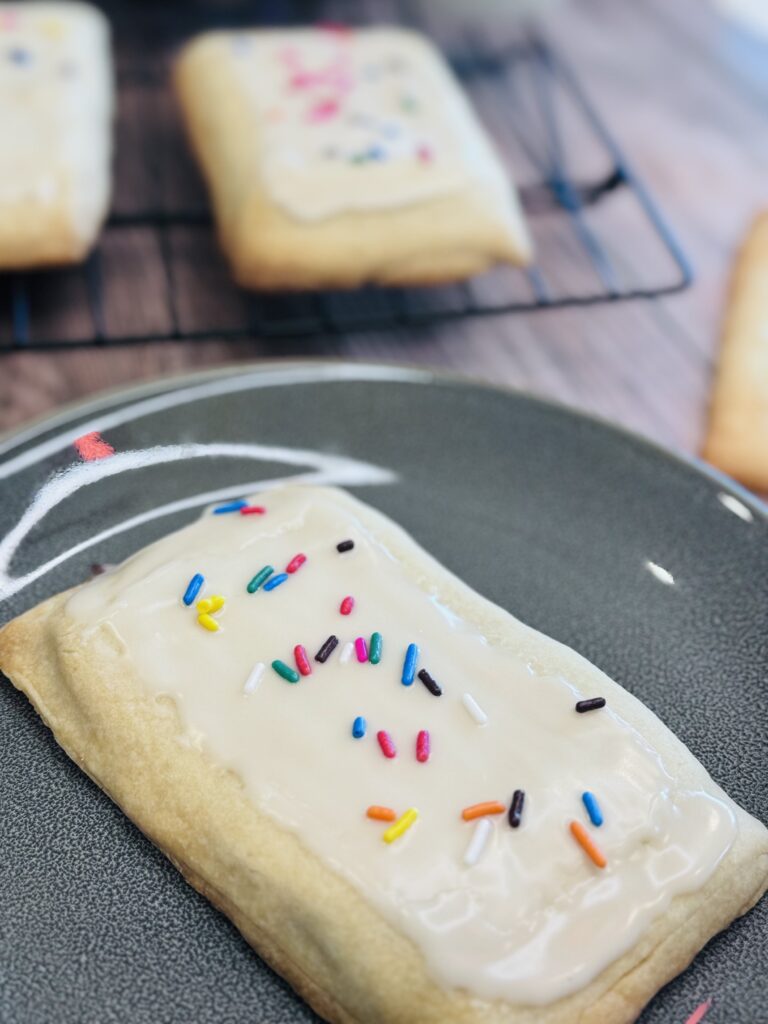
WHAT ARE POP-TARTS?
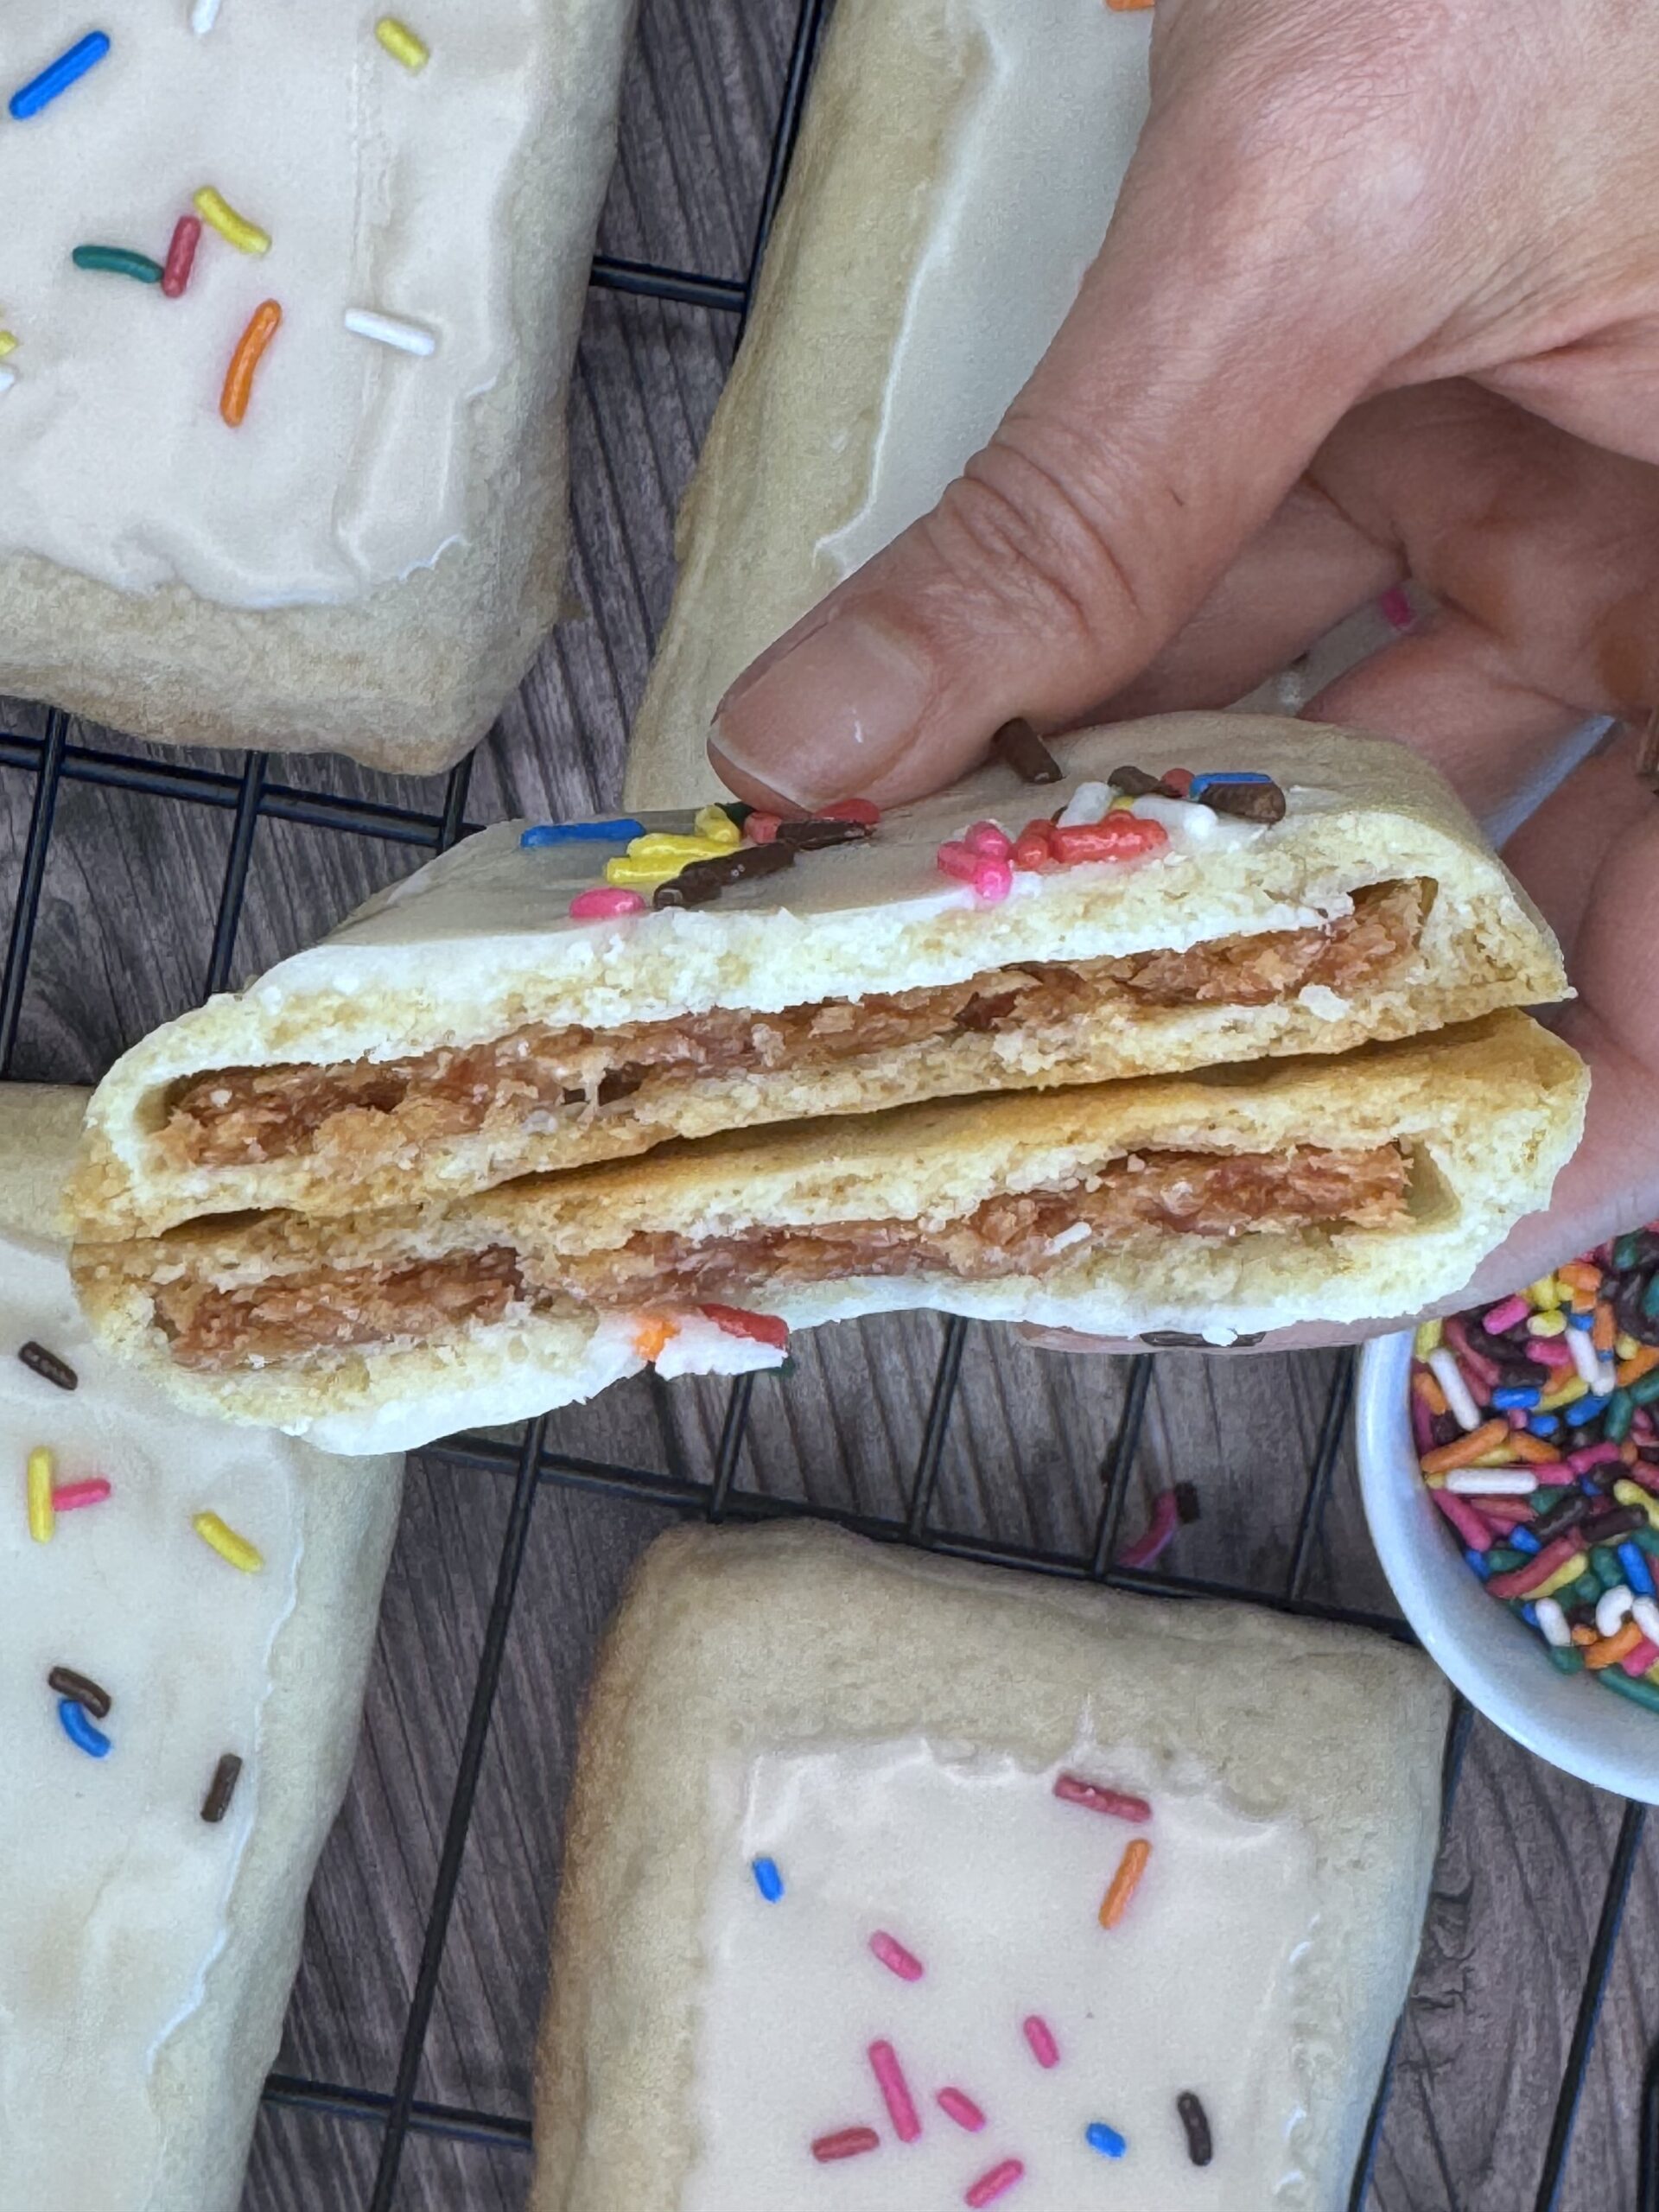
Pop-Tarts are toaster pastries, sold by the Kellogg’s company, consisting of a sweet filling sealed inside two layers of thin, rectangular pastry crust. Most varieties are frosted, and while sold pre-cooked, they are designed to be warmed inside a toaster or microwave oven. From strawberry to chocolate and everything in between, there’s a flavor for everyone.
The Post company was experimenting with food packaging that could increase the shelf life of a product and wanted to create a breakfast pastry with a soft fruity filling that could be wrapped in foil and kept longer. They introduced their breakfast pastry, known as Country Squares, well before it was ready to hit the market. Kellogg’s, looking to compete, saw this and ran with it, coming up with their own version of this before Post cold.
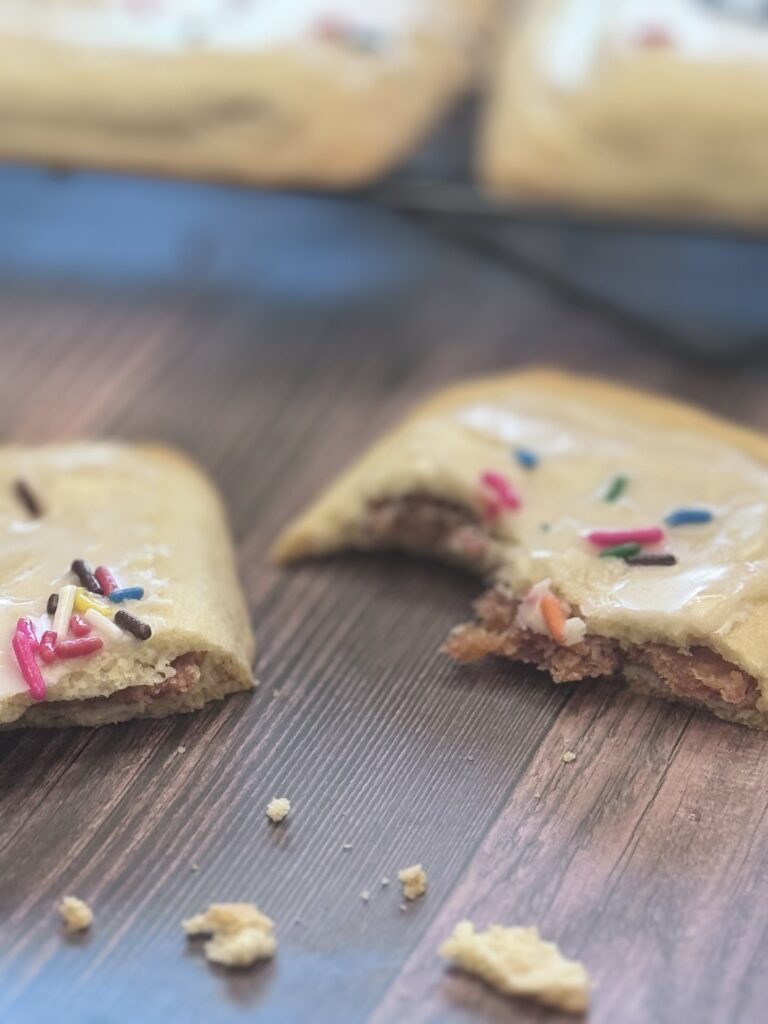
Kellogg’s took full advantage of the idea, and within 6 months, came up with their own version of a fruit-filled pastry and introduced it into the test market. Post changed the name of Country Squares to Post Toast-Em Pop-Ups and eventually sold the marketing rights to their product. Kellogg’s hired “Doc” Joe Thompson to develop the concept of Pop-Tarts, which he originally named “Fruit Scones.”
Doc tested the recipe on his kids, and the kids loved them. They later changed the name from Fruit Scones to Pop-Tarts due to the pop art movement, inspired by Andy Warhol. Rather than coming up with a homey-sounding name like their competitor (Country Square), Kellogg’s wanted something with more of an edge.
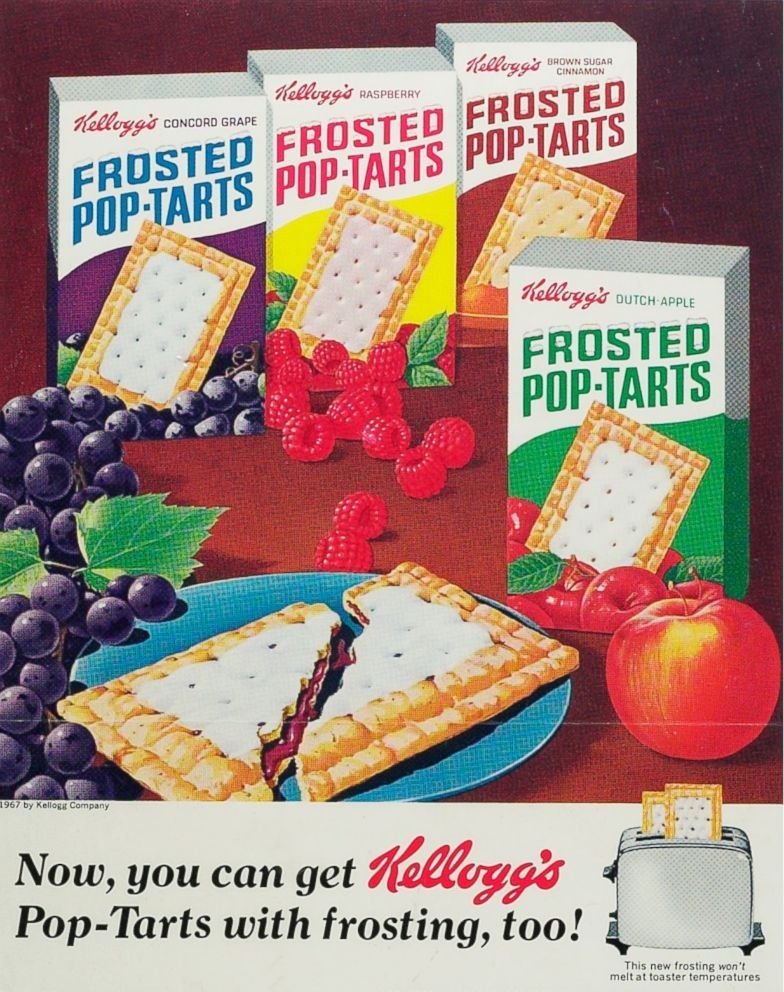
In 1964, Kellogg’s released the four original flavor of Pop-Tarts—strawberry, blueberry, brown sugar cinnamon, and apple currant to a test market in Cleveland. Apple Currant was dropped a year later as people didn’t know what a currant was. It was later relaunched as just Apple Berry Pop-Tarts. They completely sold out of the 45,000 test cases of each four flavors.
INGREDIENTS IN POP-TARTS
The ingredients list for Kellogg’s Pop-Tarts is pretty extensive, with some sketchy ingredients. This is from their package:
WHOLE WHEAT FLOUR, SUGAR, CORN SYRUP, ENRICHED FLOUR (WHEAT FLOUR, NIACIN, REDUCED IRON, VITAMIN B1 (THIAMIN MONONITRATE), VITAMIN B2 (RIBOFLAVIN), FOLIC ACID), DEXTROSE, SOYBEAN AND PALM OIL, BLEACHED WHEAT FLOUR, POLYDEXTROSE, GLYCERIN. CONTAINS 2% OR LESS OF FRUCTOSE, WHEAT STARCH, CALCIUM CARBONATE, LEAVENING (SODIUM ACID PYROPHOSPHATE, BAKING SODA), VEGETABLE JUICE FOR COLOR, DRIED PEARS, DRIED APPLES, SALT, DRIED STRAWBERRIES, SODIUM STEAROYL LACTYLATE, CITRIC ACID, DATEM, GELATIN, CORNSTARCH, MODIFIED WHEAT STARCH, XANTHAN GUM, BROWN RICE SYRUP, PAPRIKA EXTRACT COLOR, SOY LECITHIN, NIACINAMIDE, REDUCED IRON, VITAMIN A PALMITATE, VITAMIN B6 (PYRIDOXINE HYDROCHLORIDE), VITAMIN B2 (RIBOFLAVIN), VITAMIN B1 (THIAMIN HYDROCHLORIDE).
This Homemade Pop-Tart recipe does not contain half of the above, and better yet, you can pronounce all of them!
FILLING
- freeze-dried strawberries
- dried apples
- applesauce
DOUGH
- all-purpose flour
- baking powder
- kosher salt
- sugar
- butter
- corn syrup
GLAZE
- organic powder sugar
- milk
- kosher salt
- vanilla extract
- rainbow sprinkles
HOW TO MAKE HOMEMADE POP-TARTS
FOR THE FILLING
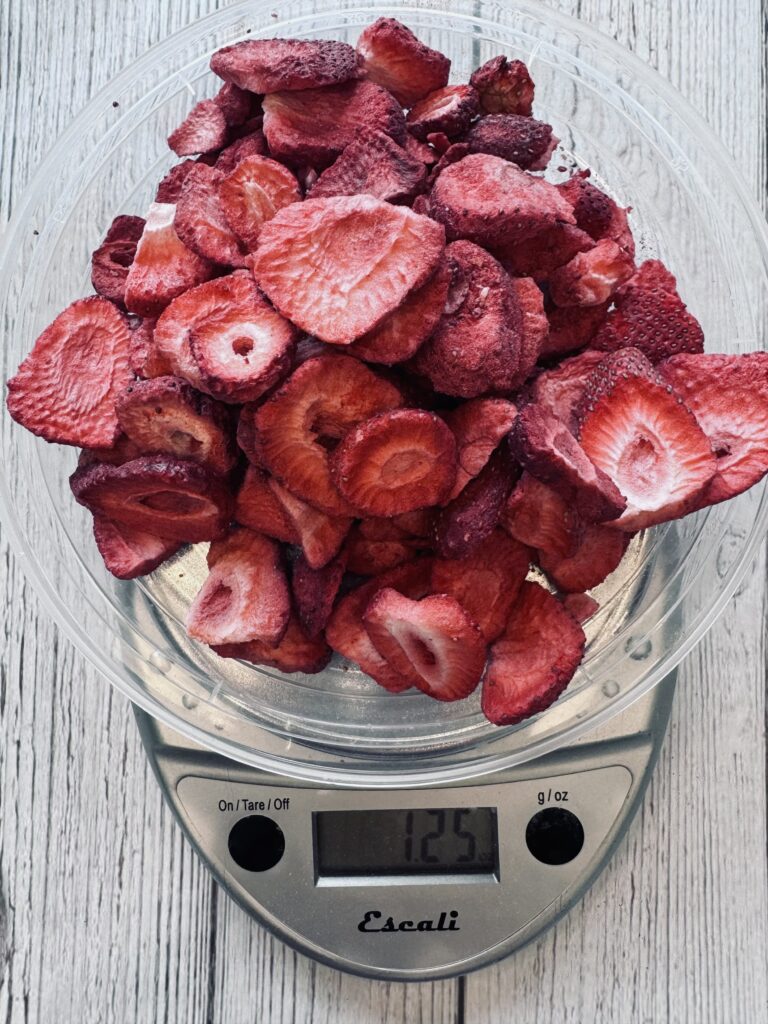
- 1 1/2 cups (1 1/4oz) freeze-dried strawberries
- 4 cups (12oz) dried apples, still soft and moist
- 2 tablespoons (1oz) applesauce, sweetened if you like
FOR THE DOUGH
- 3 1/4 cups (14.5oz) all-purpose flour, such as Gold Medal, plus more for dusting
- 1 teaspoon baking powder
- 1/4 teaspoon Diamond Crystal kosher salt (half as much if iodized)
- 1/4 cup (1 3/4oz) sugar
- 2 sticks (8oz) cold unsalted butter, cut into 1/2-inch cubes
- 1/2 cup (6oz) light corn syrup
FOR THE GLAZE
- 1 3/4 cups (7oz) organic powdered sugar, sifted
- 3 tablespoons (1 1/2oz) whole milk or lightly beaten egg whites
- 1/8 teaspoon Diamond Crystal kosher salt (half as much if iodized)
- 1 teaspoon vanilla extract
- Rainbow Sprinkles
MAKE THE FILLING
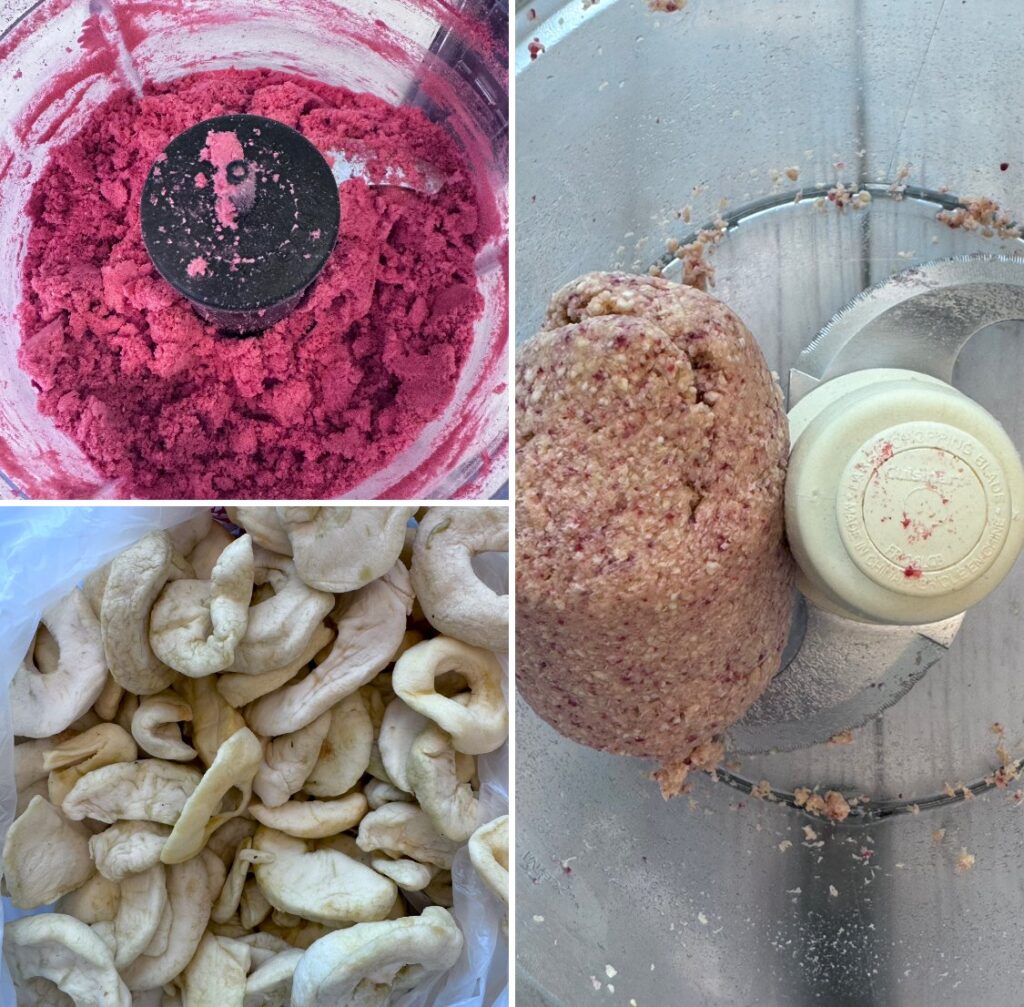
Step 1: Place freeze-dried strawberries in the bowl of a food processor. Cover with a sheet of plastic to contain the dust and grind until powdery and fine. Discard the plastic, add the apples, and pulse until the mixture forms a ball, about 2 minutes. Add applesauce and process for a minute more, pausing halfway through to scrape the bowl and blade with a flexible spatula.
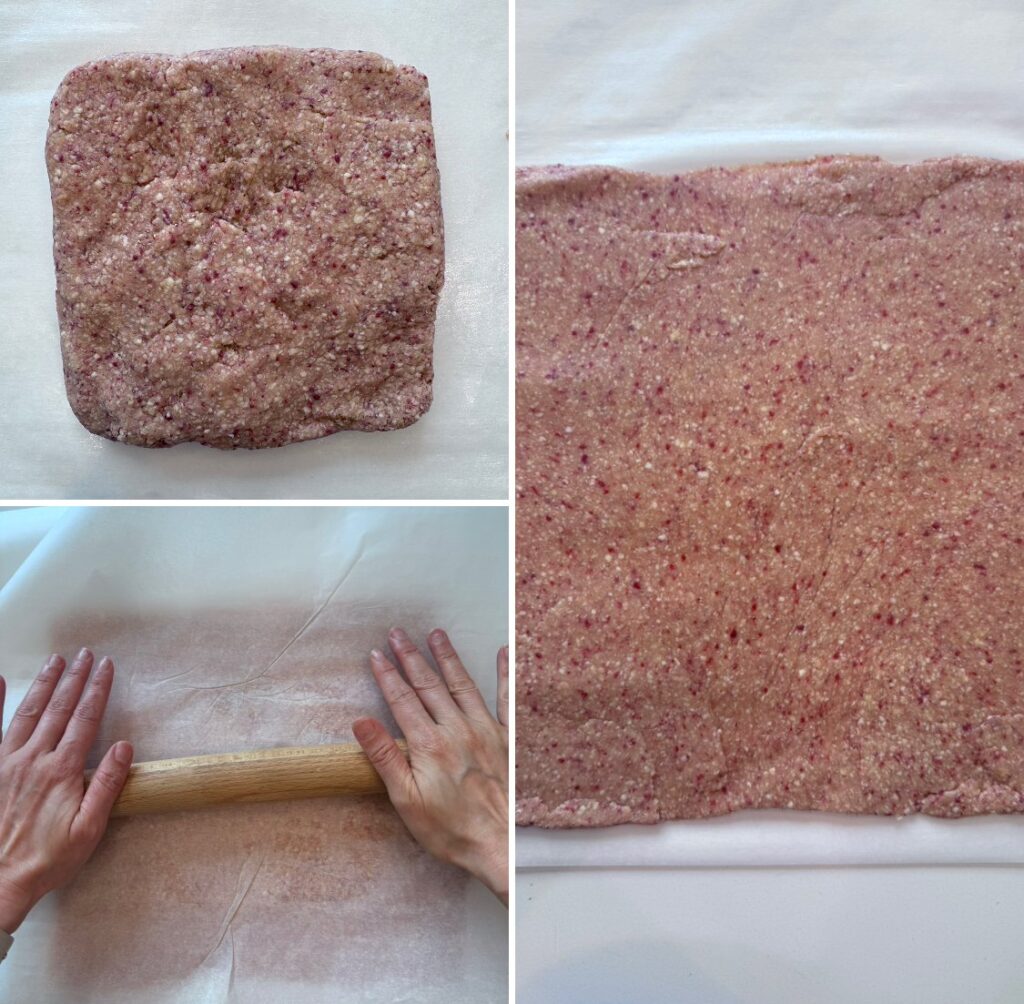
Step 2: Place a large piece of parchment (not wax) paper on the counter, secure with tape, and grease lightly. Scrape the fruit paste in the center and shape into a 5-inch square. Top with a second sheet of lightly greased parchment and roll into an 11-inch square. Peel off the top sheet and slide onto a cutting board.
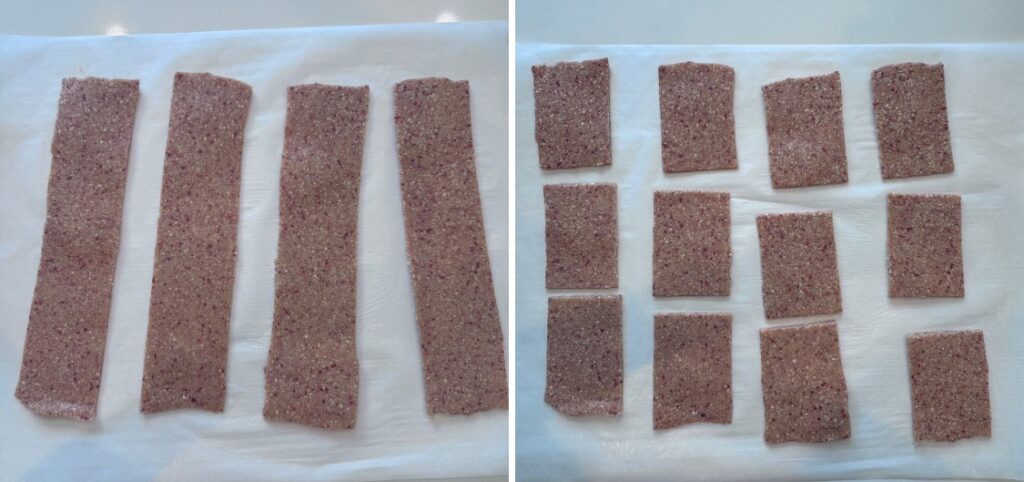
Step 3: Sprinkle the paste with a little water to prevent sticking. Use a ruler and pizza wheel to cut it into four 2 1/2-inch wide strips, then cut each into three 3 1/2-inch wide long rectangles, pressing firmly with the knife to cut through the parchment as well. Refrigerate, uncovered, for an hour to dry the paste. Use immediately, or stack the pieces, still on the paper, in a zip-lock bag, and refrigerate for up to 1 month.
MAKE THE DOUGH
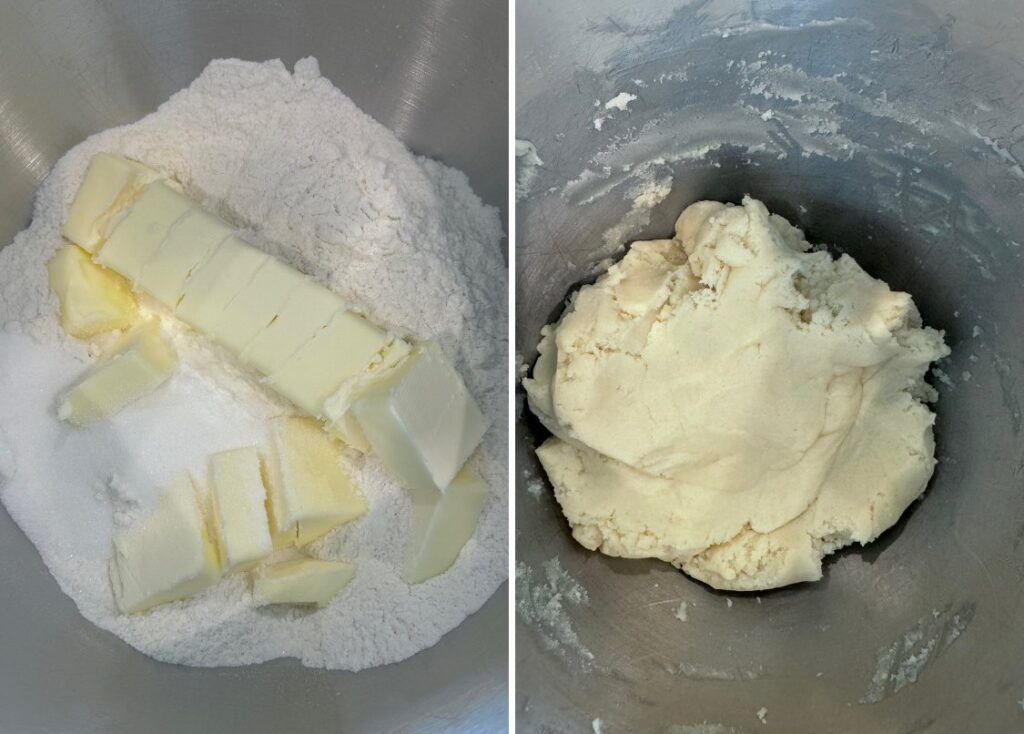
Step 1: Sift flour into the bowl of a stand mixer fitted with a paddle attachment (if using cup measures, spoon into the cups and level with a knife before sifting). Add baking powder, salt, sugar, and butter and mix on low until the butter disappears. Add corn syrup and continue mixing to form a stiff dough.
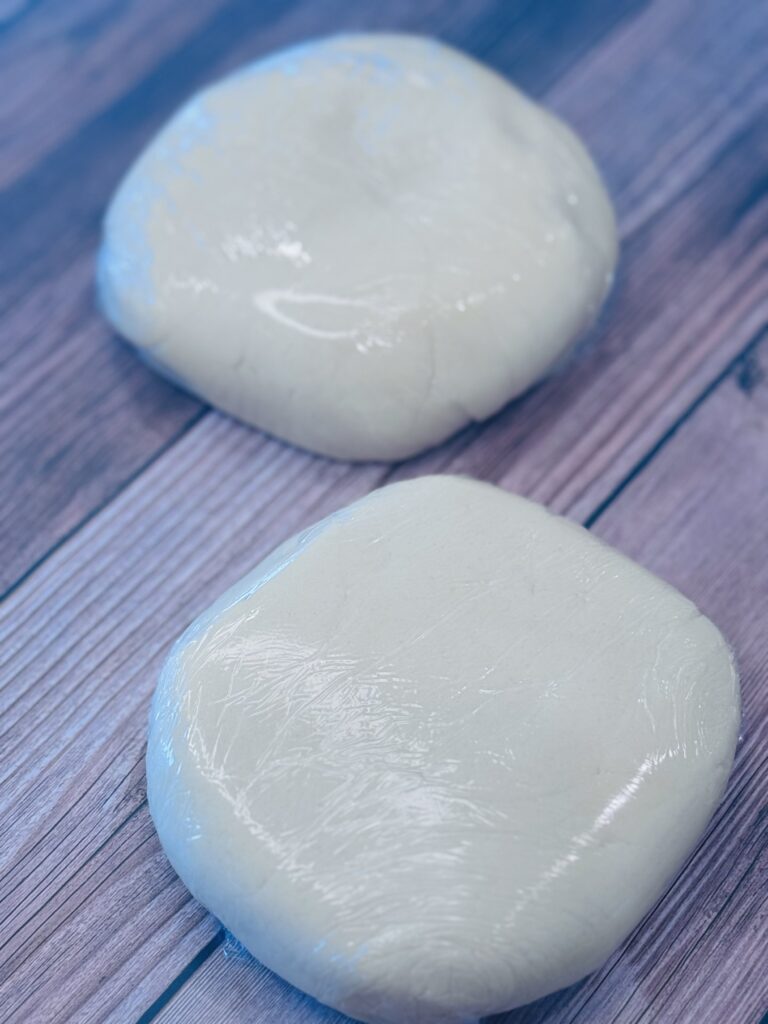
Step 2: Knead against the sides of the bowl to form a smooth ball, then divide in half and flatten into discs. Use immediately, or wrap in plastic and refrigerate for up to 1 week; soften chilled dough for 30 minutes at room temperature before using.
ROLL AND ASSEMBLE THE TARTS
Step 1: Knead one piece of dough on a bare work surface until pliable and smooth. On a well-floured work surface, roll into an 8-inch square. Sprinkle both sides with flour and roll into a 15-inch square, no more than 1/8-inch thick. Slide an offset spatula under the dough to loosen it and brush off excess flour.
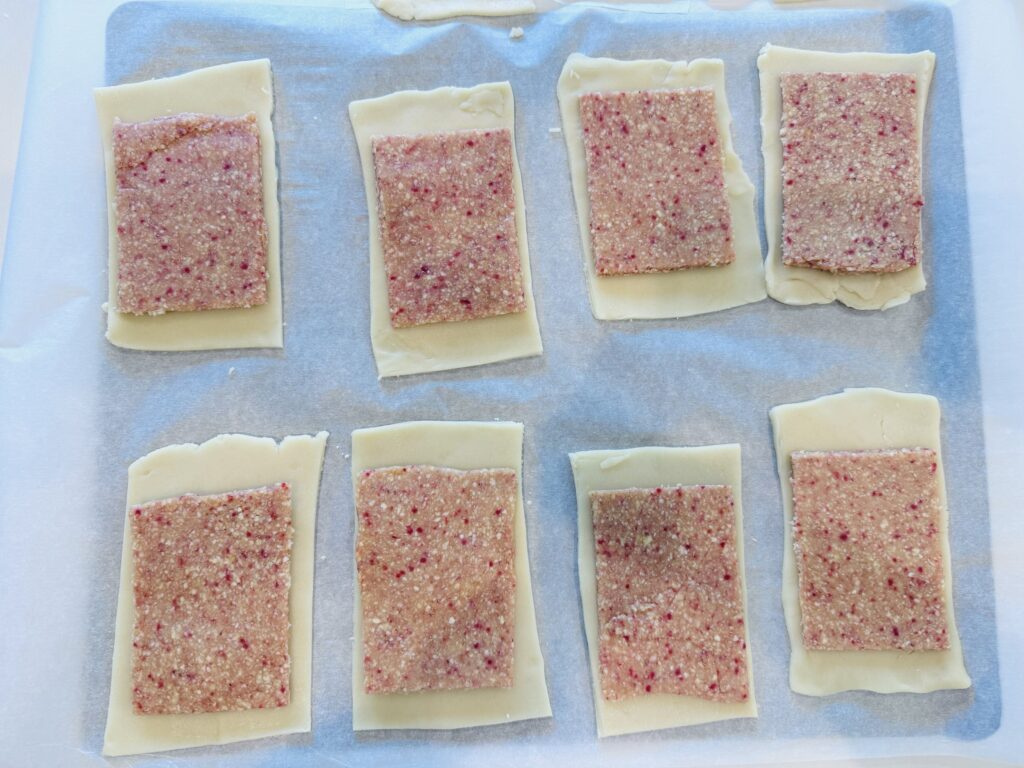
Step 2: Cut into four 3 1/4 inch-wide strips, then cut each into three 4 1/4-inch long rectangles. Arrange on a parchment-lined aluminum baking sheet. Top each with a piece of chilled filling, peel off the parchment backing, and refrigerate.
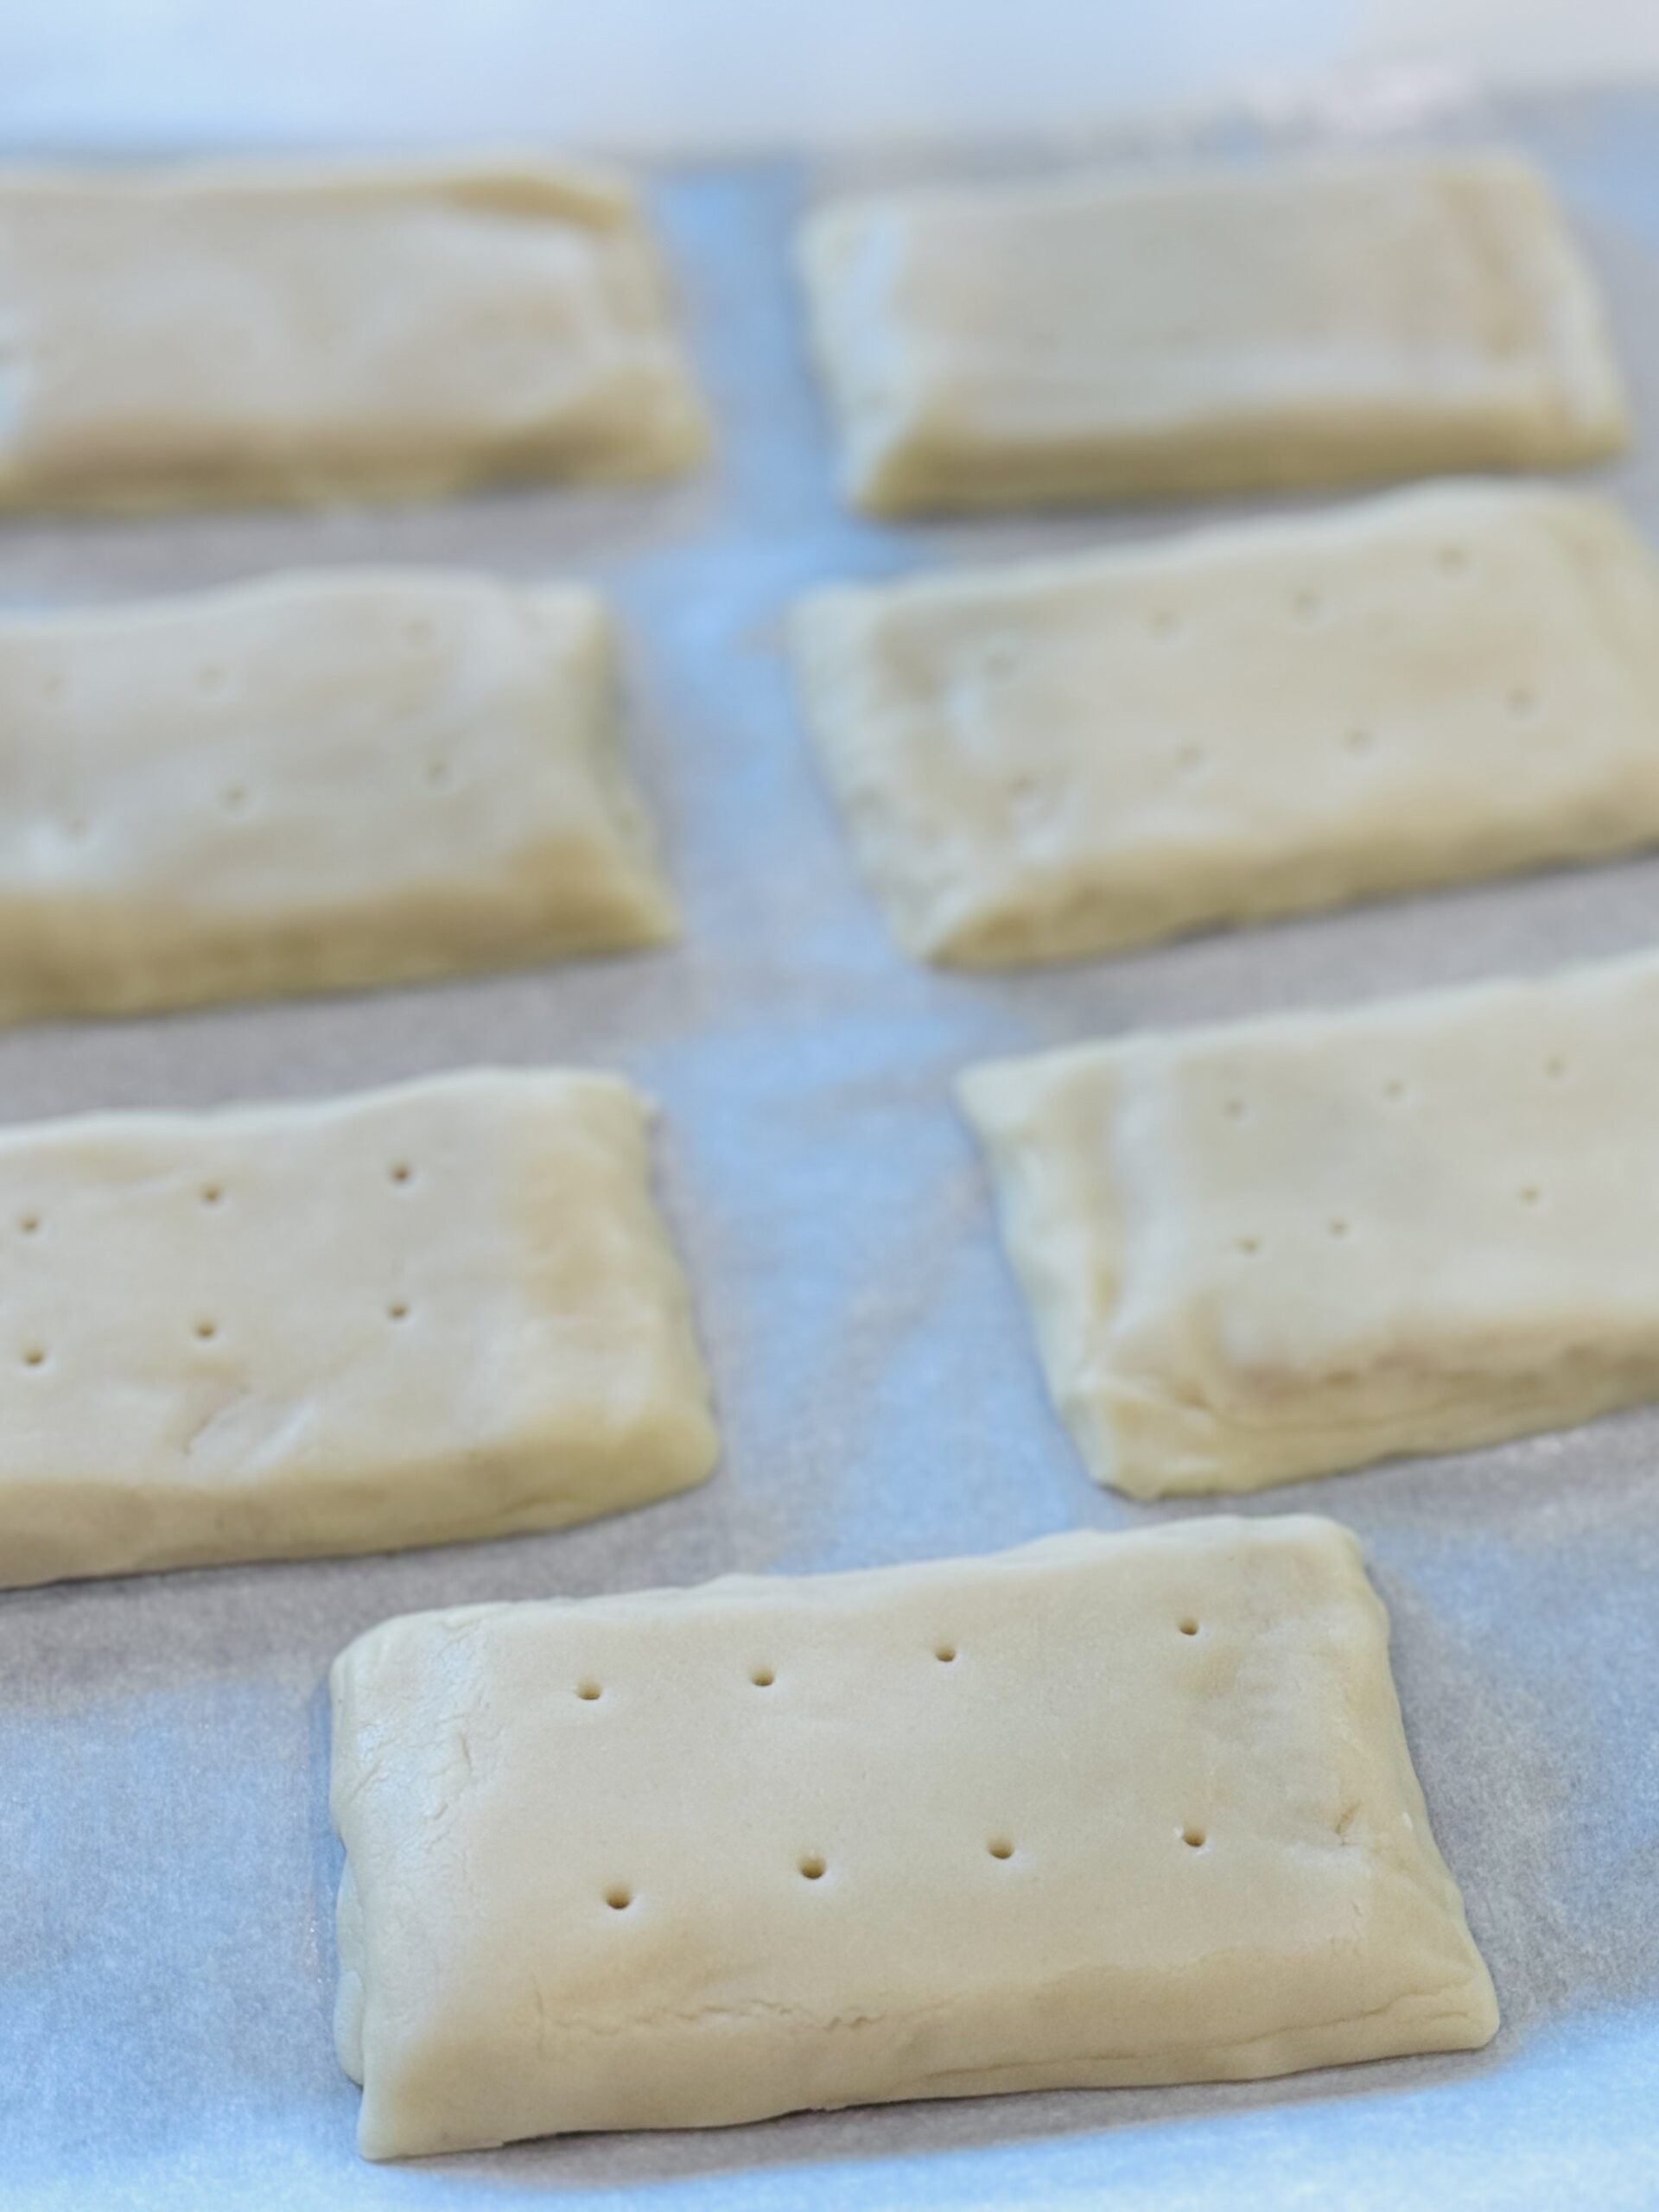
Step 3: Roll and cut the remaining dough as before. Place each piece over the chilled filling and light “squeegee” the dough with your index finger to expel any air pockets. Press gently to mold it against the filling and dough (the pieces will meld together as they bake). Pierce each tart 8 times with the narrow end of a chopstick or bamboo skewer, pressing until you hit the baking sheet. Cover with plastic and refrigerate for 30 minutes, or up to 3 days.
BAKE AND GLAZE THE TARTS
Step 1: Adjust oven rack to middle position and preheat the oven to 350°F.
Step 2: Bake the chilled tarts until firm and dry but still very pale, about 16 minutes. If you like, use a pizza wheel to “sharpen” the edges of each tart. Cool to room temperature on the baking sheet.
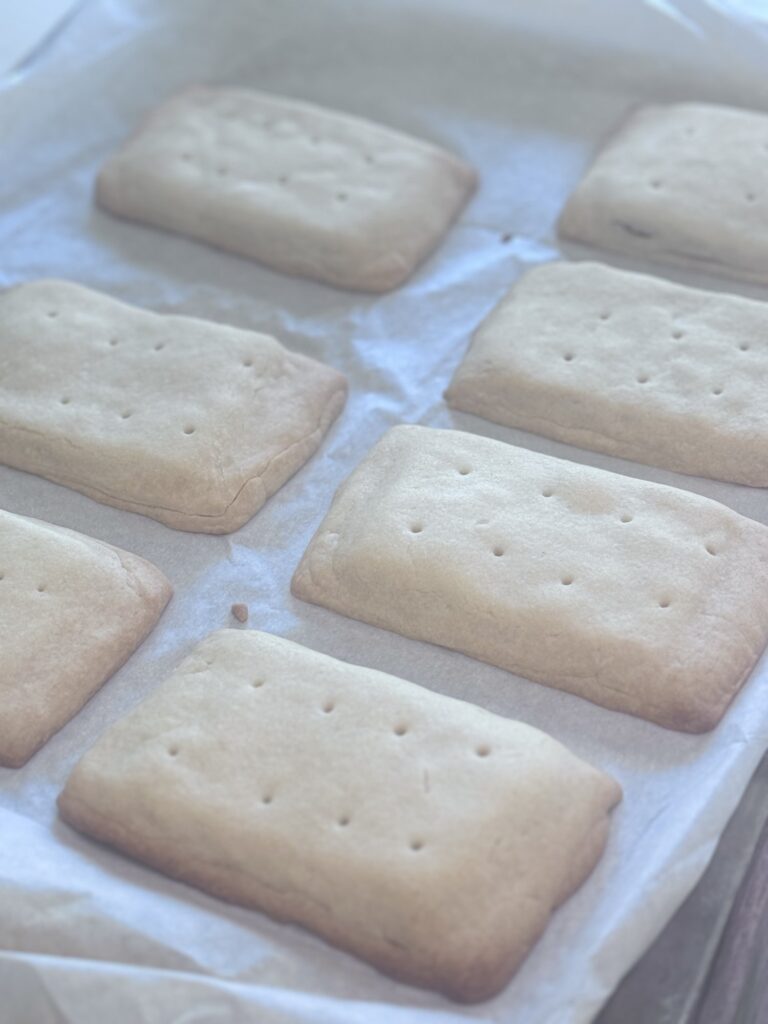
Step 3: Meanwhile, combine powdered sugar, milk, salt, and vanilla in the bowl of a stand mixer fitted with a paddle attachment. Mix on low speed to moisten, then increase to medium and beat for 5 minutes to dissolve the powdered sugar; the glaze will be quite thin.
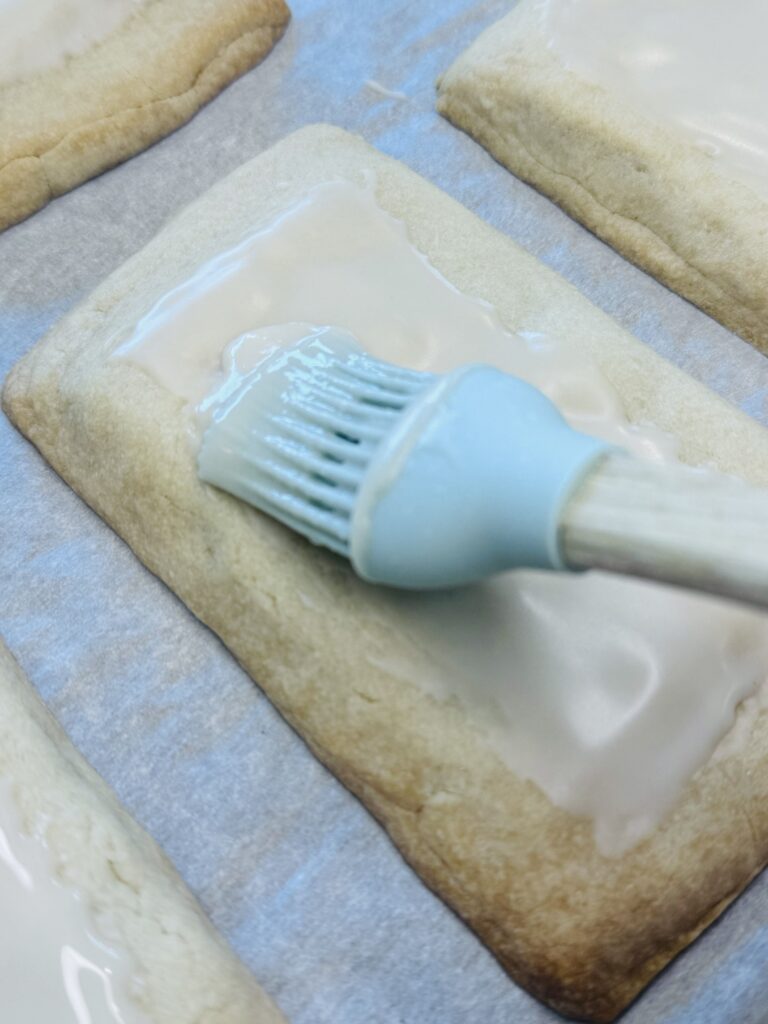
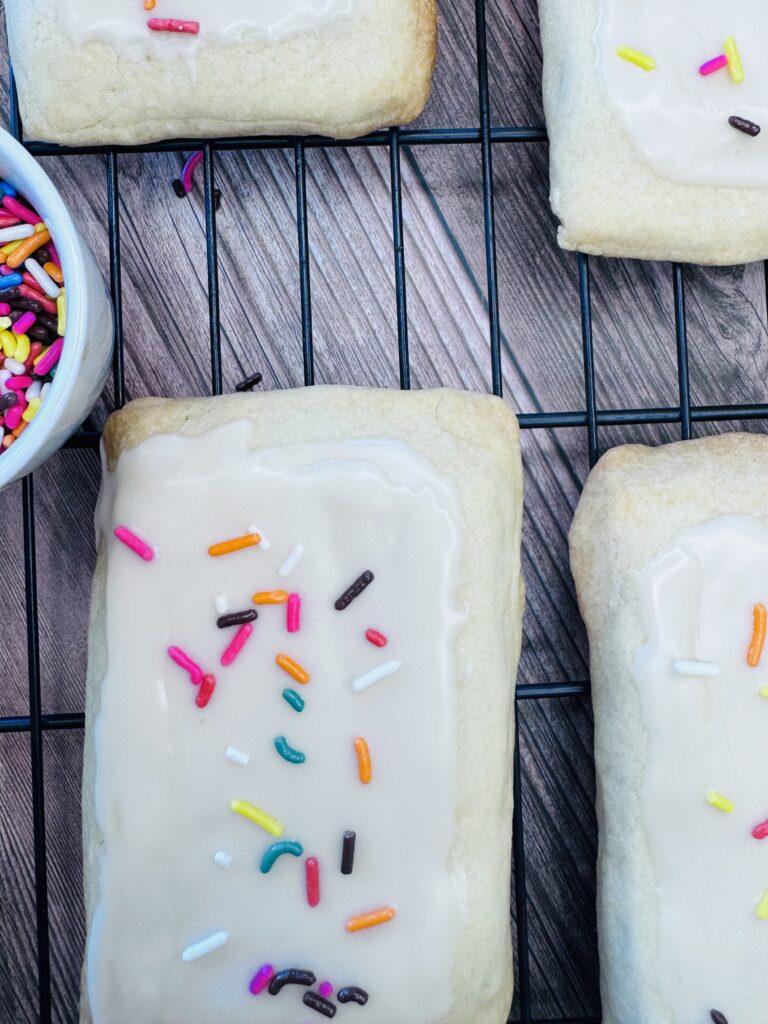
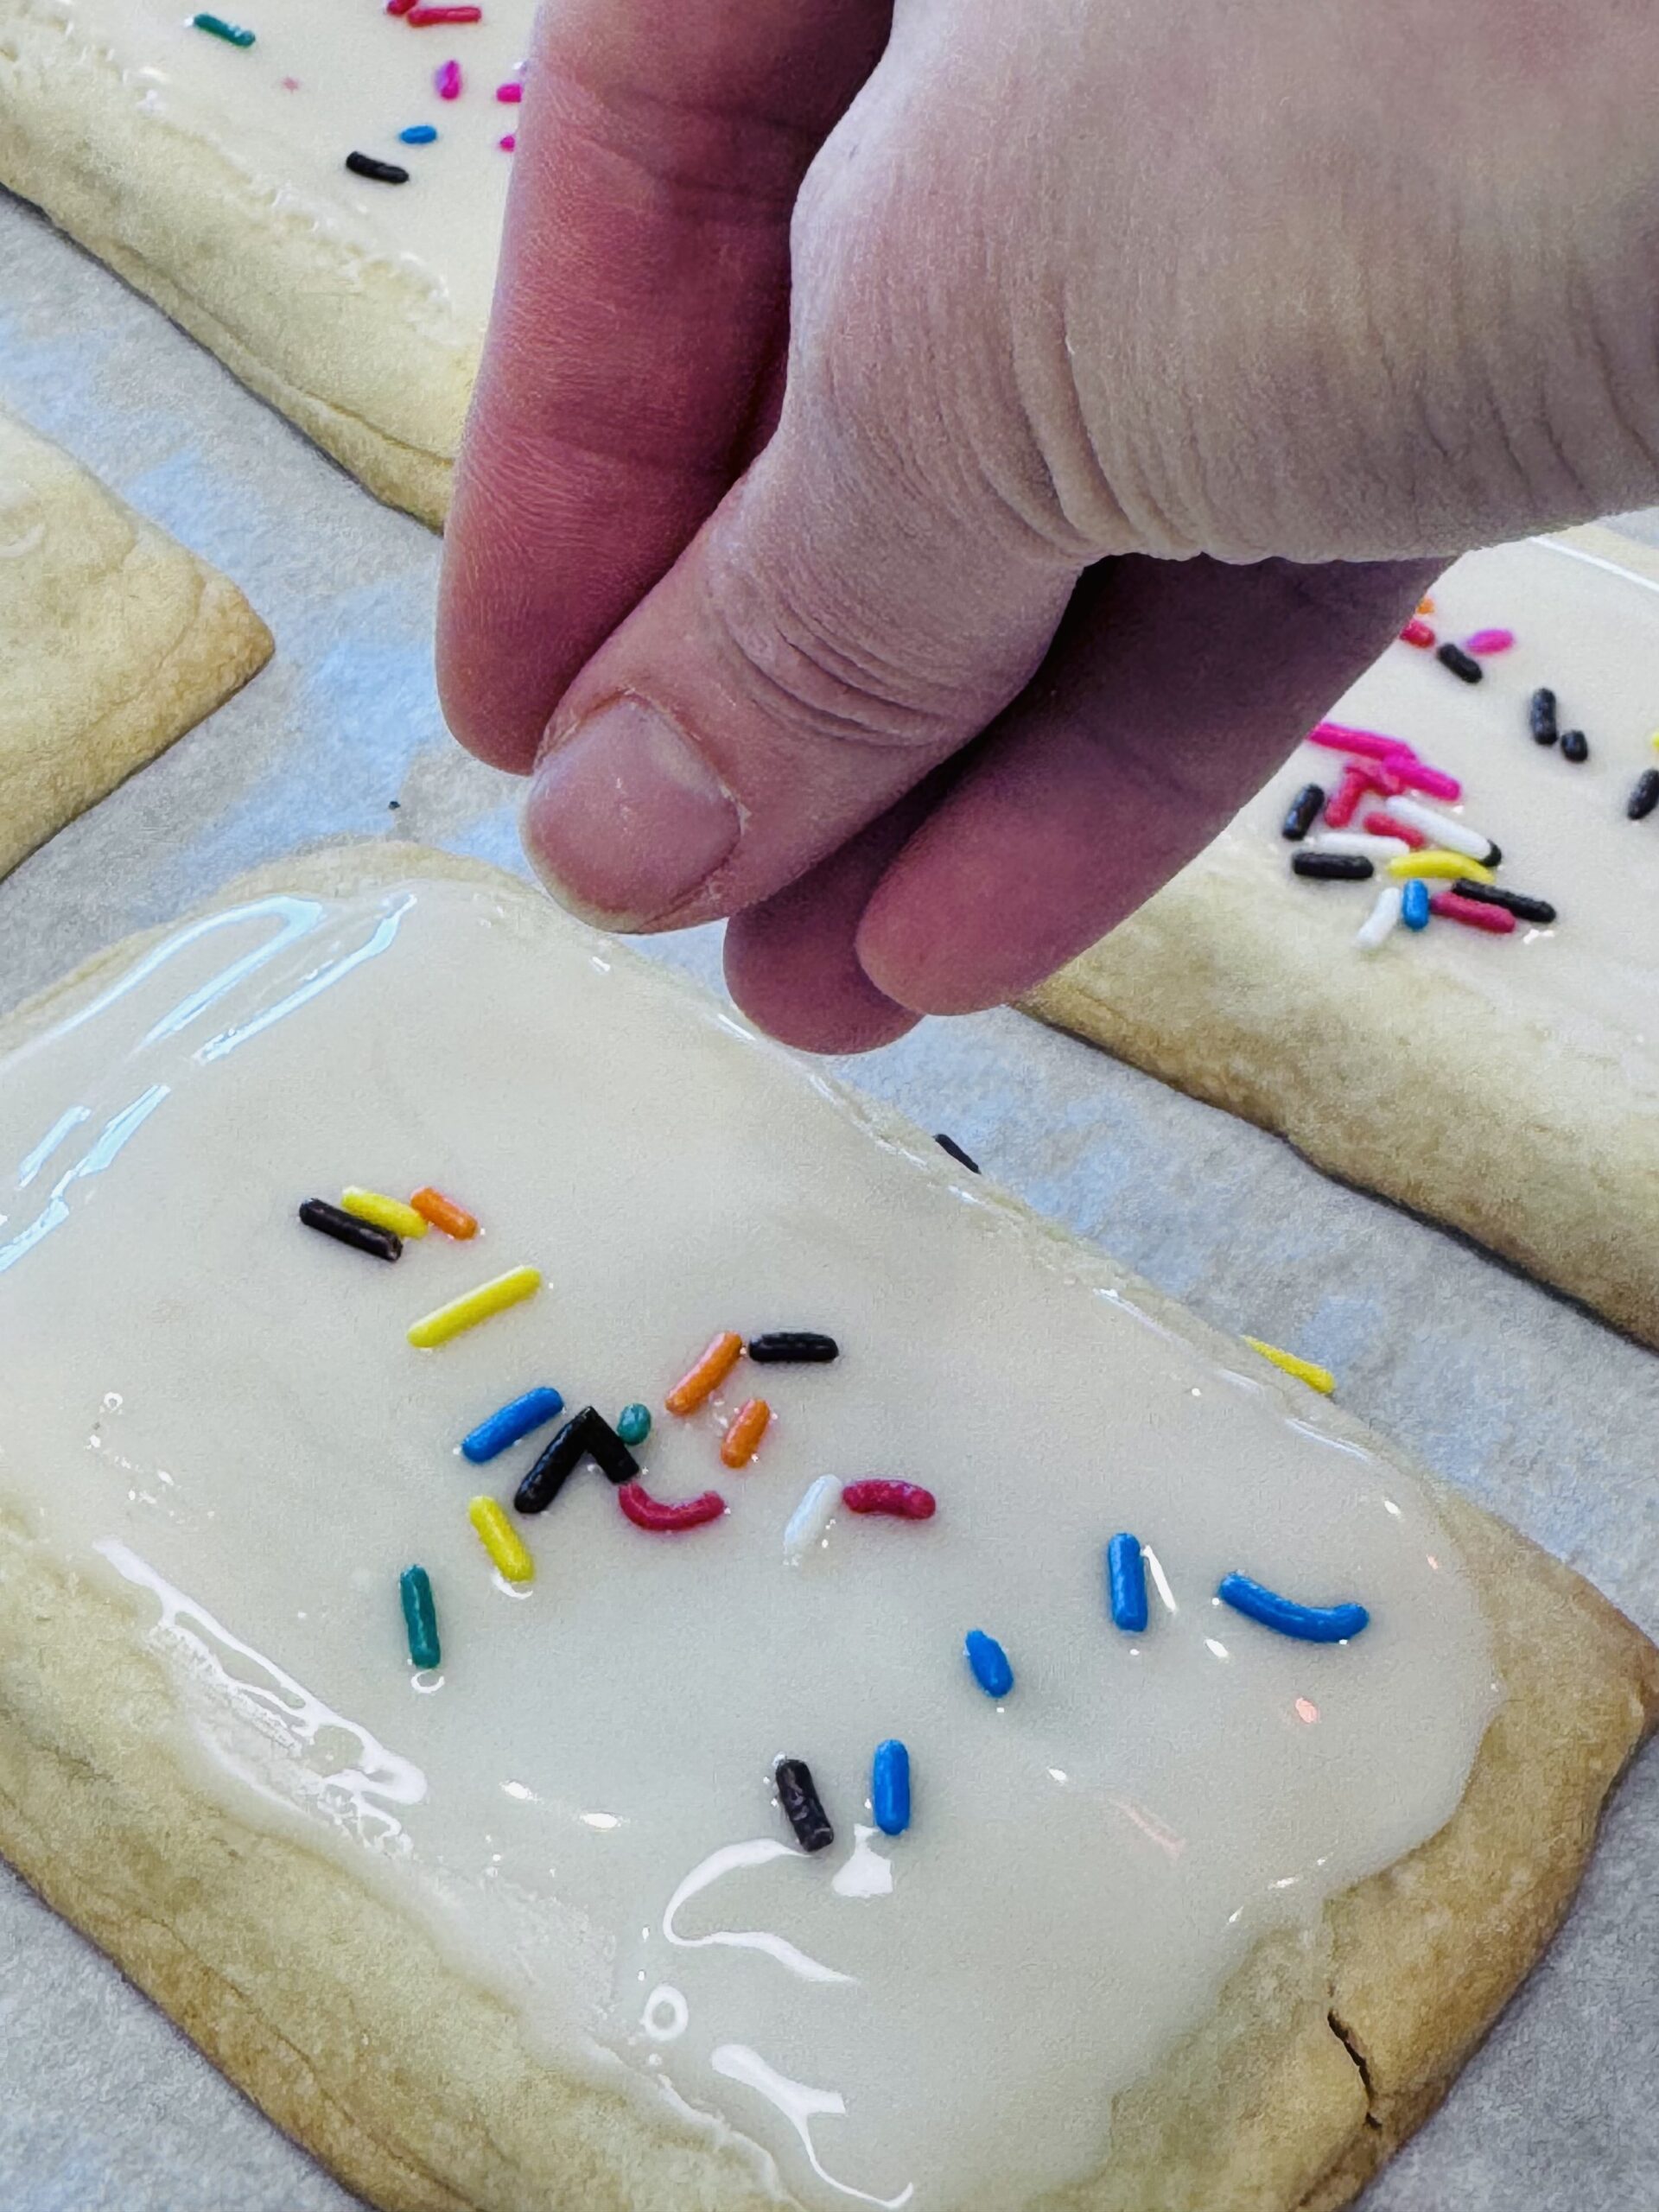
Step 4: Dust tarts with a paper towel to remove any stray crumbs and arrange on a wire rack. Use a pastry brush to swipe glaze down the length of each tart, going over the bottom edge, repeating as needed for even coverage. Clean up stray dribbles with a paper towel, then top with sprinkles and let the glaze hard, about 30 minutes. Enjoy at room temperature or toasted.
NOTES AND TIPS
- Enjoy at room temperature or toasted. In an airtight container with a sheet of parchment between each layer, Homemade Pop-Tarts will keep for up to 2 weeks at room temperature.
- Make the filling the day before you make the dough. You can also make each component a day. Day 1: Make the filling. Day 2: make the dough. Day 3: roll, assemble, and bake.
- To make Brown Sugar Cinnamon, omit the freeze-dried fruit and process apples with 6oz of dark brown sugar instead. Along with the applesauce, add 1.5 tablespoons of ground cinnamon and 1/8 teaspoon kosher salt, then process as directed. If you like, flavor the glaze with 1 tablespoon of ground cinnamon
Recipe courtesy of Bravetart.
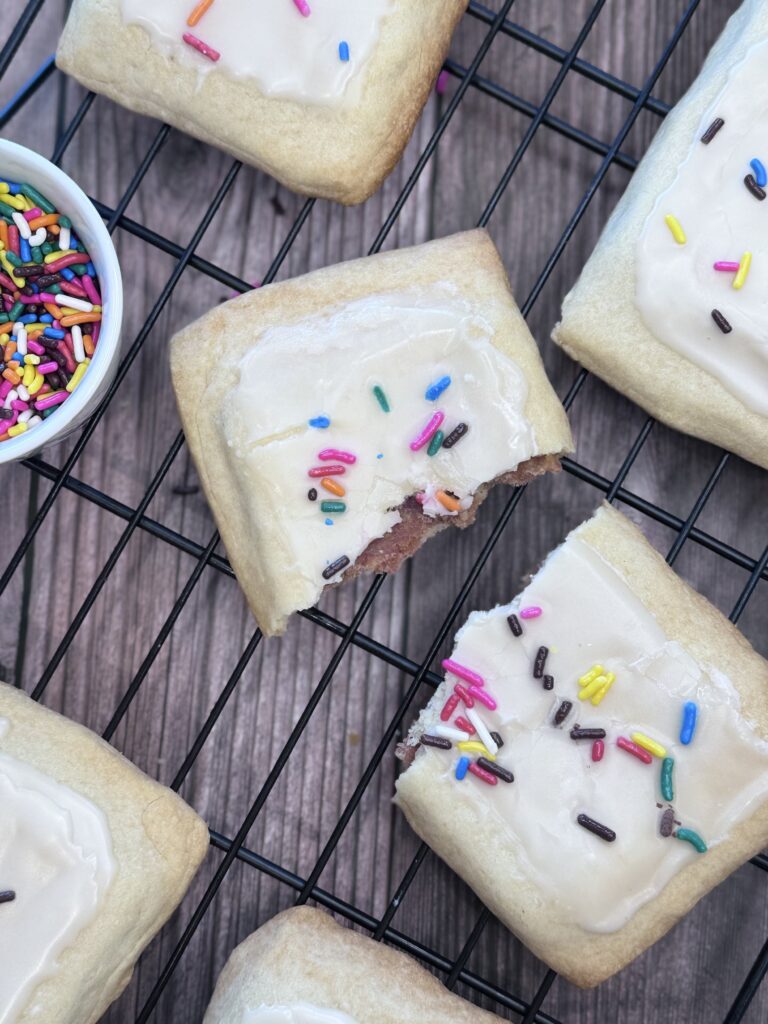

Homemade Pop Tarts
[stars_rating_avg]Ingredients
The Filling
1 1/2 cups (1 1/4oz) freeze-dried strawberries
4 cups (12oz) dried apples, still soft and moist
2 tablespoons (1oz) applesauce, sweetened if you like
The Dough
3 1/4 cups (14.5oz) all-purpose flour, such as Gold Medal, plus more for dusting
1 teaspoon baking powder
1/4 teaspoon Diamond Crystal kosher salt (half as much if iodized)
1/4 cup (1 3/4oz) sugar
2 sticks (8oz) cold unsalted butter, cut into 1/2-inch cubes
1/2 cup (6oz) light corn syrup
The Glaze
1 3/4 cups (7oz) organic powdered sugar, sifted
3 tablespoons (1 1/2oz) whole milk or lightly beaten egg whites
1/8 teaspoon Diamond Crystal kosher salt (half as much if iodized)
1 teaspoon vanilla extract
Instructions
Prepare the Filling
Place freeze-dried strawberries in the bowl of a food processor. Cover with a sheet of plastic to contain the dust and grind until powdery and fine. Discard the plastic, add the apples, and pulse until the mixture forms a ball, about 2 minutes. Add applesauce and process for a minute more, pausing halfway through to scrape the bowl and blade with a flexible spatula.
Place a large piece of parchment (not wax) paper on the counter, secure with tape, and grease lightly. Scrape the fruit paste in the center and shape into a 5-inch square. Top with a second sheet of lightly greased parchment and roll into an 11-inch square. Peel off the top sheet and slide onto a cutting board.
Sprinkle the paste with a little water to prevent sticking. Use a ruler and pizza wheel to cut it into four 2 1/2-inch wide strips, then cut each into three 3 1/2-inch wide long rectangles, pressing firmly with the knife to cut through the parchment as well. Refrigerate, uncovered, for an hour to dry the paste. Use immediately, or stack the pieces, still on the paper, in a zip-lock bag, and refrigerate for up to 1 month.
Make the Dough
Sift flour into the bowl of a stand mixer fitted with a paddle attachment (if using cup measures, spoon into the cups and level with a knife before sifting). Add baking powder, salt, sugar, and butter and mix on low until the butter disappears. Add corn syrup and continue mixing to form a stiff dough.
Knead against the sides of the bowl to form a smooth ball, then divide in half and flatten into discs. Use immediately, or wrap in plastic and refrigerate for up to 1 week; soften chilled dough for 30 minutes at room temperature before using.
Roll and Assemble the Tarts
Knead one piece of dough on a bare work surface until pliable and smooth. On a well-floured work surface, roll into an 8-inch square. Sprinkle both sides with flour and roll into a 15-inch square, no more than 1/8-inch thick. Slide an offset spatula under the dough to loosen it and brush off excess flour.
Cut into four 3 1/4 inch-wide strips, then cut each into three 4 1/4-inch long rectangles. Arrange on a parchment-lined aluminum baking sheet. Top each with a piece of chilled filling, peel off the parchment backing, and refrigerate.
Roll and cut the remaining dough as before. Place each piece over the chilled filling and light “squeegee” the dough with your index finger to expel any air pockets. Press gently to mold it against the filling and dough (the pieces will meld together as they bake). Pierce each tart 8 times with the narrow end of a chopstick or bamboo skewer, pressing until you hit the baking sheet. Cover with plastic and refrigerate for 30 minutes, or up to 3 days.
Bake and Glaze the Tarts
Adjust oven rack to middle position and preheat the oven to 350°F.
Bake the chilled tarts until firm and dry but still very pale, about 16 minutes. If you like, use a pizza wheel to “sharpen” the edges of each tart. Cool to room temperature on the baking sheet.
Meanwhile, combine powdered sugar, milk, salt, and vanilla in the bowl of a stand mixer fitted with a paddle attachment. Mix on low speed to moisten, then increase to medium and beat for 5 minutes to dissolve the powdered sugar; the glaze will be quite thin.
Dust tarts with a paper towel to remove any stray crumbs and arrange on a wire rack. Use a pastry brush to swipe glaze down the length of each tart, going over the bottom edge, repeating as needed for even coverage. Clean up stray dribbles with a paper towel, then top with sprinkles and let the glaze hard, about 30 minutes. Enjoy at room temperature or toasted.
Recommended Products
Notes
Enjoy at room temperature or toasted. In an airtight container with a sheet of parchment between each layer, Homemade Pop-Tarts will keep for up to 2 weeks at room temperature.
Nutrition Facts
Calories
575.25
Fat
15.9 g
Sat. Fat
9.84 g
Carbs
104.95 g
Fiber
6.68 g
Net carbs
98.27 g
Sugar
69.71 g
Protein
4.05 g
Sodium
146.4 mg
Cholesterol
40.94 mg


