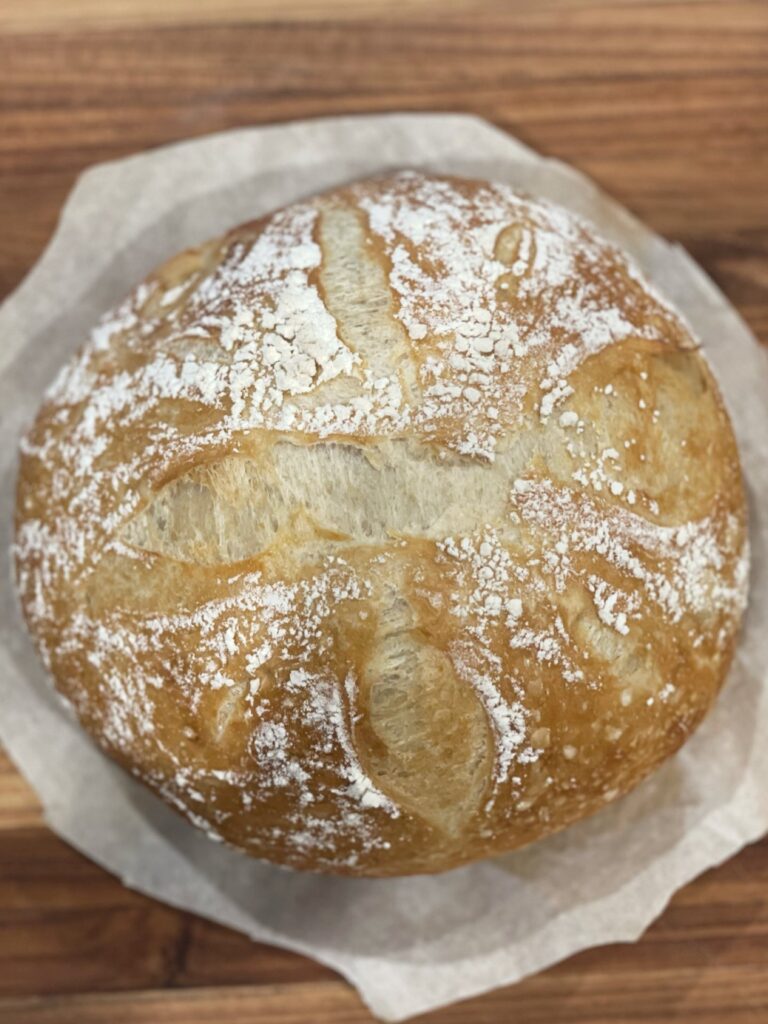
During COVID, I, like many others took up bread making. While I was no stranger to baking, making bread making was foreign to me, and honestly, a little intimidating. I was terrified of kneading the dough, understanding the gluten process, and forming it into an Instagram-worthy picture.
I’ve always enjoyed the therapeutic process of baking. Would baking bread be the same? I decided that if I was going to venture into bread making, I would be the best at it. I started watching countless YouTube videos of how to make bread. Towards the end of the pandemic, I took a break-making class at Sur La Table, which helped me a lot with forming the dough into a boule.
My first attempt after the class was good, but not up to my standard. I decided to research bread-making cookbooks and decided on The New Artisan Bread in Five Minutes a Day by Jeff Hertzberg and Zoe Francois. Let me tell you something—this book changed my life!
The book was very easy to read and follow, and yes, you can have bread every day in five minutes!!! The Master Recipe is phenomenal and can be used to make other types of bread—ciabatta, sandwich loaf, panini, and many more! The dough is made with all-purpose flour, yeast, salt, and water.
Jeff and Zoe created a revolutionary approach to bread baking: Take the needed amount of pre-mixed dough from the refrigerator, shape it, leave it to rest, then pop it in the oven and let it bake while you prepare the rest of your meal. Gone are the days of spending hours waiting for the dough to rise, rest, rise again, knead, and bake.
THE SECRET
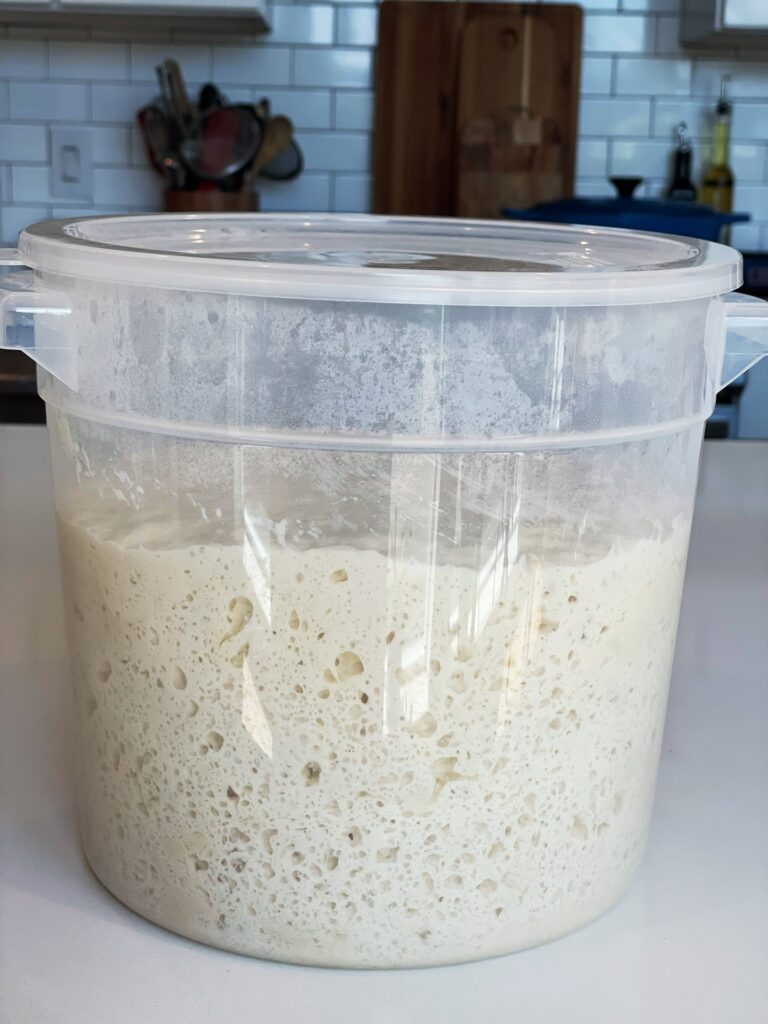
How is it possible to have bread every single day with only five minutes of active effort? First, mix the ingredients into a container all at once. Let the container sit out for two hours for the initial rise. I like to turn on my dryer, then turn off and put the container in. I use this container from Amazon, which can easily fit into your refrigerator.
After the two hours, you can use the dough or you can refrigerate the dough and use it over the next couple of days or weeks. Yes, weeks!! When you are ready to bake, take a piece of the dough from the container and shape it into a loaf. Let it rest for 40 minutes or more and then bake. Now you you why it takes 5 minutes a day, not including resting and baking time!
GLUTEN-FREE
For those following a gluten-free diet, the book also contains a gluten-free recipe that is just as easy to make. While the recipe does contain egg, you can make the loaf egg-free by substituting ground flaxseed, which gives the loaf a nutty flavor.
The gluten-free recipe consists of brown rice flour, tapioca flour, potato flour, and sorghum flour. As mentioned above, the recipe contains eggs, but this can be substituted. I am not gluten-free, but I have made this and actually enjoyed it more than I thought.
SOURDOUGH
While this is a French bread recipe, you can turn this into a sourdough if you prefer the tangy goodness of a sourdough. Most sourdough starters are about half water and half flour when fully activated and ready to use. You can add 1/2 cup of activated sourdough starter to the Master Boule recipe. You will, however, need to decrease the water in the recipe by 3/4 cup and the flour by 3/4 cup.
Lazy sourdough shortcut: When your dough bucket is finally empty, or nearly empty, don’t wash it. Immediately remix another batch in the same container. The aged dough stuck inside will give the new batch a head start on a sourdough flavor. Scrape any dough stuck to the side and incorporate it into a new batch.
STORING AND FREEZING YOUR BREAD
The best way to keep your bread fresh once it has been cut is to store it cut side down on a flat, nonporous surface like a plate or countertop. Do not store inside foil or plastic, which traps humidity and softens the crust.
The dough can be frozen at any point in its batch life as long as the initial rise (2 hours) has been completed. Divide the dough into loaf-size portions, then wrap it well or seal in an airtight container. Defrost overnight in the fridge when ready to use, then shape, rest, and bake as usual.
VARIATIONS
Herb Bread: follow the directions for the Master Recipe and add 1 teaspoon of dried thyme and 1/2 teaspoon of dried rosemary or any herbs you like to the water mixture.
Baguette: you can shape the Master Recipe into a baguette shape. You will only need a 20-minute rest after shaping it. I use this pan to make baguettes. After the dough has rested, paint the loaf with water using a pastry brush. Slash the baguette with longitudinal cuts and bake.
EQUIPMENT NEEDED
A few things that are needed to make this as easy as possible:
- a cast iron pot— I use the Le Creuset Bread Oven but any Dutch oven can work too
- a large bucket— I use this one from Amazon
- parchment paper
- dough whisk—I use a Danish style-dough whisk which works faster and offers less resistance than a traditional whisk
- kitchen scale
Ingredient
You will need:
- water
- granulated yeast
- kosher salt
- all-purpose flour
THE MASTER RECIPE: BOULE (Artisan Free-Form Loaf)
Mixing and Storing the Dough
- Warm the water slightly: Temperature should be about 100°F. You can use cold water and get the same final result, but the first rising will take longer
- Add the yeast and salt to the water to the container
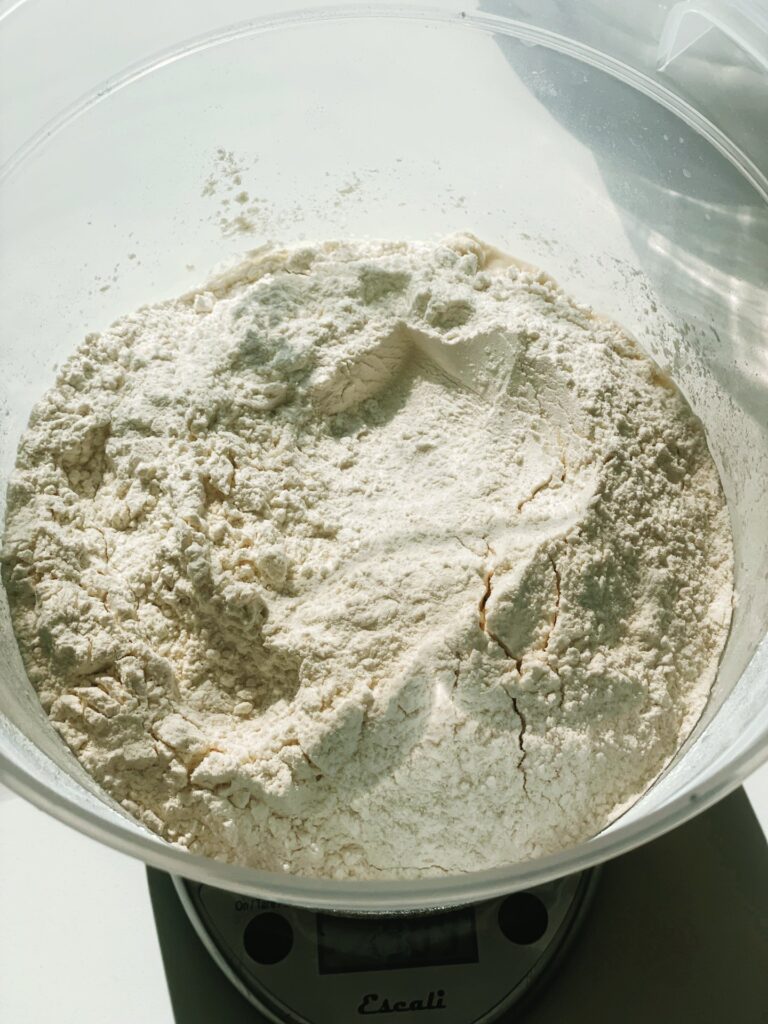
- Mix in the flour—kneading is unnecessary. Add all of the flour and mix with the dough whisk
- Allow to rise for 2 hours. I warm my dryer for a few minutes then pop in the dryer to rise. You can use after 2 hours or refrigerate
On Baking Day
- Preheat oven to 450°F. Place your Dutch oven inside for 20 to 30 minutes
- Cut off a 1-pound (grapefruit size) piece of dough and form into a loaf; place on a parchment covered tray
- Let dough rest for at least 40 minutes. I place the tray back in the dryer to rise
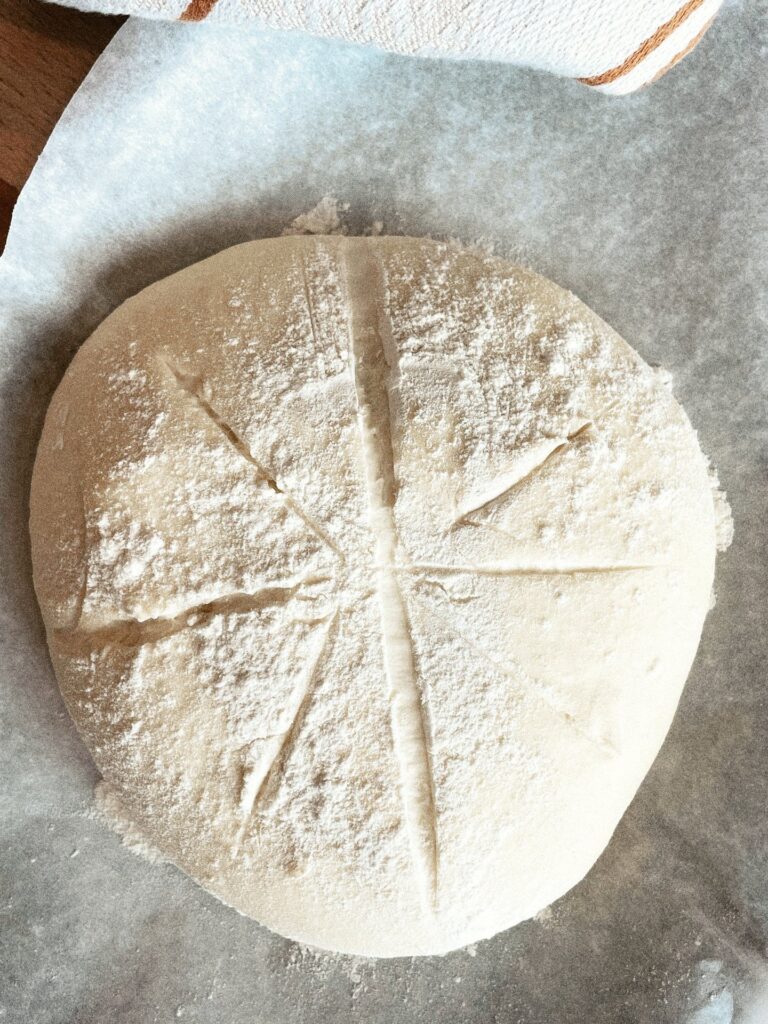
- Dust the top of the loaf with flour and using a knife, slash 1/2 inch deep cross in a tic-tac-toe design or whatever you like into the top
- Carefully remove the Dutch oven from the oven and place your dough with the parchment paper inside the Dutch oven
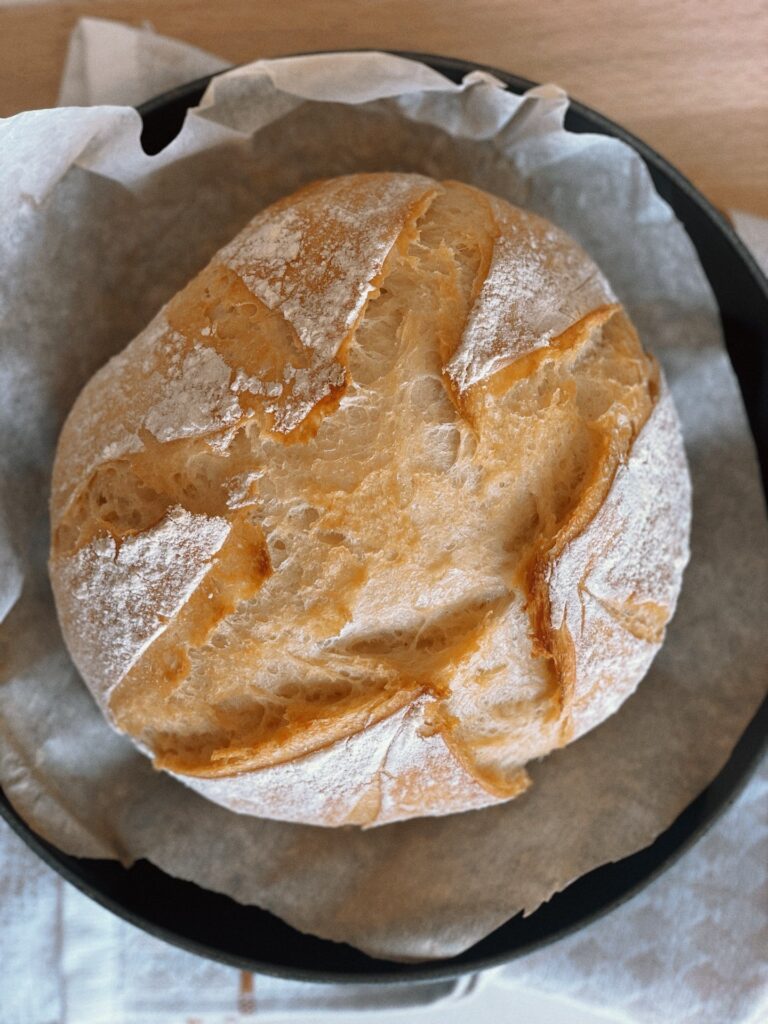
- Bake for a total of 30 to 35 minutes, or until the crust is richly browned and firm to the touch
Useful Tips
- run your dryer for a few minutes, turn it off, and let the dough rise inside the dryer. This method can be used with any recipe that requires rising
- use a digital scale to weigh your ingredients; it’s more accurate when it comes to baking
- no need to fret if your dough does not rise during the resting period. This recipe will rise from the “oven spring” (sudden expansion of gasses inside the loaf that occurs on contact with a hot oven
- be quick and gentle when shaping loaves. Shape your loaves in only 20-40 seconds to preserve air bubbles (see video)
*If you are using Morton Kosher Salt (course), use 1 tbs. If using Diamond Kosher Salt (coarsest), use 1 tbs plus 1 tsp
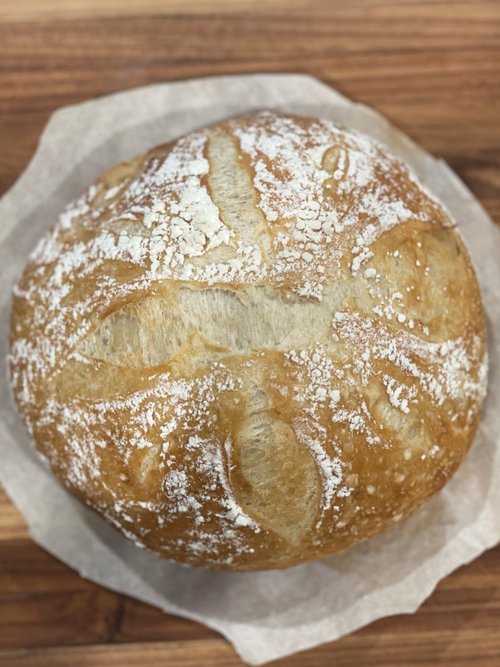
Easy French Boule Artisan Bread
Ingredients
The Master Recipe: French Boule
3 cups of lukewarm water (680 grams)
1 tablespoon granulated yeast (10 grams)
1 to 1 1/2 tablespoon Kosher salt*
6 1/2 cups all-purpose flour (910 grams)
Instructions
Warm the water to 100°F and add to your container.
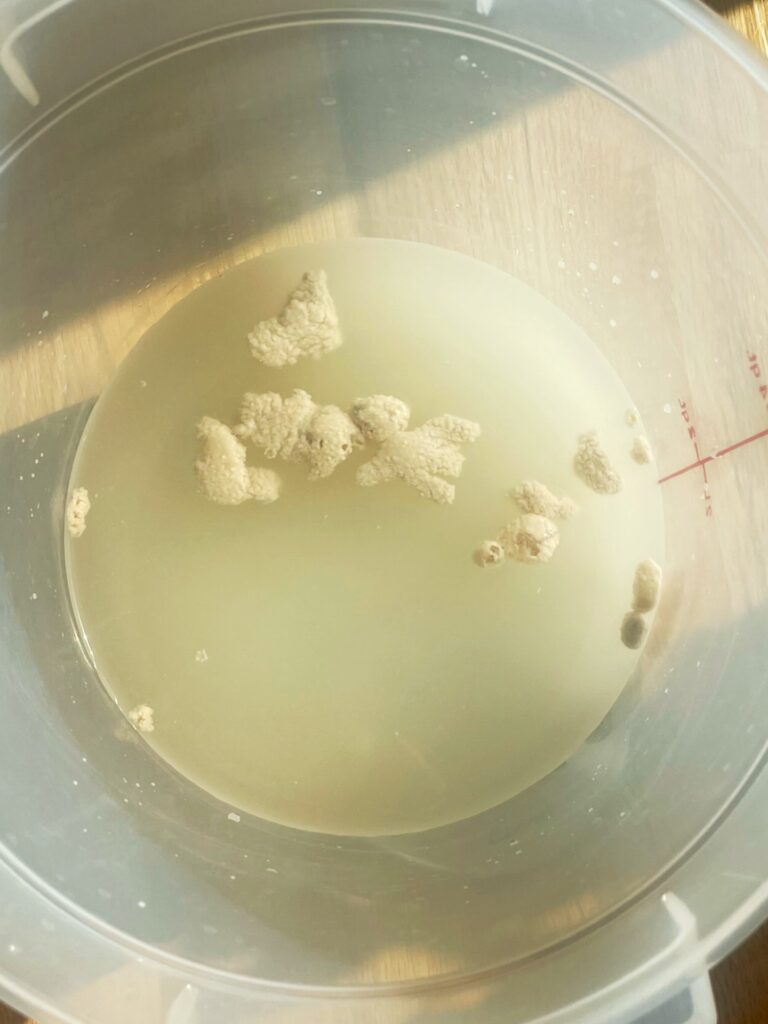
Add the yeast and salt to the water. No need to get it all dissolve.
Mix in the flour. The best method is to use a kitchen scale to measure your flour. If you measure with cups, use the scoop-and-sweep method, gently scooping up flour, then sweeping the top level with a knife.
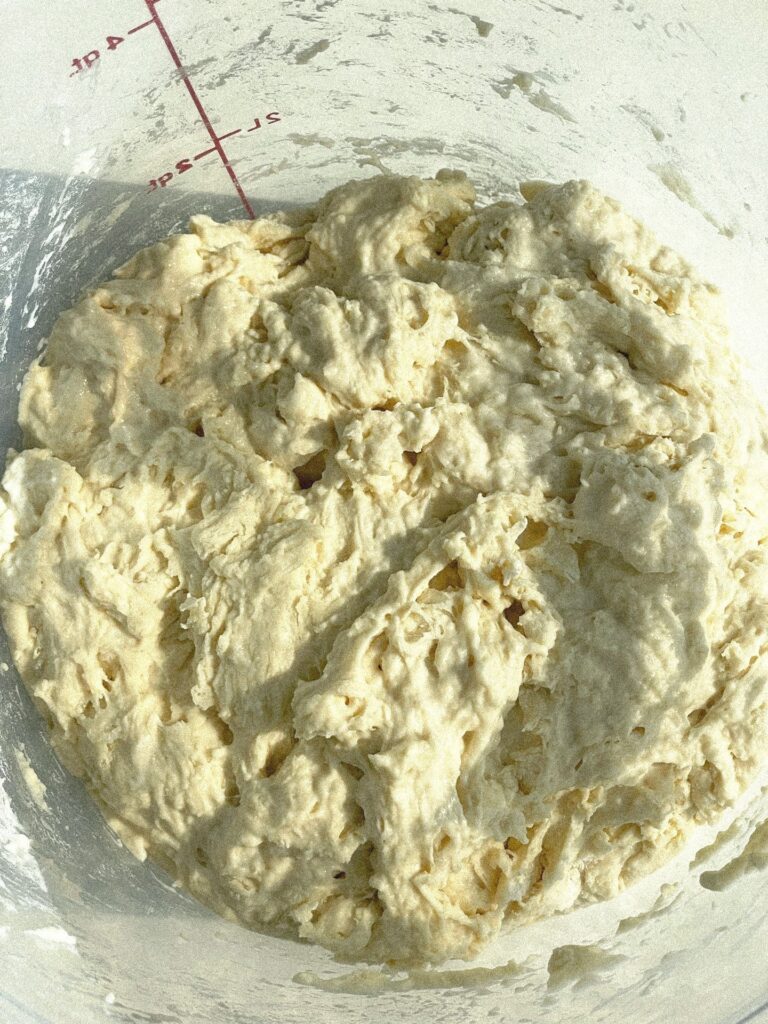
Use dough mixer to incorporate the wet and dry ingredients until the mixture is uniform.
Cover with a lid that fits well to the container but can be cracked open so it’s not completely airtight. The container I recommended comes with a lid. Allow to rise at room temperature for 2 hours. After the 2 hours, you can either use immediately or refrigerate until baking day. This can stay in the refrigerator for up to 14 days. If you container isn’t vented, allow the gases to escape by leaving it open a crack for the first couple of days. You can close after that.
On baking day, dust the surface of dough with flour and cut a 1- pound (grapefruit size) piece of dough with a knife or kitchen shears.
Gently stretch the surface of the dough around to the bottom on all four sides, rotating the ball a quarter turn as you go. The entire process shoud take no more than 20-40 seconds. Do not work the dough longer than that or your loaf will be dense
Place the dough on a pan with parchment paper and let rest for 40 minutes at room temperature. No need to cover during this time. You may not see much rise during this period and that’s okay.
Preheat your oven to 450°F and place your dutch oven in the middle of the oven for 20-30 minutes
Dust the top of your loaf liberally with flour and using a knife, make 1/2 inch slits, creating patterns you like.
Carefully remove your dutch oven and place the loaf with the parchment paper inside the dutch oven. Bake for 30-35 minutes. Smaller or larger loaves will require adjustments in baking time. Bake until the crust is richly browned and firm to the touch
Store the remaining dough in the refrigerator in your lidded container until next use
Recommended Products
Notes
*If using Morton Kosher Salt: 1 tablespoon. If using Diamond Kosher Salt: 1 tablespoon and 1 teaspoon
Nutrition Facts
Calories
745.35
Fat
2.01 g
Sat. Fat
0.33 g
Carbs
156.39 g
Fiber
5.76 g
Net carbs
150.64 g
Sugar
0.67 g
Protein
21.16 g
Sodium
2630.38 mg
Cholesterol
0 mg


