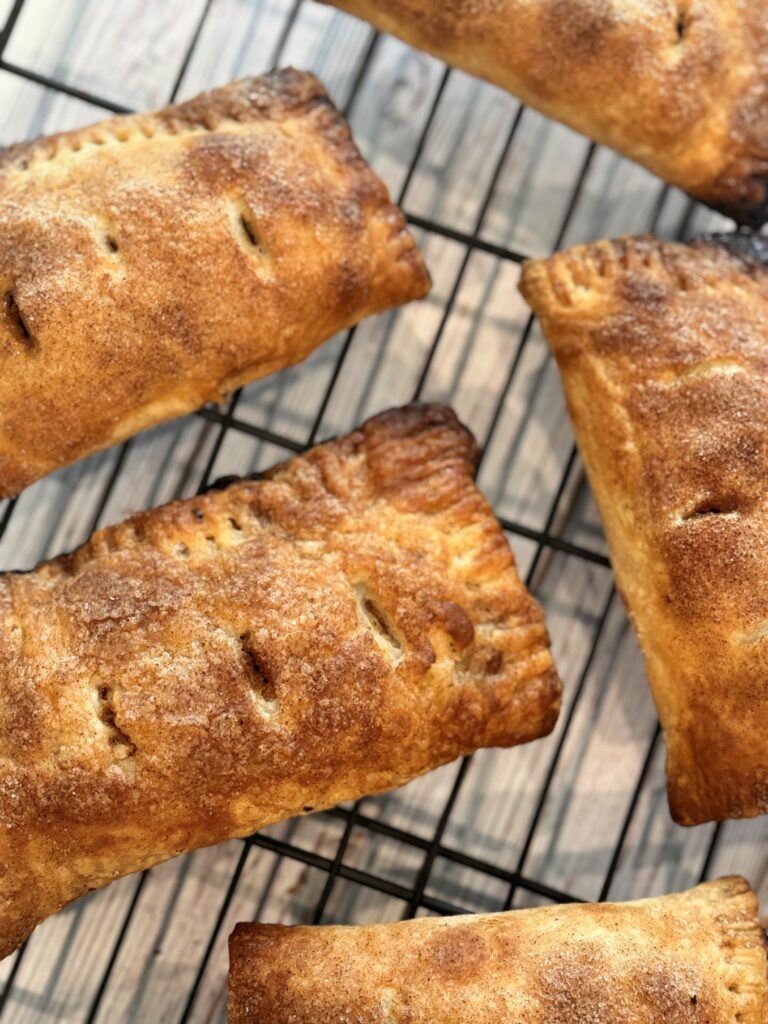
Nothing says Summer more than apple pies! While I love making whole pies, hand pies have some benefits that a whole pie doesn’t. Yes, regular pies are more aesthetically pleasing and made for Instagram posts, but something about those small pies takes me back to my childhood standing at the grocery store checkout with my parents.
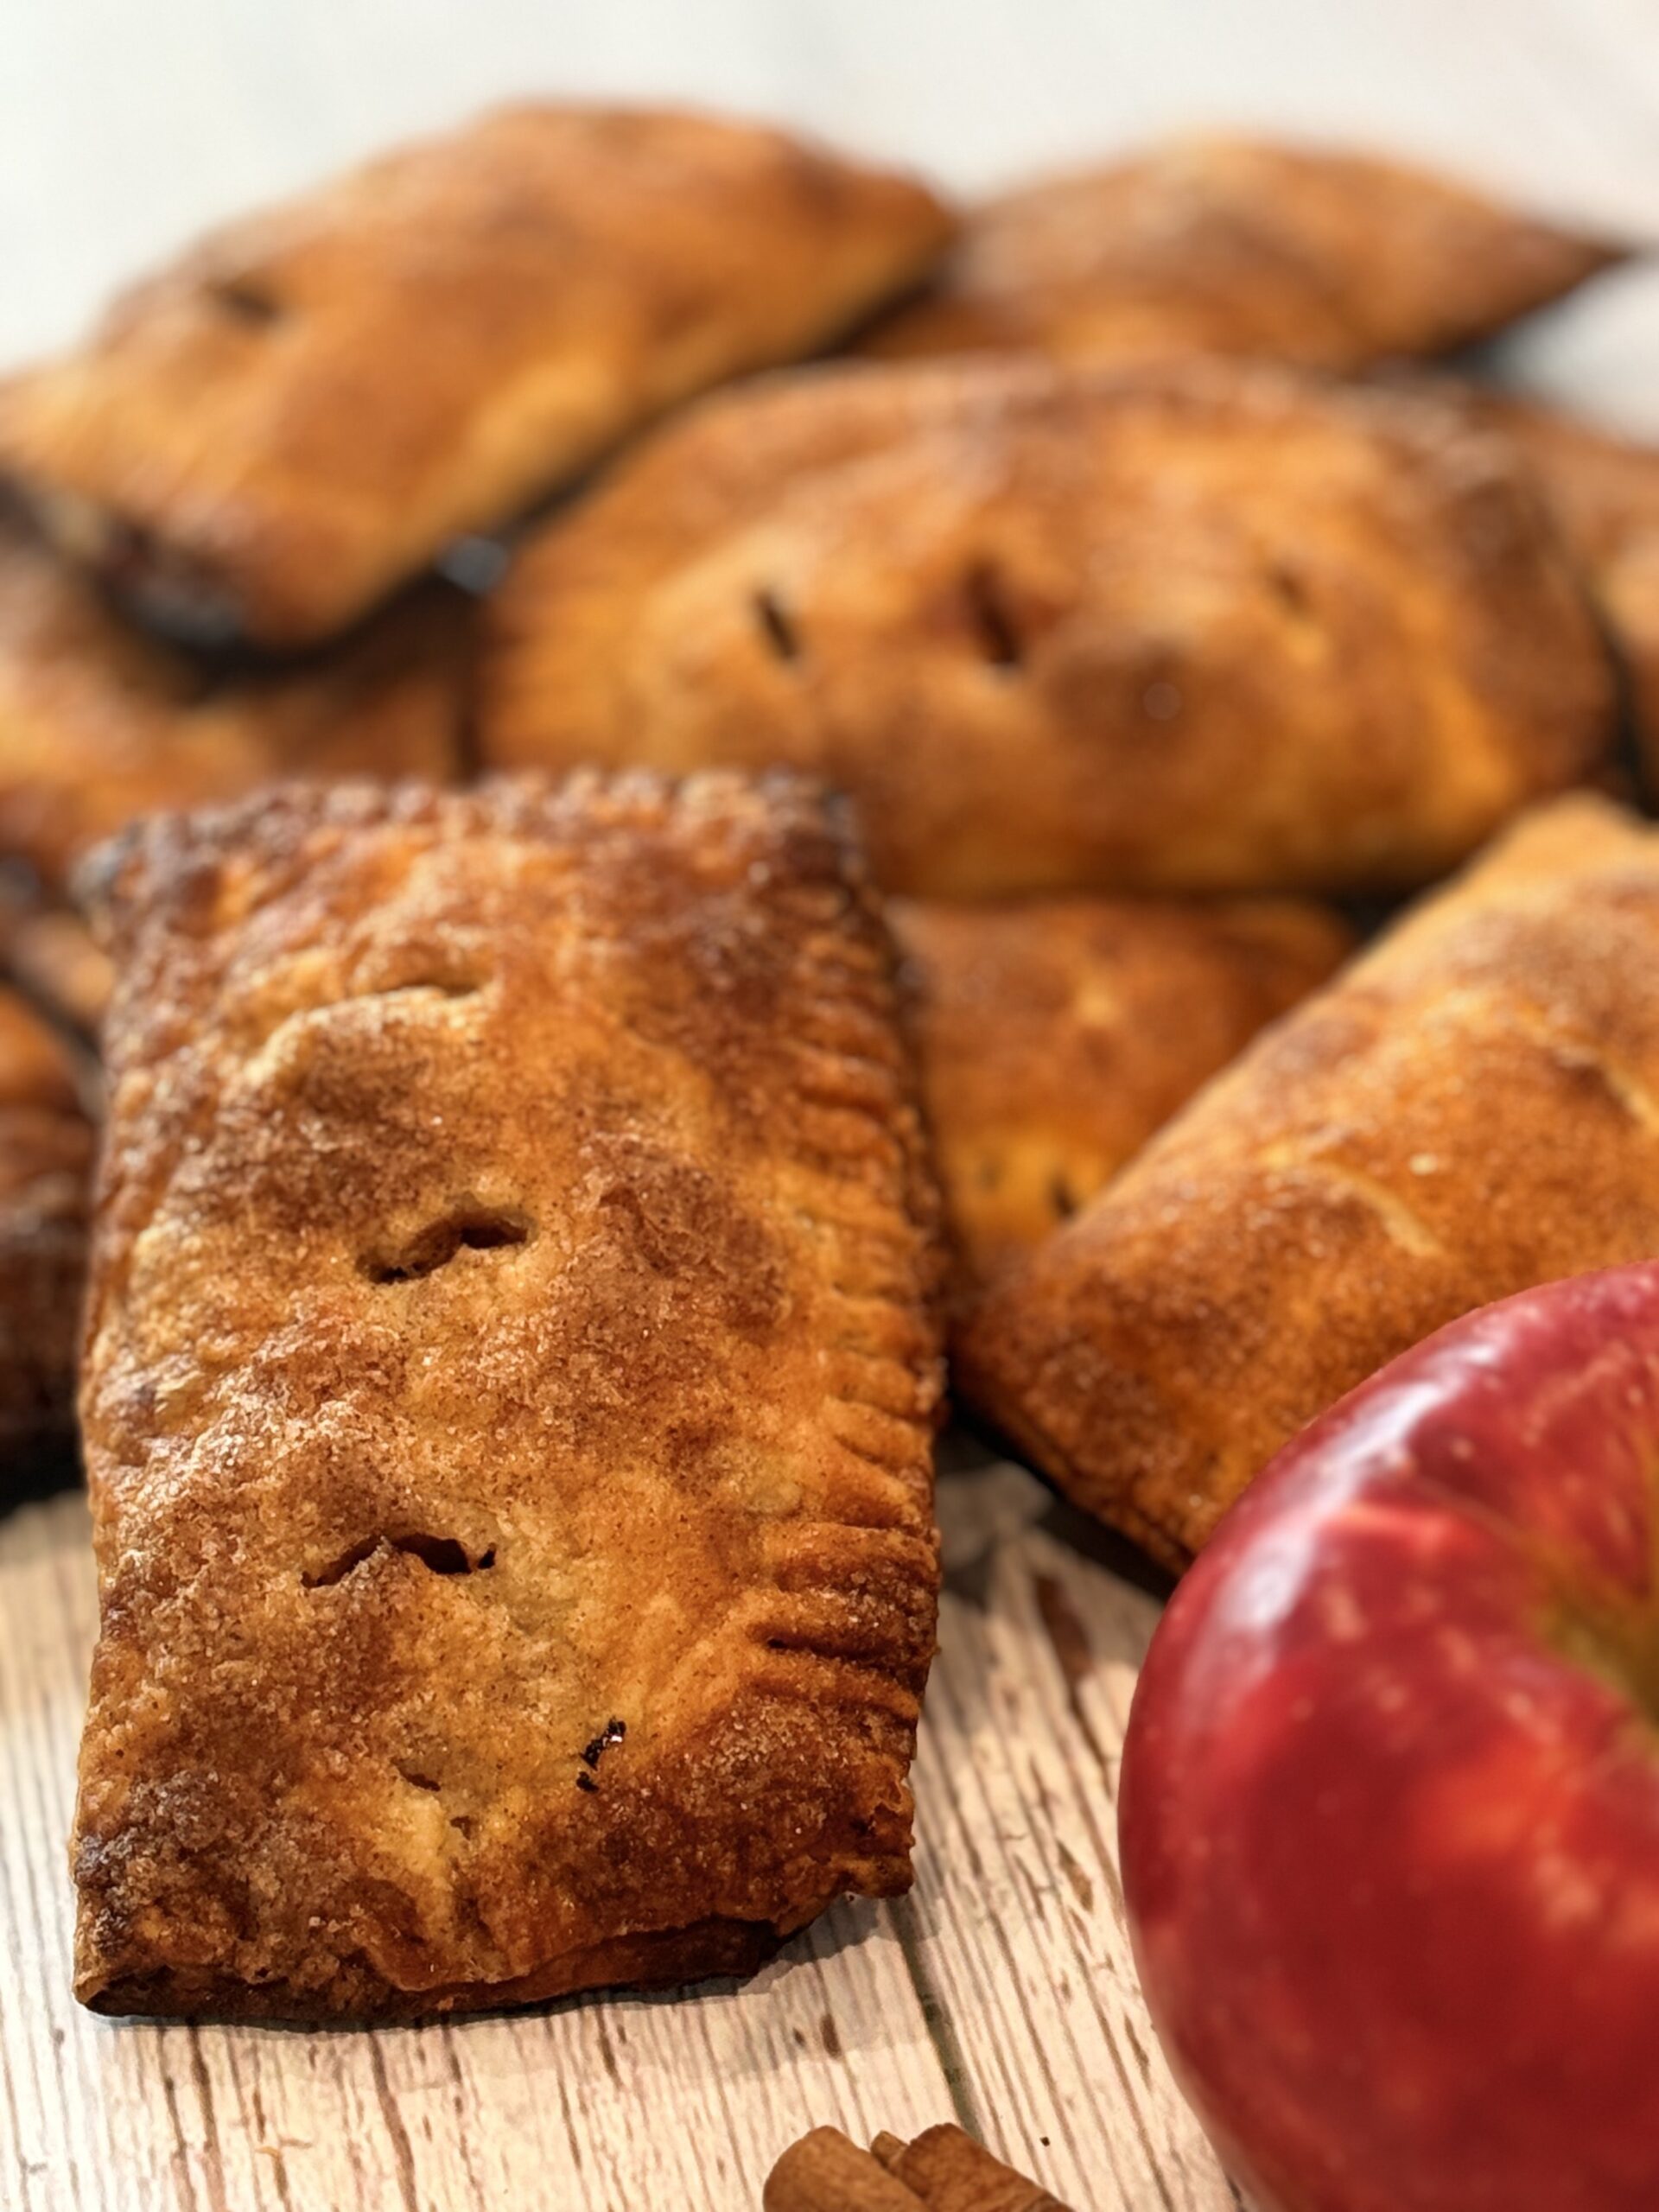
I personally find hand pies to be tastier and have better texture and flavor. The crust is more golden brown, and flakier, while the fillings seem to burst at the seams. It’s also way more fun to eat and definitely more convenient as you can take it with you on the go, to work, or pack with kid’s lunch.
Hand pies can be baked, deep-fried (my personal favorite), or air-fried for a “healthier” option. They can be filled with apples, blueberry fillings, or lemon curds—the possibilities are endless! Best of all, they fit in the palm of your hand. They also make a great gift and are the perfect snack for your kiddos during the hot months (bonus with ice cream obviously).
TWICE AS MUCH CRUST
Hand pies, turnovers, pop tarts—whatever you want to call it, it’s all good. Making a traditional pie requires either one or two pie crusts (two if you are making a Double-crust pie). With hand pies, you roll out a pie crust, fill it with the filling of choice, then add a piece of pie crust on top, seal it, maybe add an egg wash, and sprinkle with some dusting of sugar on top. You get a slice of pie, with twice as much crust, and half as much hassle.
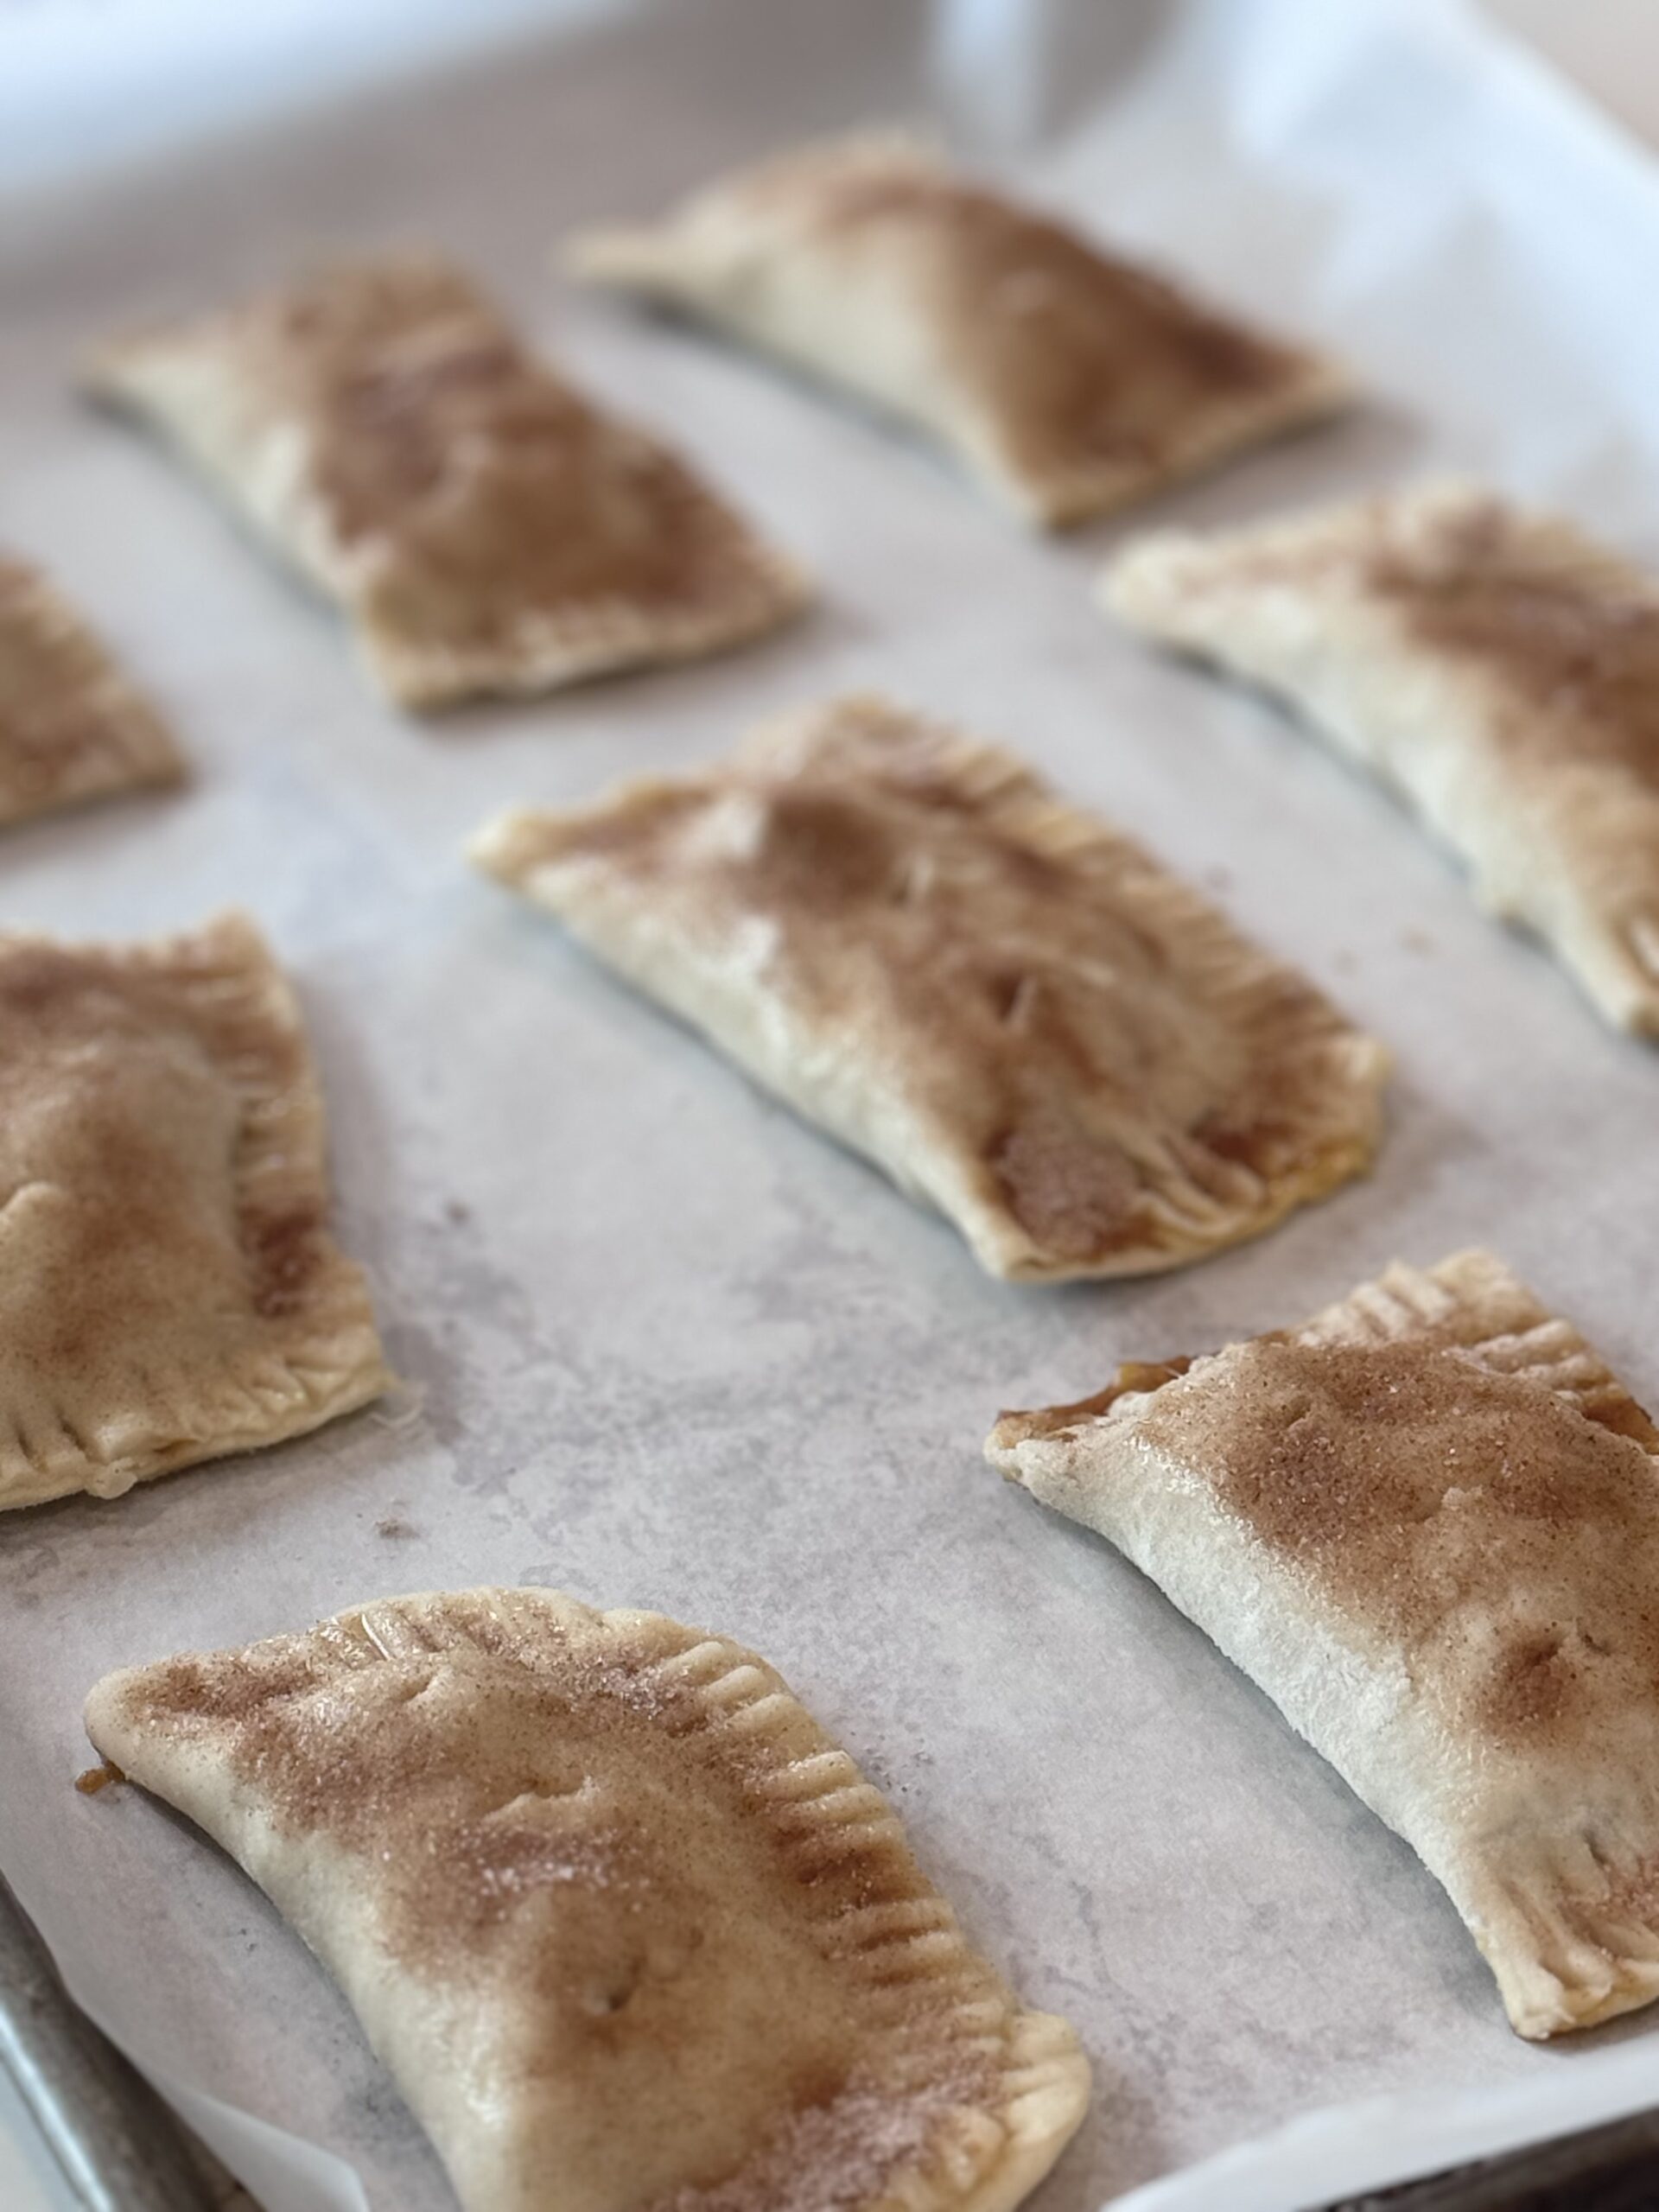
Hand pies are also more forgiving as they are meant to look “rustic.” Perhaps the shapes are not perfect. It doesn’t matter, it’s supposed to look like that. You now have the perfect size pie that fits in your hand, and better yet, no fork, and no sharing! It can be served warm, room temperature, or cold. They can also be prepared in advance, and frozen until you want to eat.
HOW TO MAKE THE BEST APPLE HAND PIES
Every good pie starts with a flaky crust. Since there’s a higher crust-to-filling ration in hand pies, we want a crust that tastes INCREDIBLE! I firmly believe in butter pie crusts. The pieces of butter creates airy, flaky pockets in the crust that you just can’t beat. When I first attempted to make a pie crust, I failed miserably. But with practice, it’s no longer intimidating. Here are my tips for making the best pie crust.
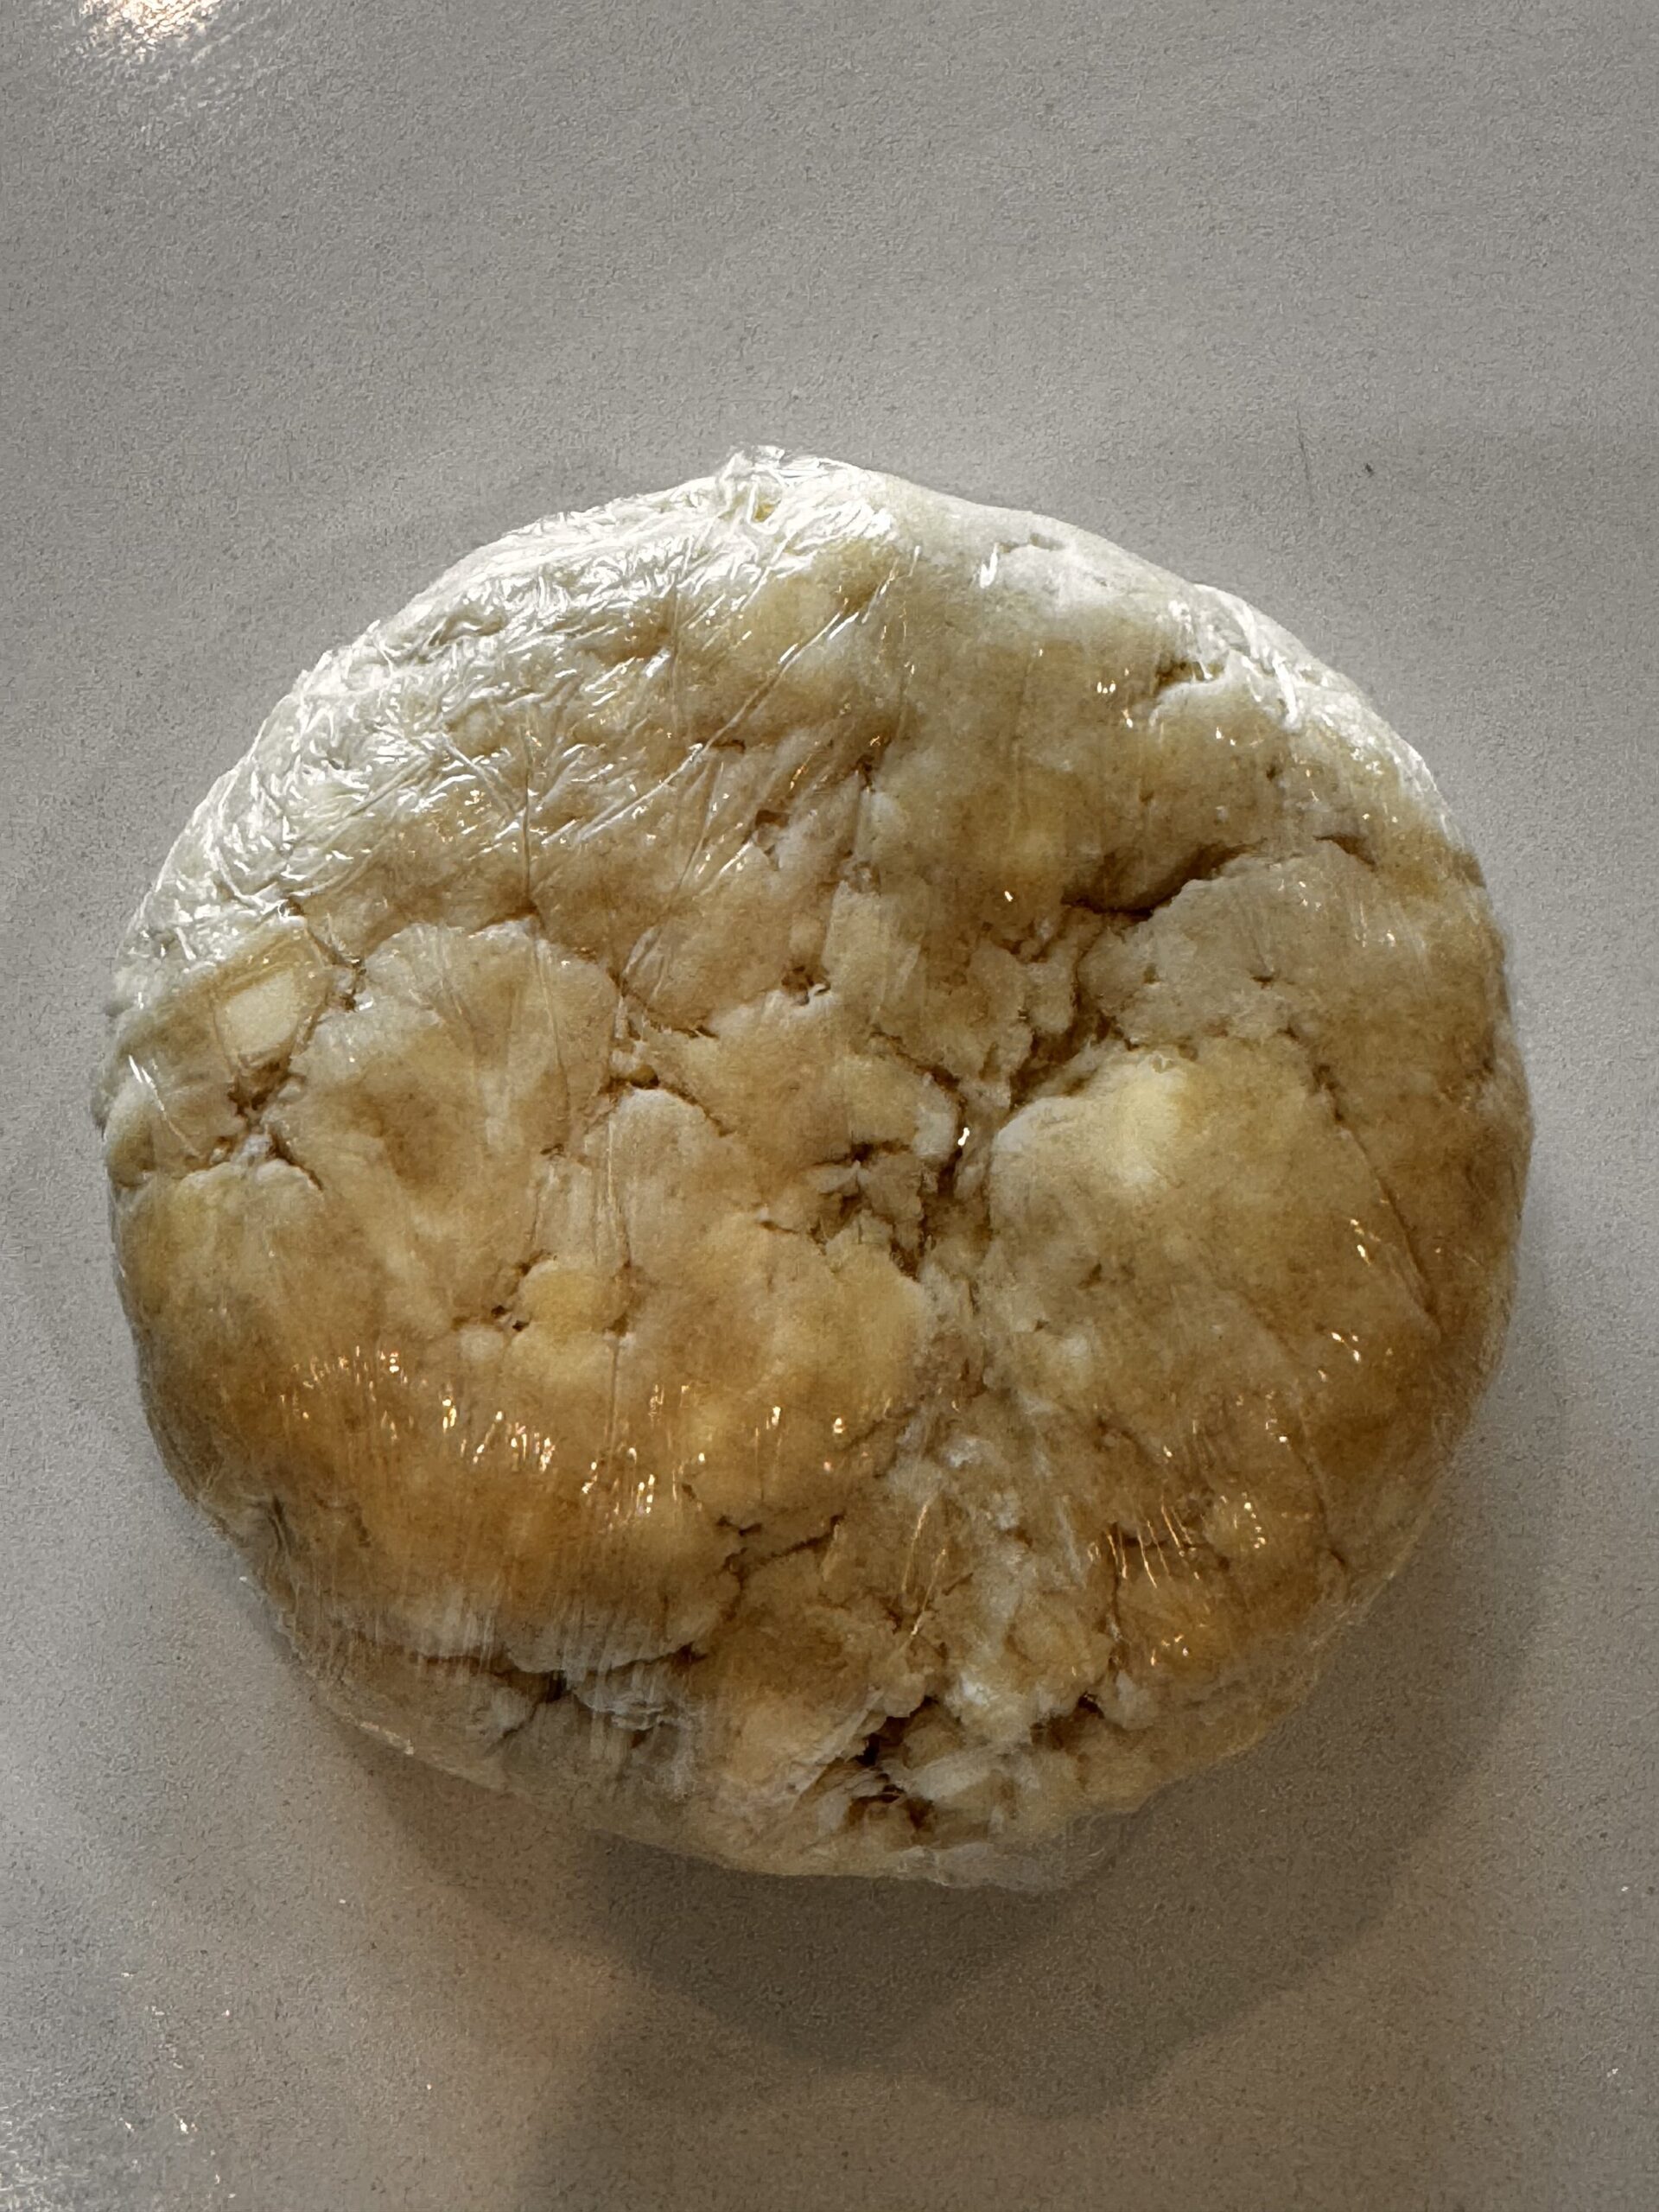
- Use butter. That’s all. Butter has the best flavor. It forms light, lofty, flaky layers while baking. The flakiness comes partially from the water content of the butter, which evaporates as the pie bakes and turns to steam, separating and puffing up the layers of dough. Butter is my first choice of fats for all pies. Make sure you use COLD butter. I like to cut up my butter into cubes and put it in the freezer while I prep.
- Make sure all ingredients are cold, even flour. I like to put all my pie ingredients in the freezer, even flour. This will ensure the dough will be easier to work with.
- Make sure you see butter specks in your dough. I like specks of butter in my pie dough to ensure those flaky pockets are baked in the pie. Some recipes will tell you to have pea-size butter, but I love a combo of pea-size and bigger-size butter pieces.
- Refrigerate all equipment. If the temperature climbs above 75°F in your kitchen, refrigerate your rolling pin, cutter, bowls, or any equipment used to make the dough. If needed, chill the countertops of a sweltering hot kitchen with bags of ice water.
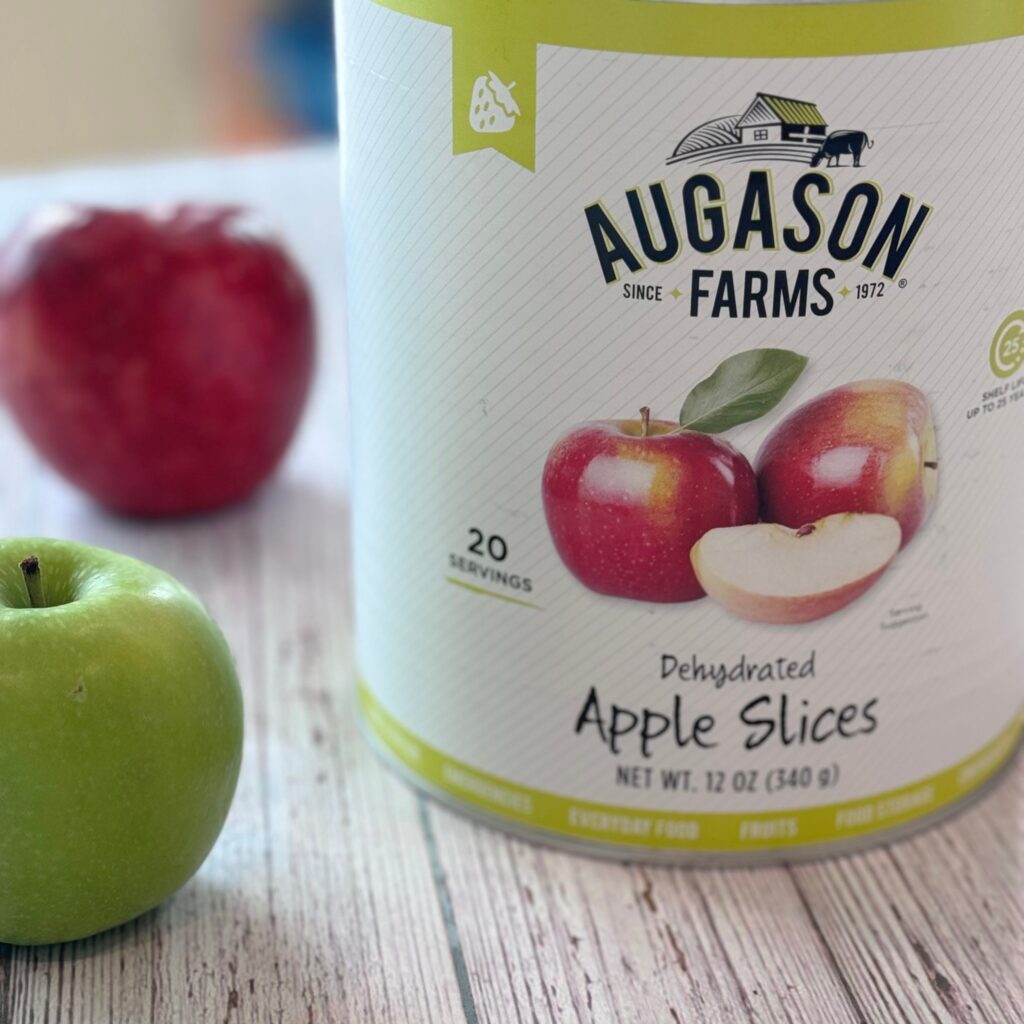
Next to the pie crust, the filling is the best part of hand pies. Choosing the right apples is also important as different apples have different flavor profiles. I also like to use 2 different kinds of apples to diversify the taste and texture of the filling. For apple pies, you want a crisp, firm texture. Cut your apples into small bite-size pieces to fill the crust to maximize the amount of filling you can cram into each pie while keeping air pockets to a minimum. Below are some of my favorites for pies.
- Honeycrisp (second favorite)
- Jazz
- Pazazz
- Braeburn
- Jonagold
- Pacific Rose
- Pink Lady
- Fuji (my favorite)
- Pinata
- Granny Smith
Avoid soft, mealy, or creamy-flesh apples like Red Delicious, Gala, or McIntosh as they will soften up too quickly when baking. If you want to experiment with using 2 different apples, pick a sweet and tart apple.
Best Tart Apples for Baking:
- Granny Smith
- Braeburn
- Jonathan
- Pacific Rose
- Cortland
Best Sweet Apples for Baking:
- Rome
- Jazz
- Pazazz
- Honeycrisp
- Pink Lady
- Jonagold
- Fuji
THE RECIPE
This Apple Hand Pie recipe starts with an easy super flaky butter pie crust. The filling is a sweet-tart filling using Braeburn, Granny Smith, and/or Honeycrisp. This recipe also uses something that you won’t find in other recipes—freeze dried apples. I found the addition of this gave the filling a more complex apple-y flavor!
WHAT YOU WILL NEED:
For the Pie Crust
- 1 3/4 cups plus 1 tablespoon (8 oz) All-Purpose Flour, plus more for dusting
- 1 tablespoon (1/2 oz) Sugar
- 1 1/2 teaspoon Diamond Crystal kosher salt
- 2 sticks (8 oz) cold, unsalted butter, cut into 1/2-inch cubes
- 1/2 cup (4 oz) cold water
For the Filling
- 1 1/2 cups (1.5 oz) freeze-dried apples
- 1/2 cup (3.5 oz) sugar
- 2 teaspoons ground cinnamon
- 1/8 teaspoon Diamond Crystal kosher salt
- 3 medium apples (about 20 oz) such as Braeburn, Granny Smith, and/or Honeycrisp
- 4 tablespoons (2 oz) unsalted butter, melted
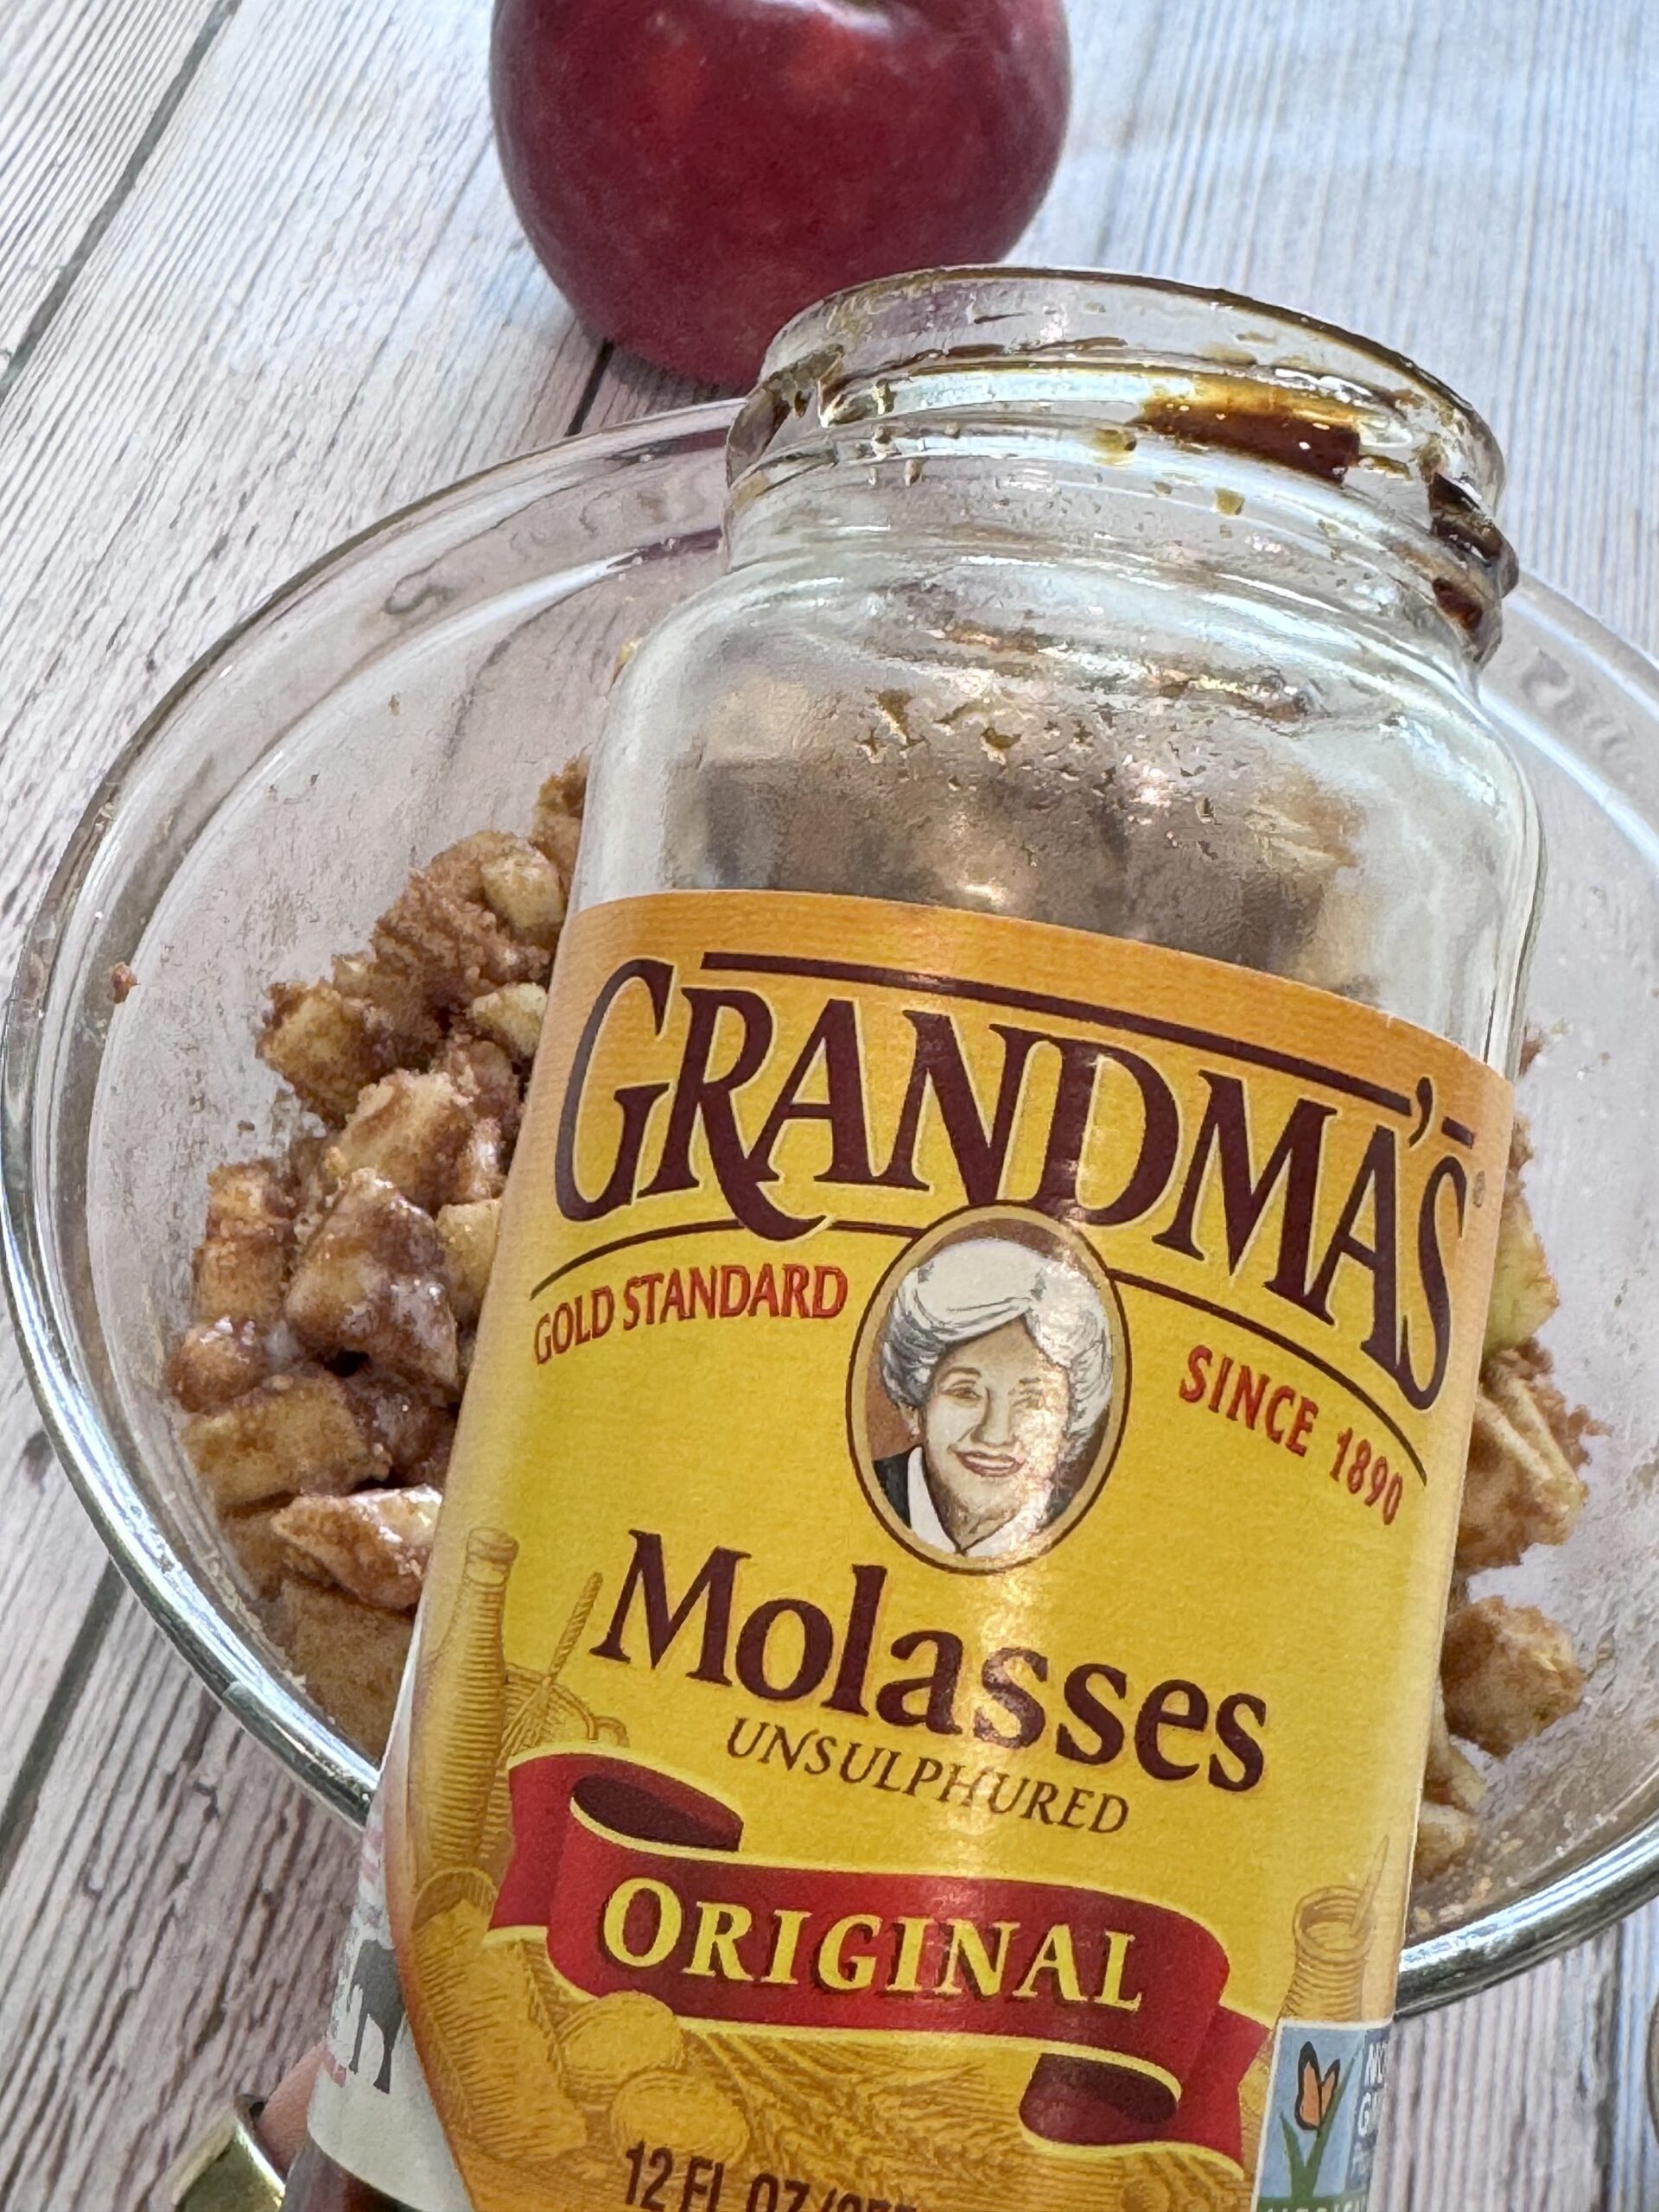
- 2 tablespoons (1.5 oz) unsulfured molasses (not blackstrap) or sorghum
- 1 tablespoon (1/2 oz) freshly squeezed lemon juice
For the Cinnamon Sugar
- 1/4 cup (2 oz) sugar
- 1 teaspoon ground cinnamon
Equipment Needed:
- Food Processor
- Cookie Cutter
- Parchment Paper
- Pastry Cutter
- Rolling Pin
- Baking Sheets
- Bowls
- Measuring spoons
Make the Crust
Step 1: Sift flour into a medium bowl. Whisk in sugar and salt. Cut butter into 1/2-inch cubes, no smaller, and toss with flour to break up the pieces. Roughly smash each cube flat with your fingers.
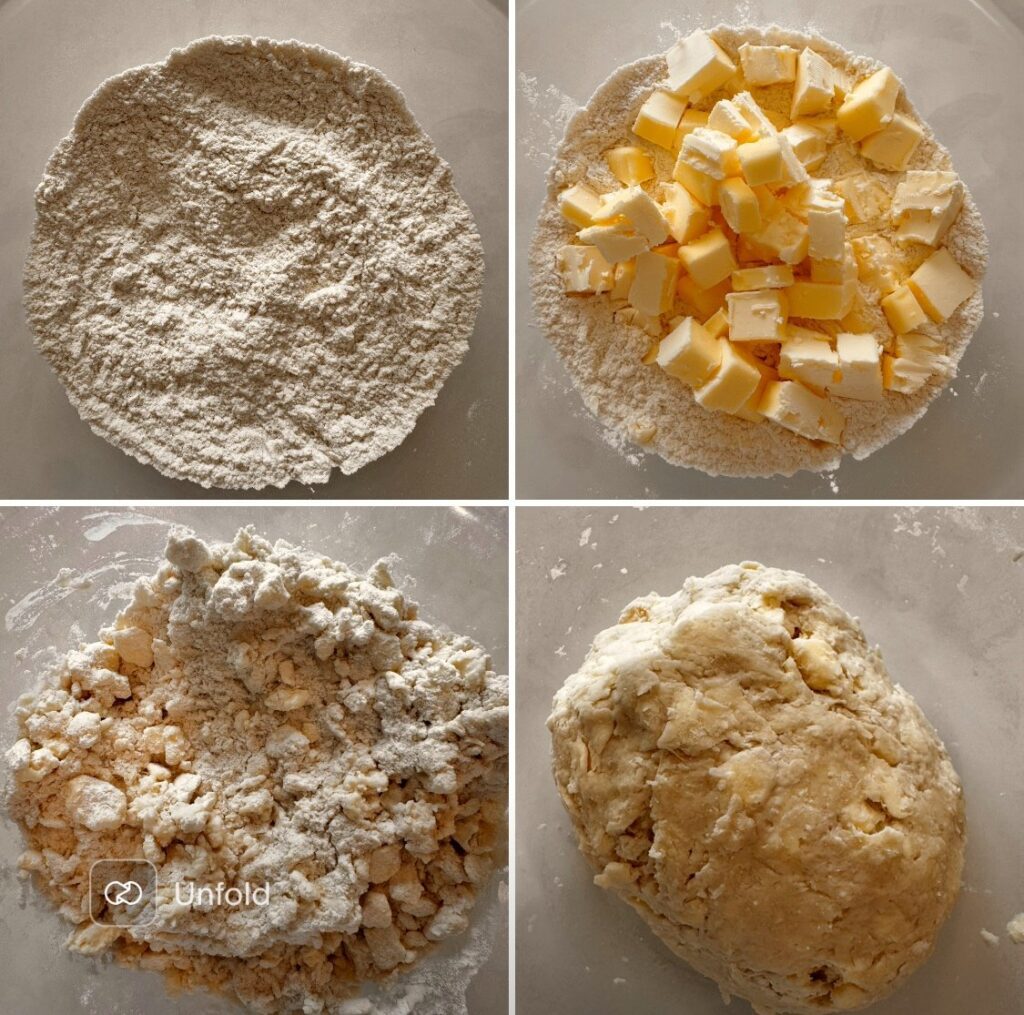
Step 2: Stir in cold water and knead until dough comes together in a ball. With a dough temperature at or below 70°F, it will feel dry to the touch.
Step 3: Transfer to a generously floured work space, sprinkle more with flour, and roll into an 11-by-13 inch rectangle, using as much flour as needed to prevent sticking.
Step 4: Stack on a parchment-lined cutting board or baking sheet, with a sheet of parchment between them, cover with plastic, and refrigerate for at least 2 hours, or up to 24 hours.
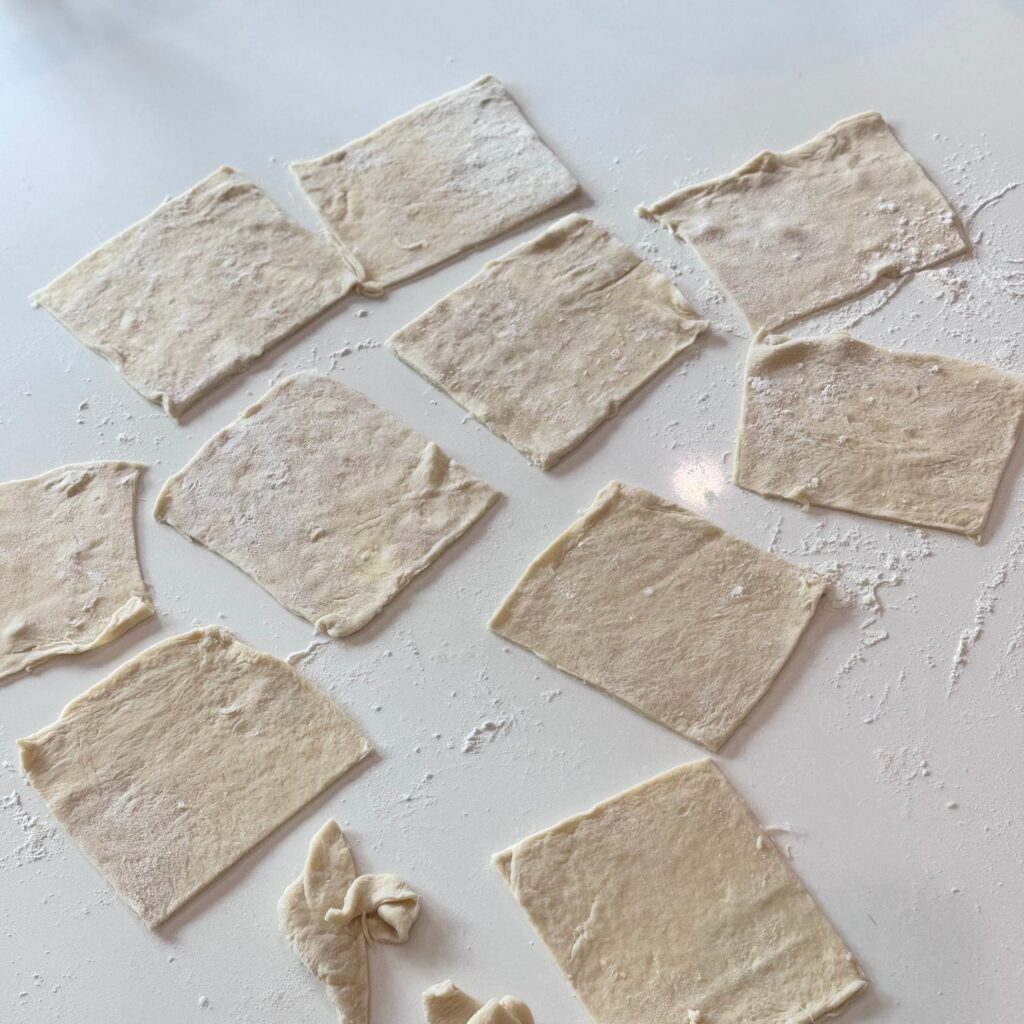
Step 5: Cut each chilled sheet into four 5-by-6-inch rectangles. Gather scraps, knead briefly, roll into a 6-by13 inch strip, and cut 2 additional pieces. Arrange on two parchment-lined baking sheets and refrigerate while you prepare the filling.
Make the Filling
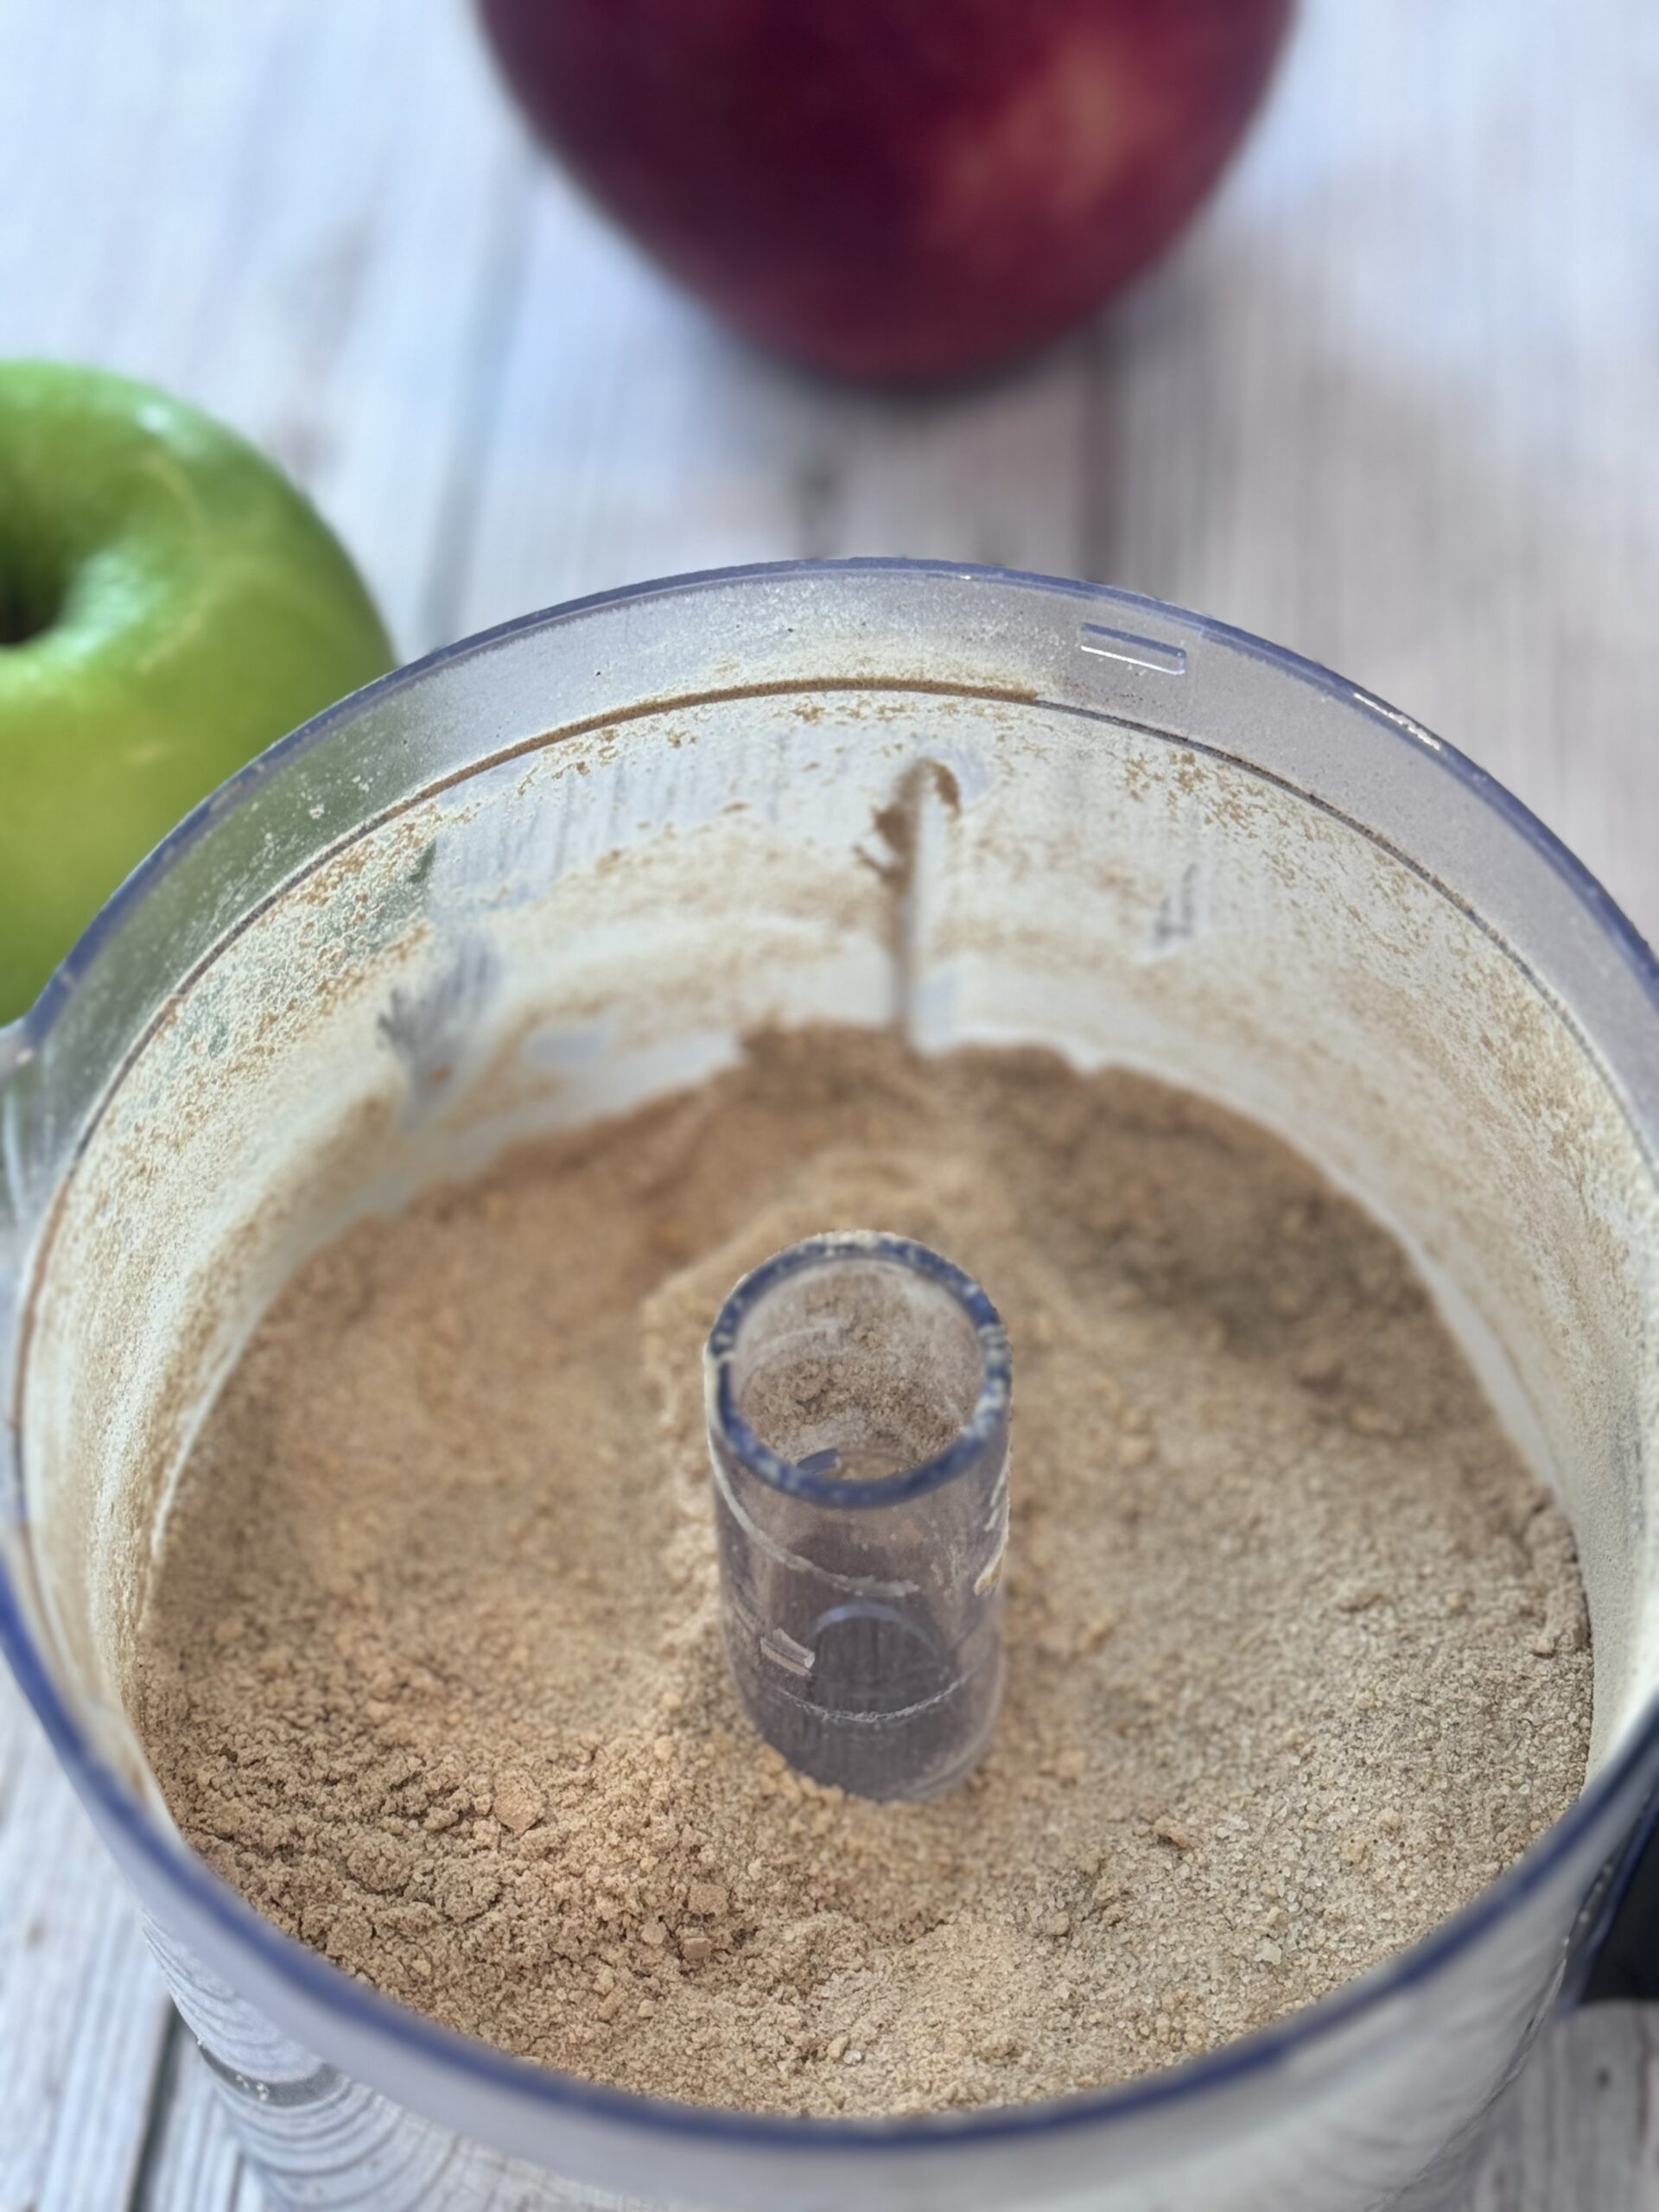
Step 1: Combine freeze-dried apples, sugar, cinnamon, and salt in a bowl of a food processor. Cover with a sheet of plastic to contain the dust, and grind until powdery and fine, about 1 minute. (This mixture will keep for up to a month in an airtight container, at room temperature).
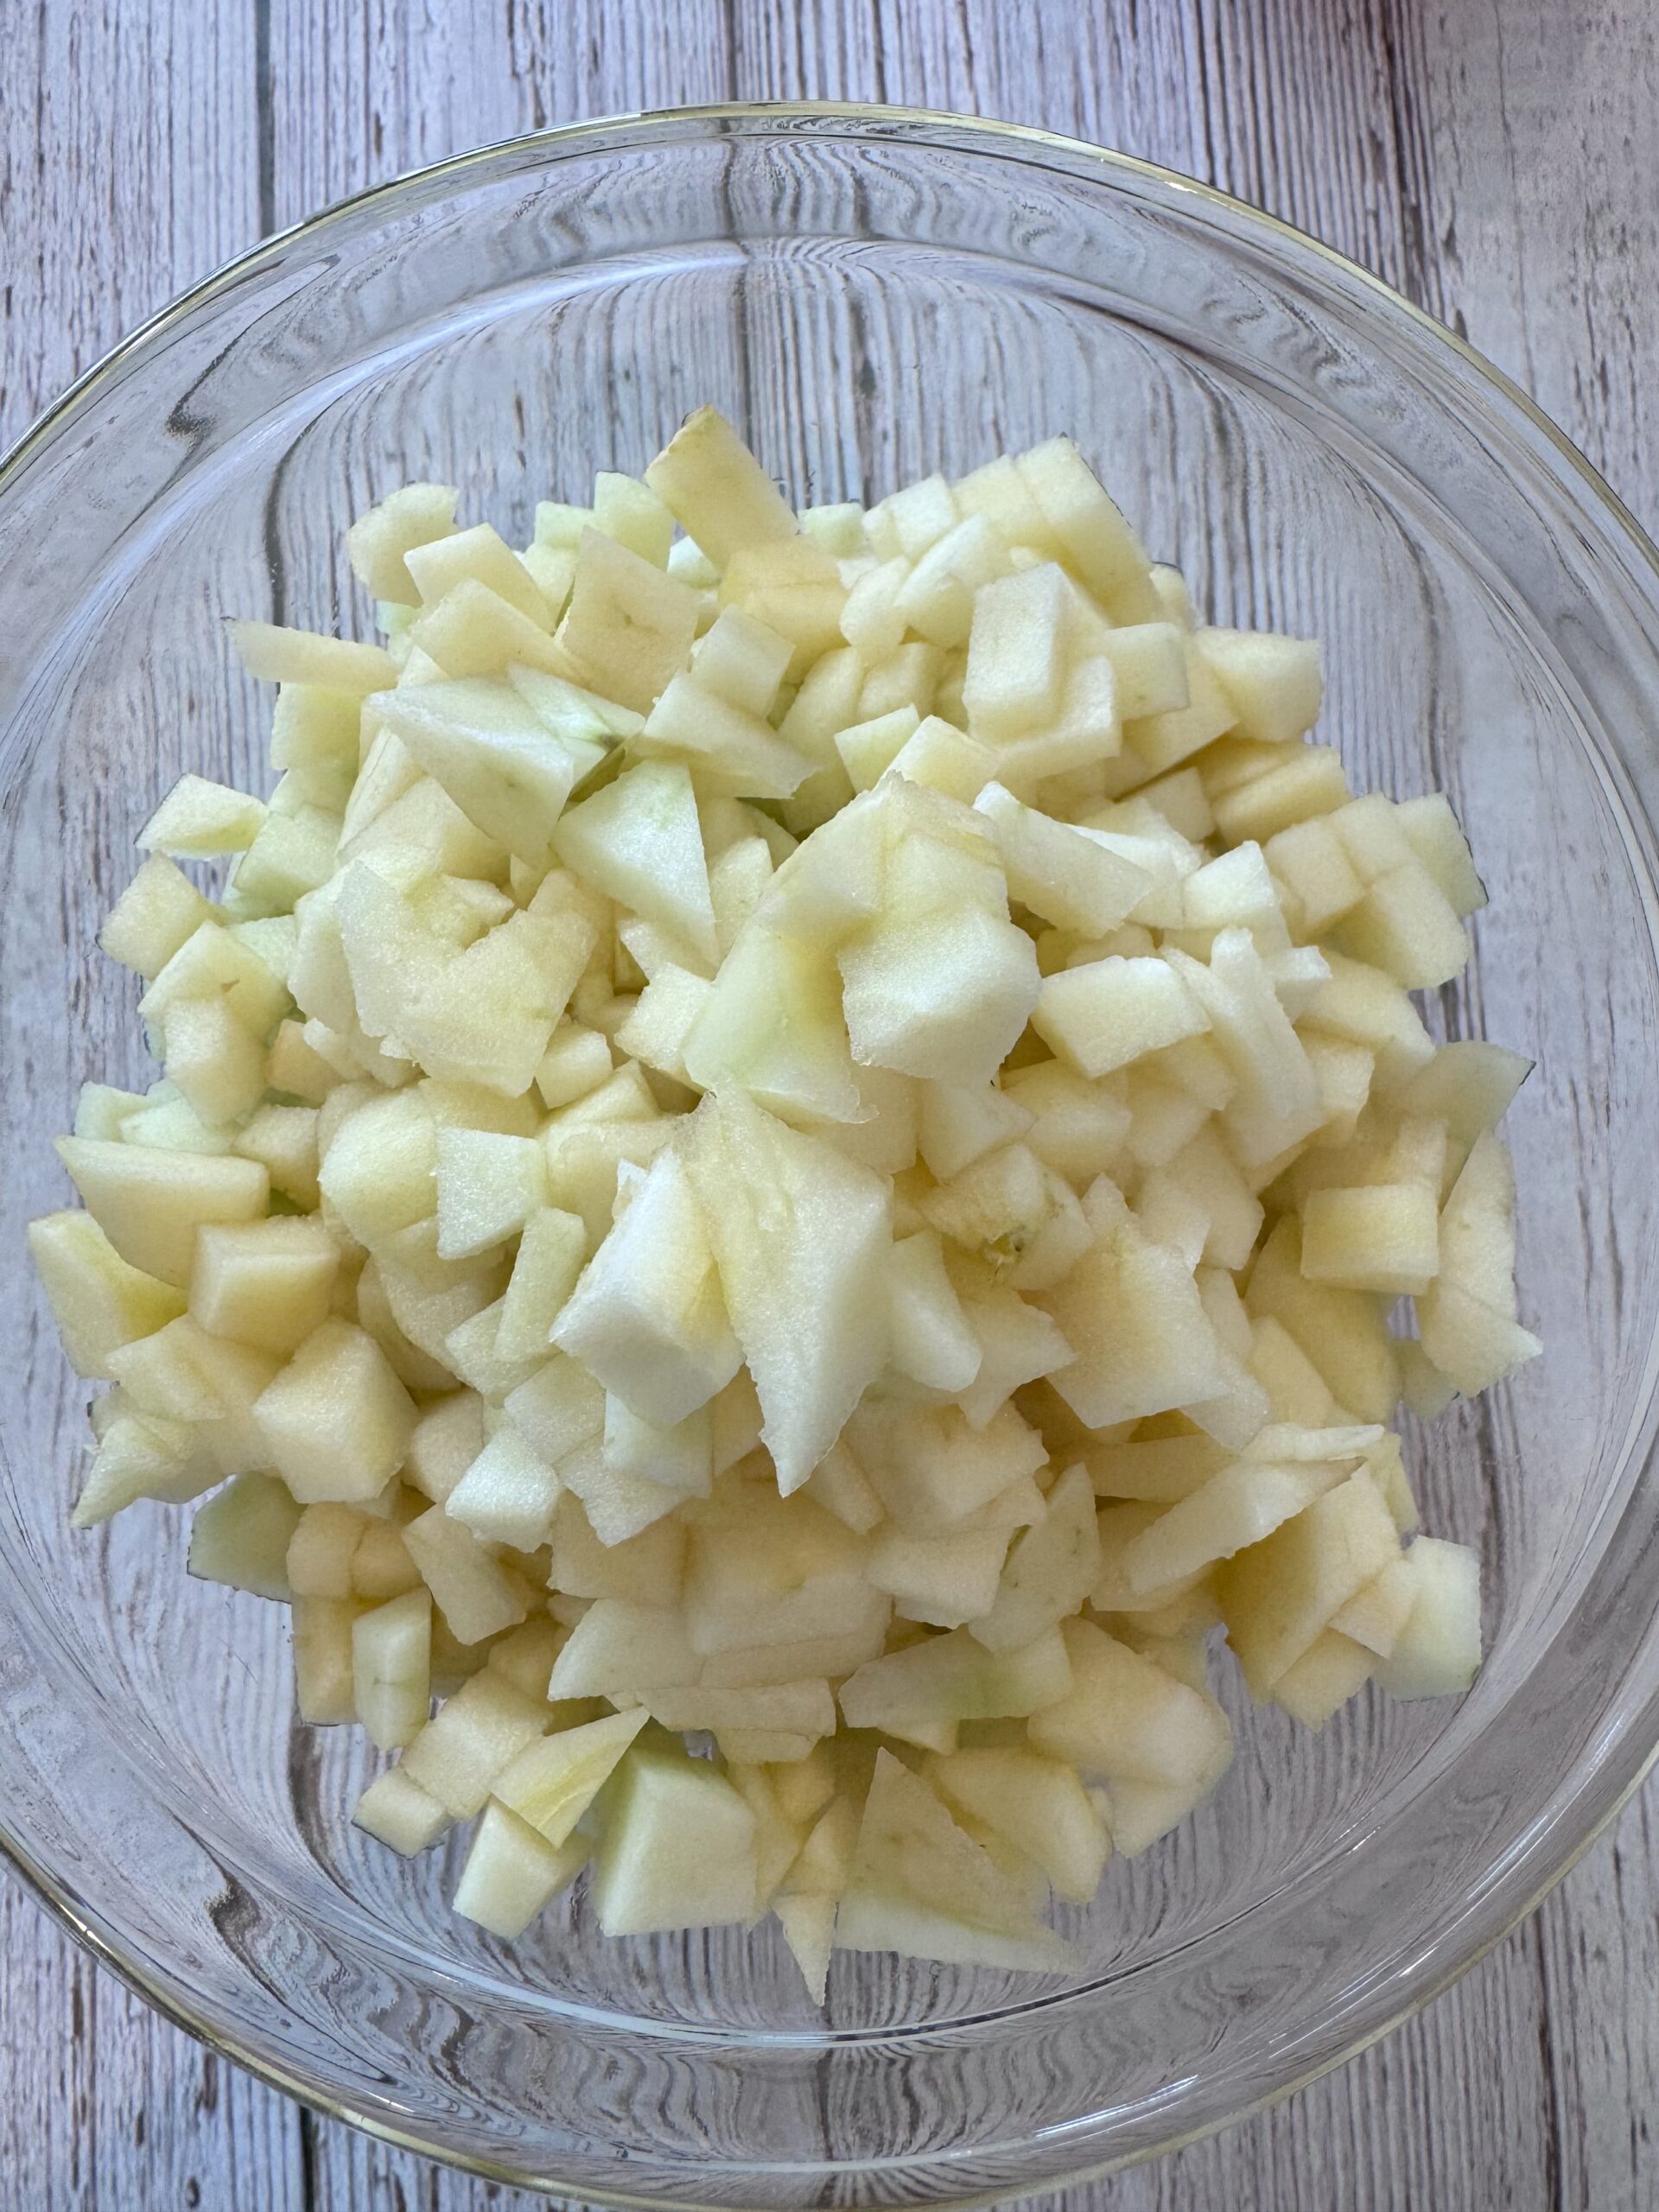
Step 2: Peel, core, and dice the apples into 1/4-inch cubes. Measure exactly 12 ounces (3 level cups) into a large bowl. Even if it’s a small amount, do not add any extra apples to the filling!
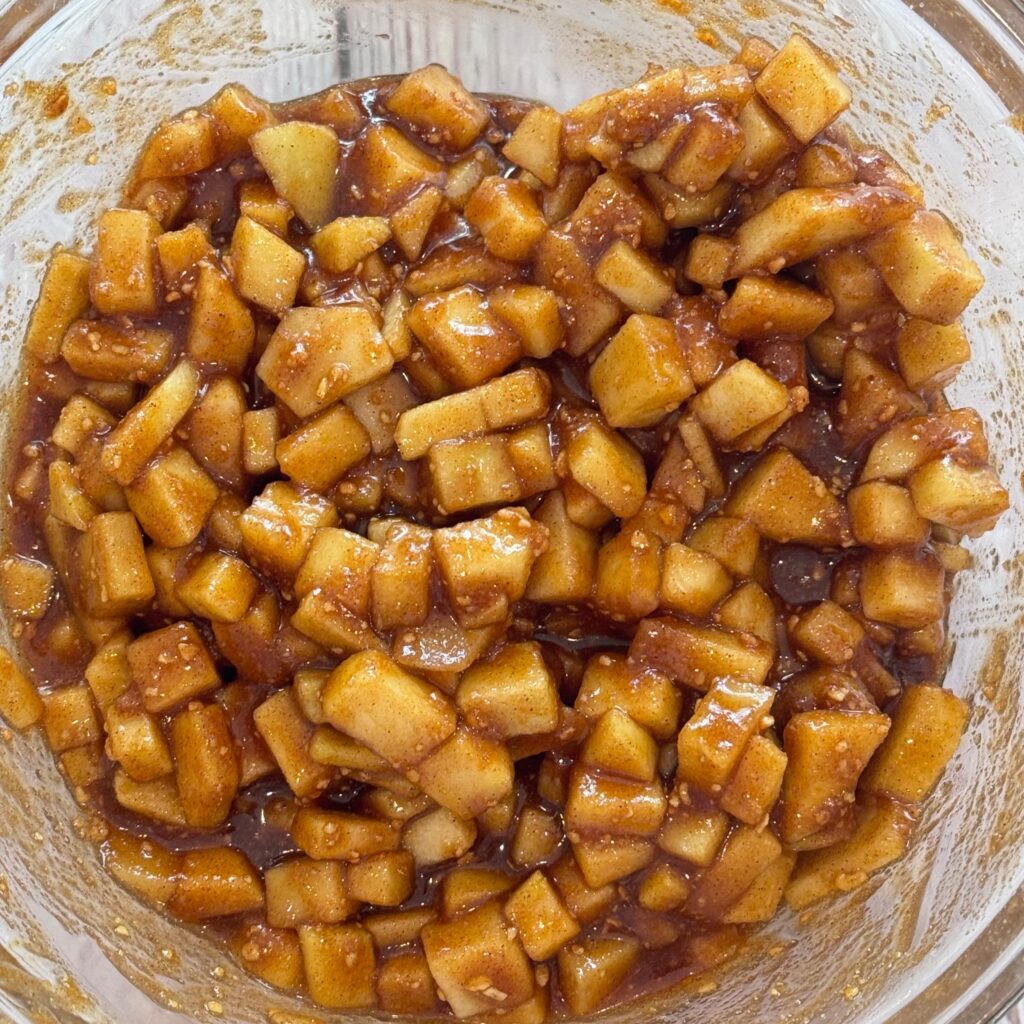
Step 3: Toss apples and apple-cinnamon powder together with a flexible spatula, then add melted butter, molasses, and lemon juice (this can be done in advance).
Step 4: Imagine each portion of dough as an open book: lightly brush the edges of the “right page” with water, then place 2 tablespoons of filling inside that boundary. Close the “book” and crimp the short sides with a fork, leaving the long side open, like a pita pocket. Repeat with the remaining dough.
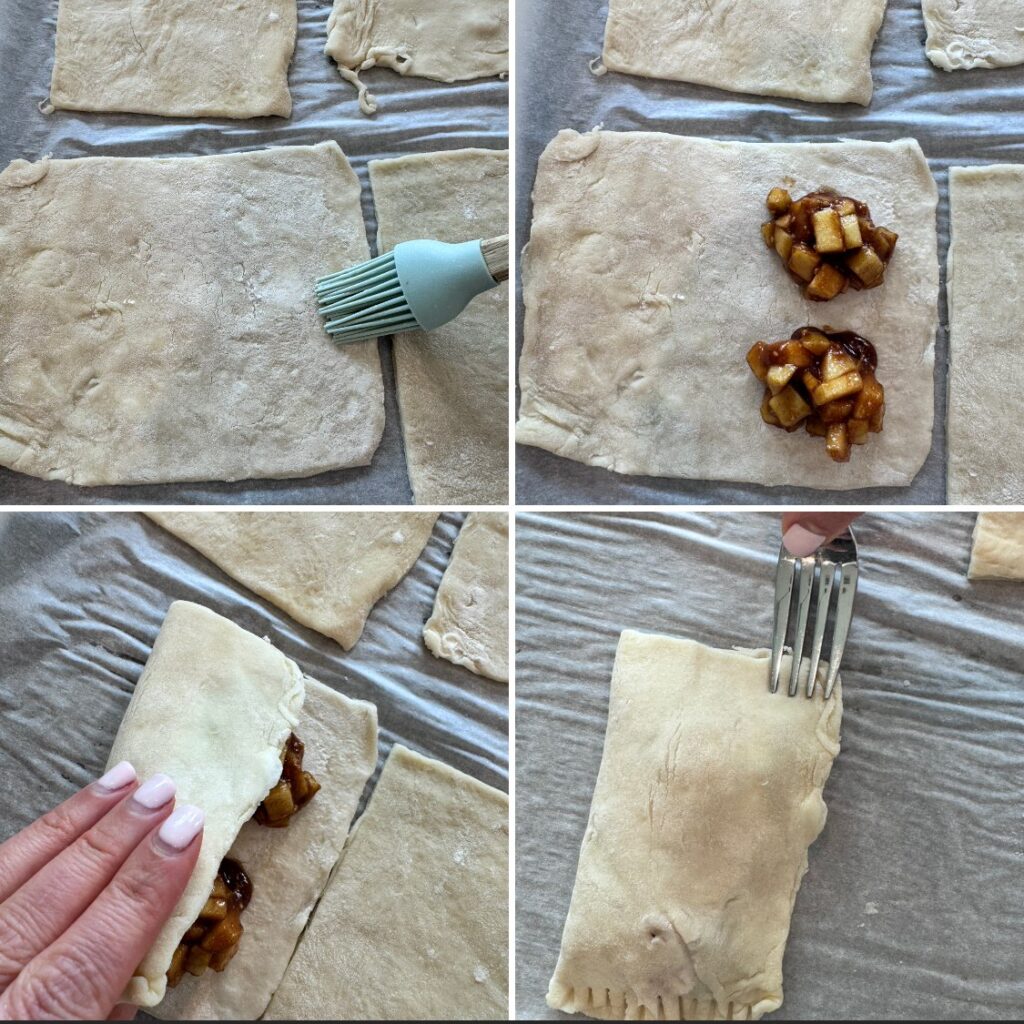
Step 5: To finish, pick up each pastry and spoon in another tablespoon of filling letting gravity help you work it into the corners. Return to the baking sheet and crimp with a fork to seal. Refrigerate pies until firm, about 45 minutes, or up to 4 hours.
Step 6: Adjust the oven racks to the upper and lower middle positions and preheat the oven to 400°F. Mix sugar and cinnamon together in a small bowl.
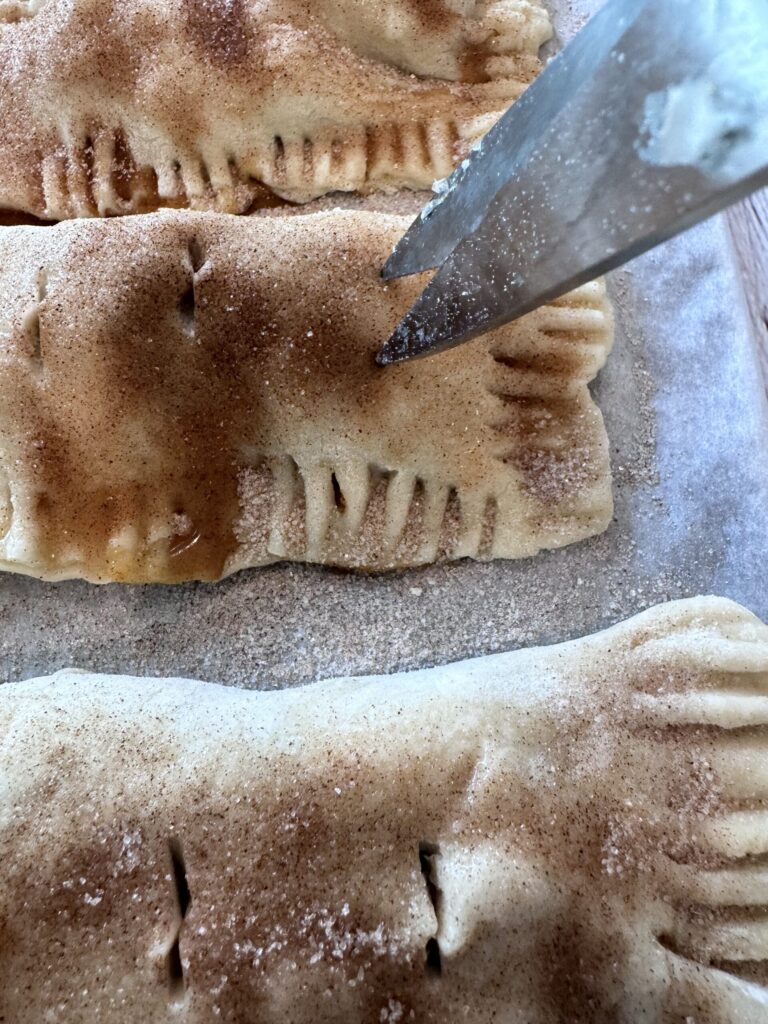
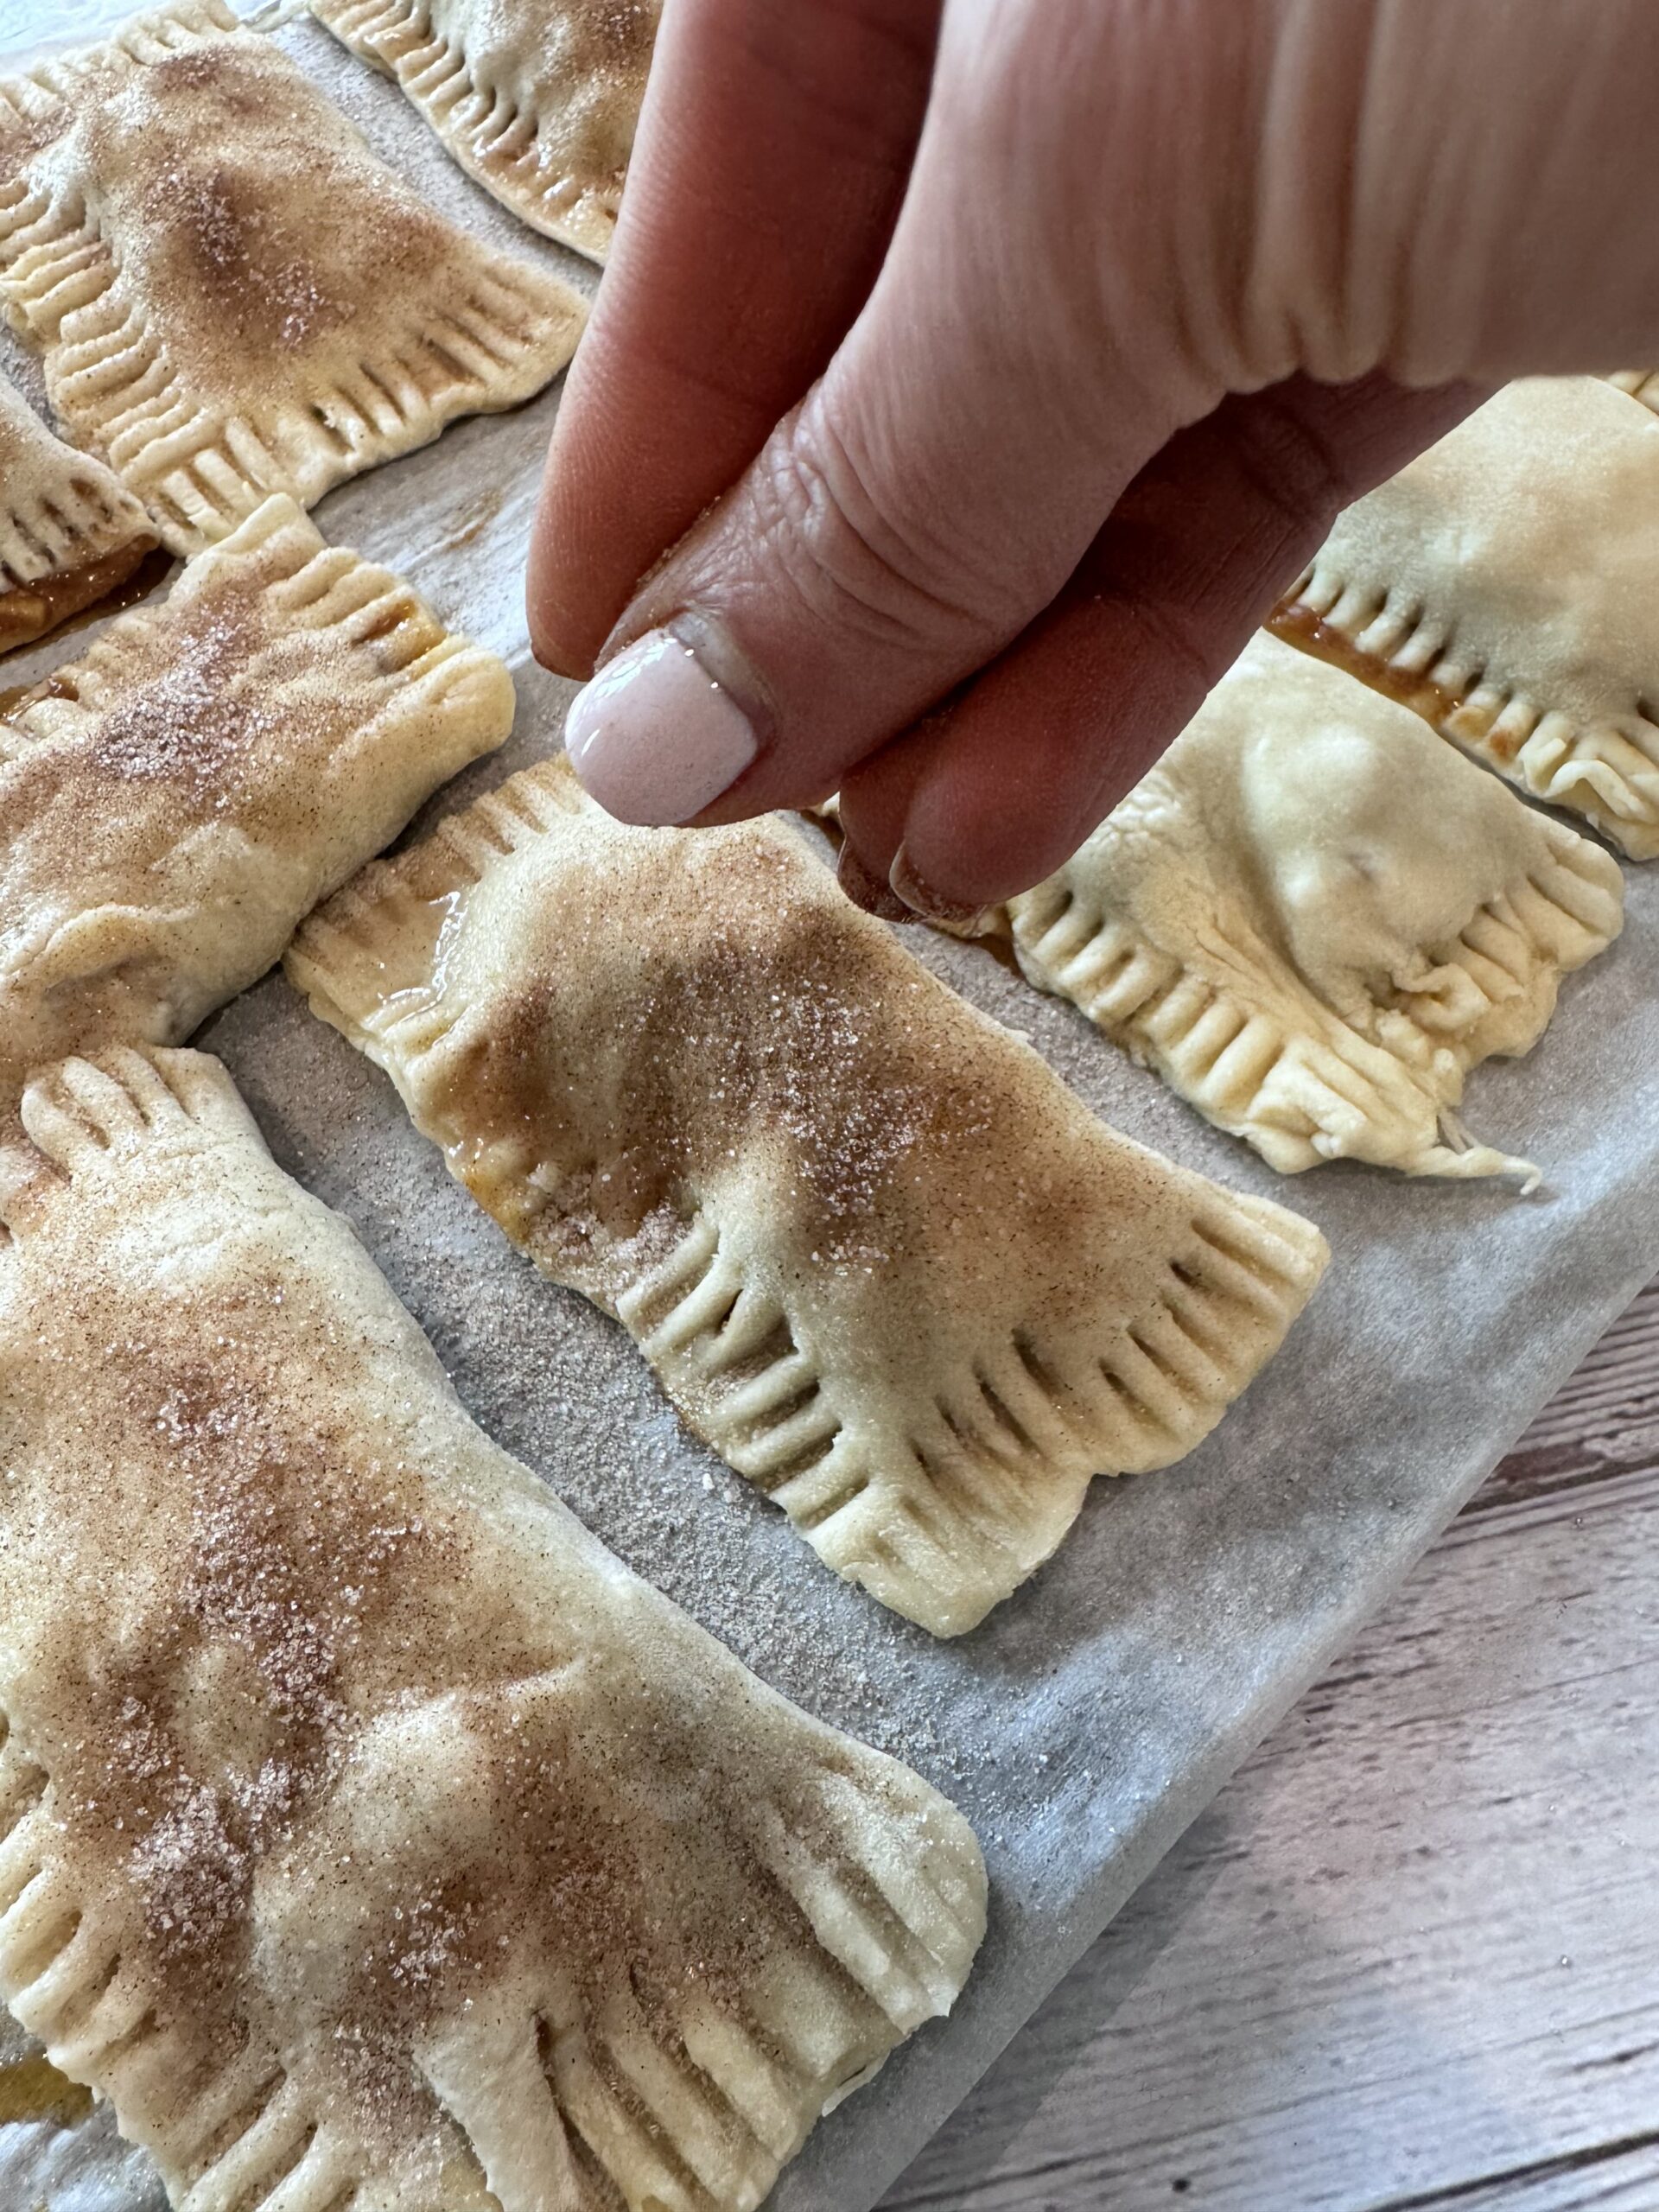
Step 7: Lightly brush turnovers with water and sprinkle generously with cinnamon sugar. Snip a few decorative slits across each with a pair of scissors.
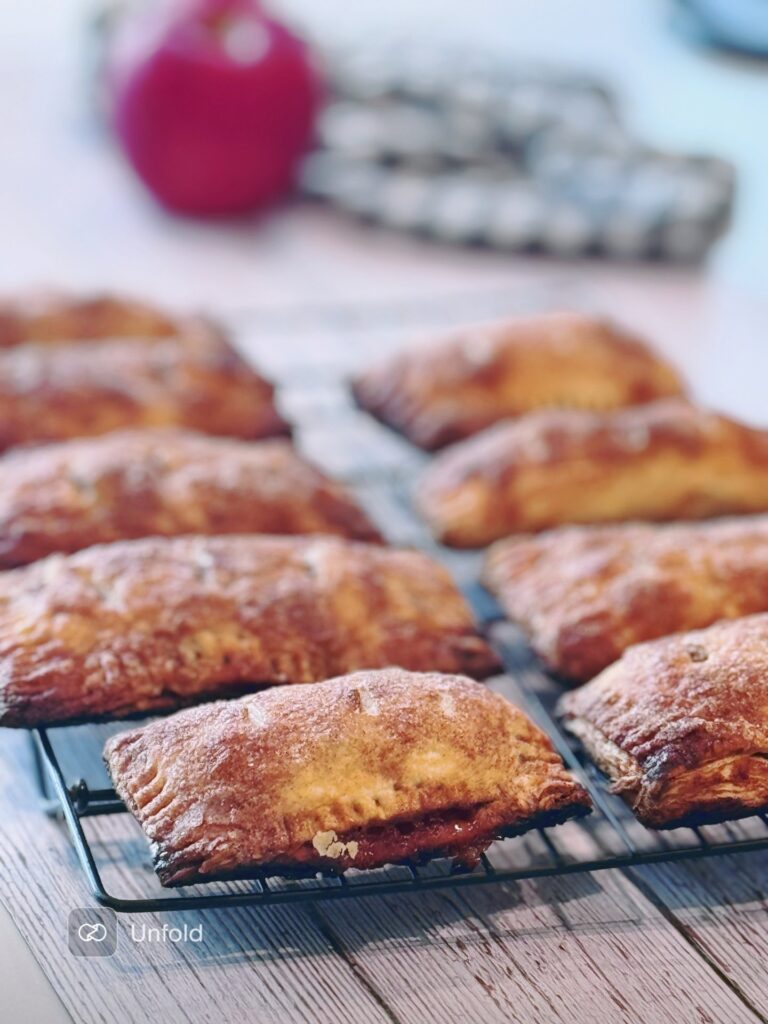
Step 8: Bake until the pies are puffed, crisp, and golden brown, about 30 minutes. Transfer to a wire rack and cool for 10 minutes before serving.
✅ Quick Tips: Read the recipe in its entirety before you start cooking. This will help you understand the ingredients, steps, and timing involved, and allow you to prepare any necessary equipment or ingredients beforehand.

Apple Hand Pies
Ingredients
For the Pie Crust
For the Filling
For the Cinnamon Sugar
Nutritional Value
Nutritional Value
Servings 6
- Amount Per Serving
- Calories 697kcal
- % Daily Value *
- Total Fat 39g60%
- Saturated Fat 24g120%
- Trans Fat 2g
- Cholesterol 101mg34%
- Sodium 897mg38%
- Potassium 349mg10%
- Total Carbohydrate 87g29%
- Dietary Fiber 6g24%
- Sugars 54g
- Protein 5g10%
- Calcium 50 mg
- Iron 3 mg
* Percent Daily Values are based on a 2,000 calorie diet. Your daily value may be higher or lower depending on your calorie needs.


