
Knead Me? Just a Little.
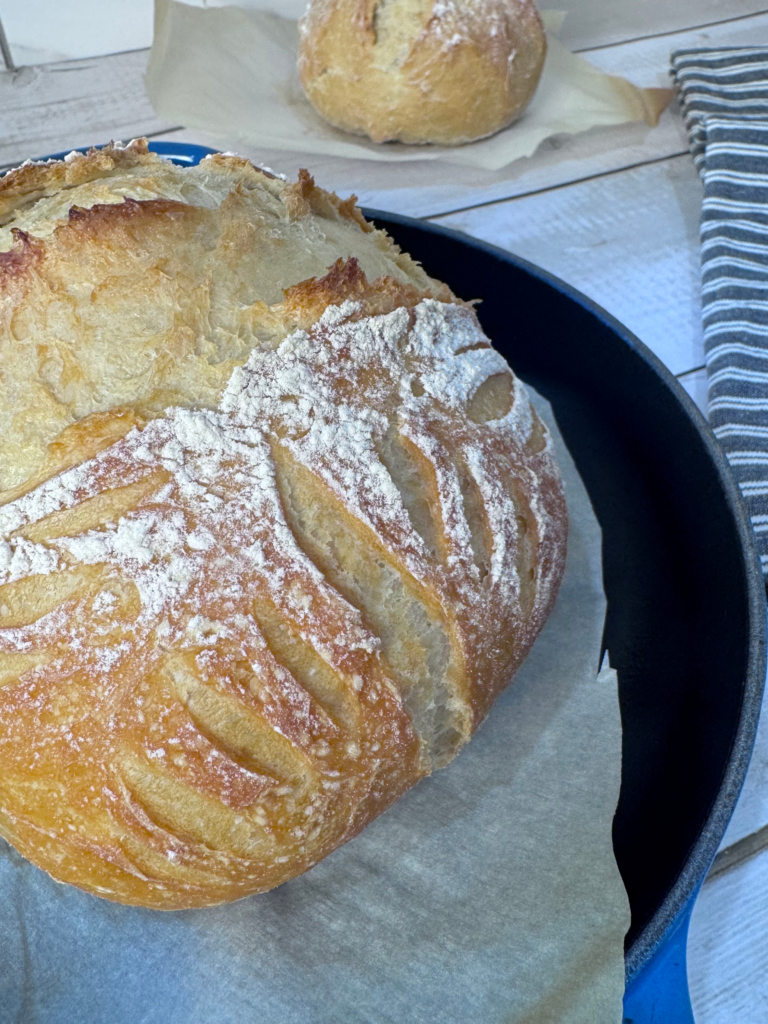
This artisan bread is crusty, chewy, and easy enough for a holiday miracle—even if you’re not a “bread person.” Trust me: this boule is the gift that gets you remembered.
Every Christmas, like clockwork, I turn into the holiday baking version of Oprah—except instead of cars, I hand out homemade cookies, compound butter, and this glorious boule of artisan bread. To the folks who keep me sane and semi-put-together—my mail carrier, FedEx guy, aesthetician, hair stylist, Pilates and yoga instructors—you’re not just getting carbs. You’re getting a gift from the heart.


This isn’t just a loaf of bread. It’s an edible thank-you note. I use the no-fail method from The New Artisan Bread in Five Minutes a Day—and I swear on my Danish dough whisk, even your cousin who burns toast can make this. Once you get the hang of it, you’ll be baking bread like it’s your side hustle.


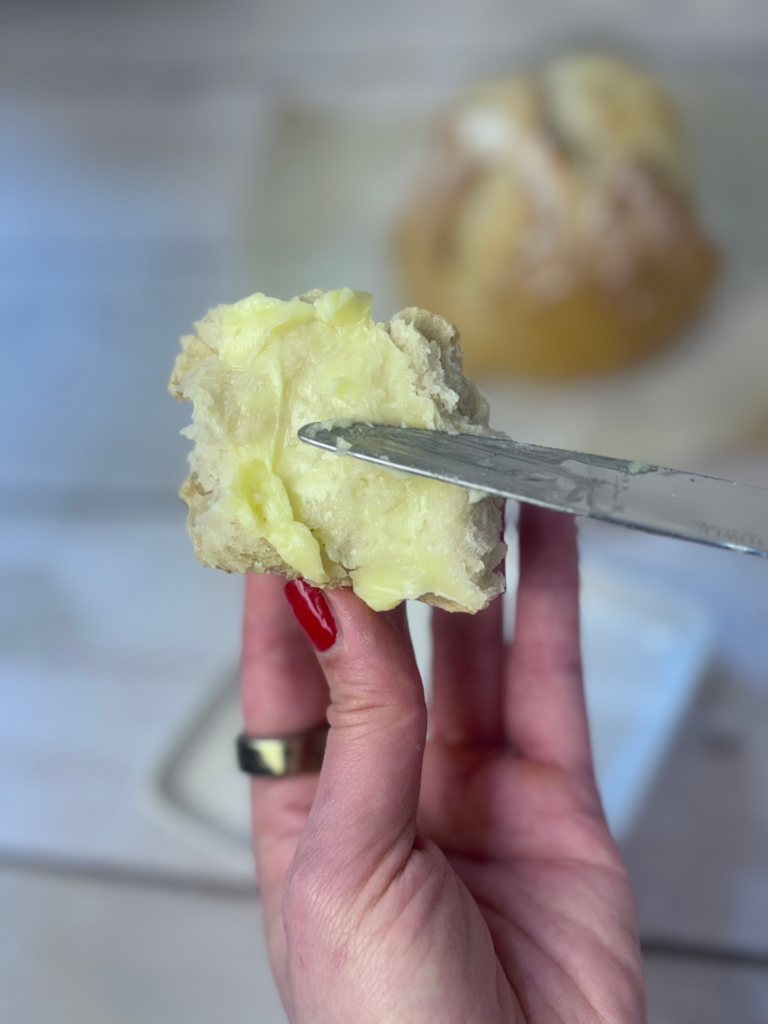
If you really want hero status, pair it with homemade butter (salted, obviously). People will cry. You’ll get packages delivered faster. Probably.
So here’s a reminder to feed the people that feed your soul! Merry Christmas!

Why this Recipe Works
• Beginner-Proof Technique: No kneading, no drama—just mix and rest.
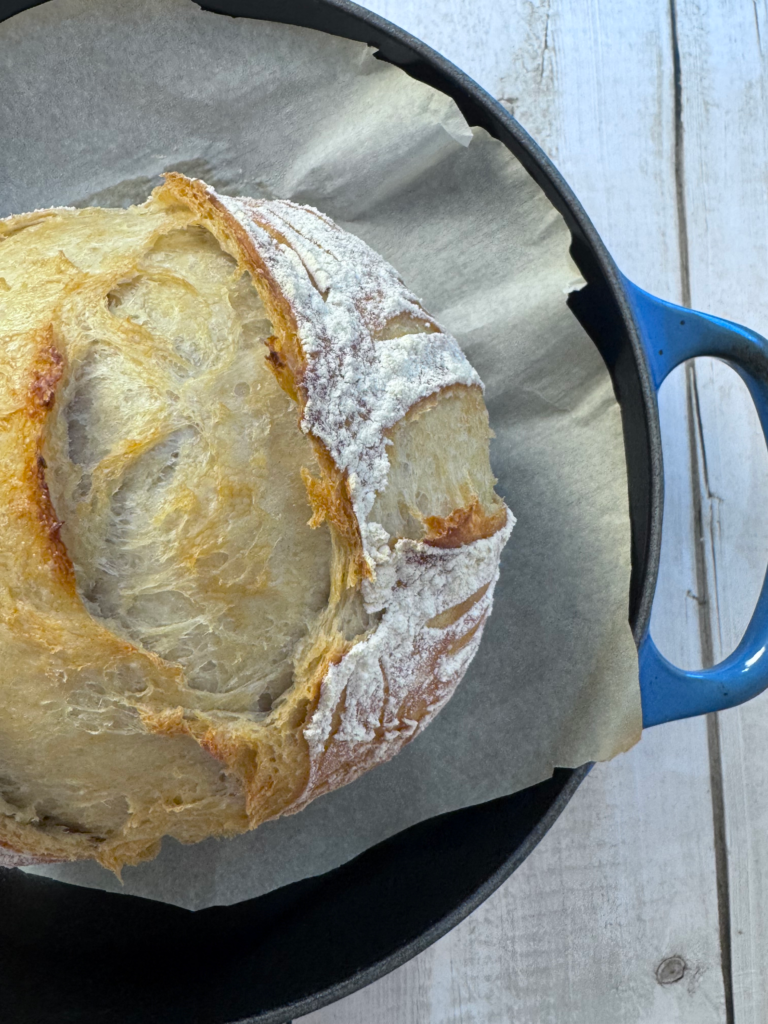
• Holiday-Approved Flavor: Crusty outside, chewy inside, with that rustic artisan look.
• Foolproof Storage: The dough stays good in the fridge for days, so you can bake on demand.
• Impressive Yet Effortless: Looks like you worked all day. You didn’t.
• Gift-Worthy: Add a bow and a pat of butter, and your gift is officially “deliciously thoughtful.”
Tips for Making Easy Artisan Bread
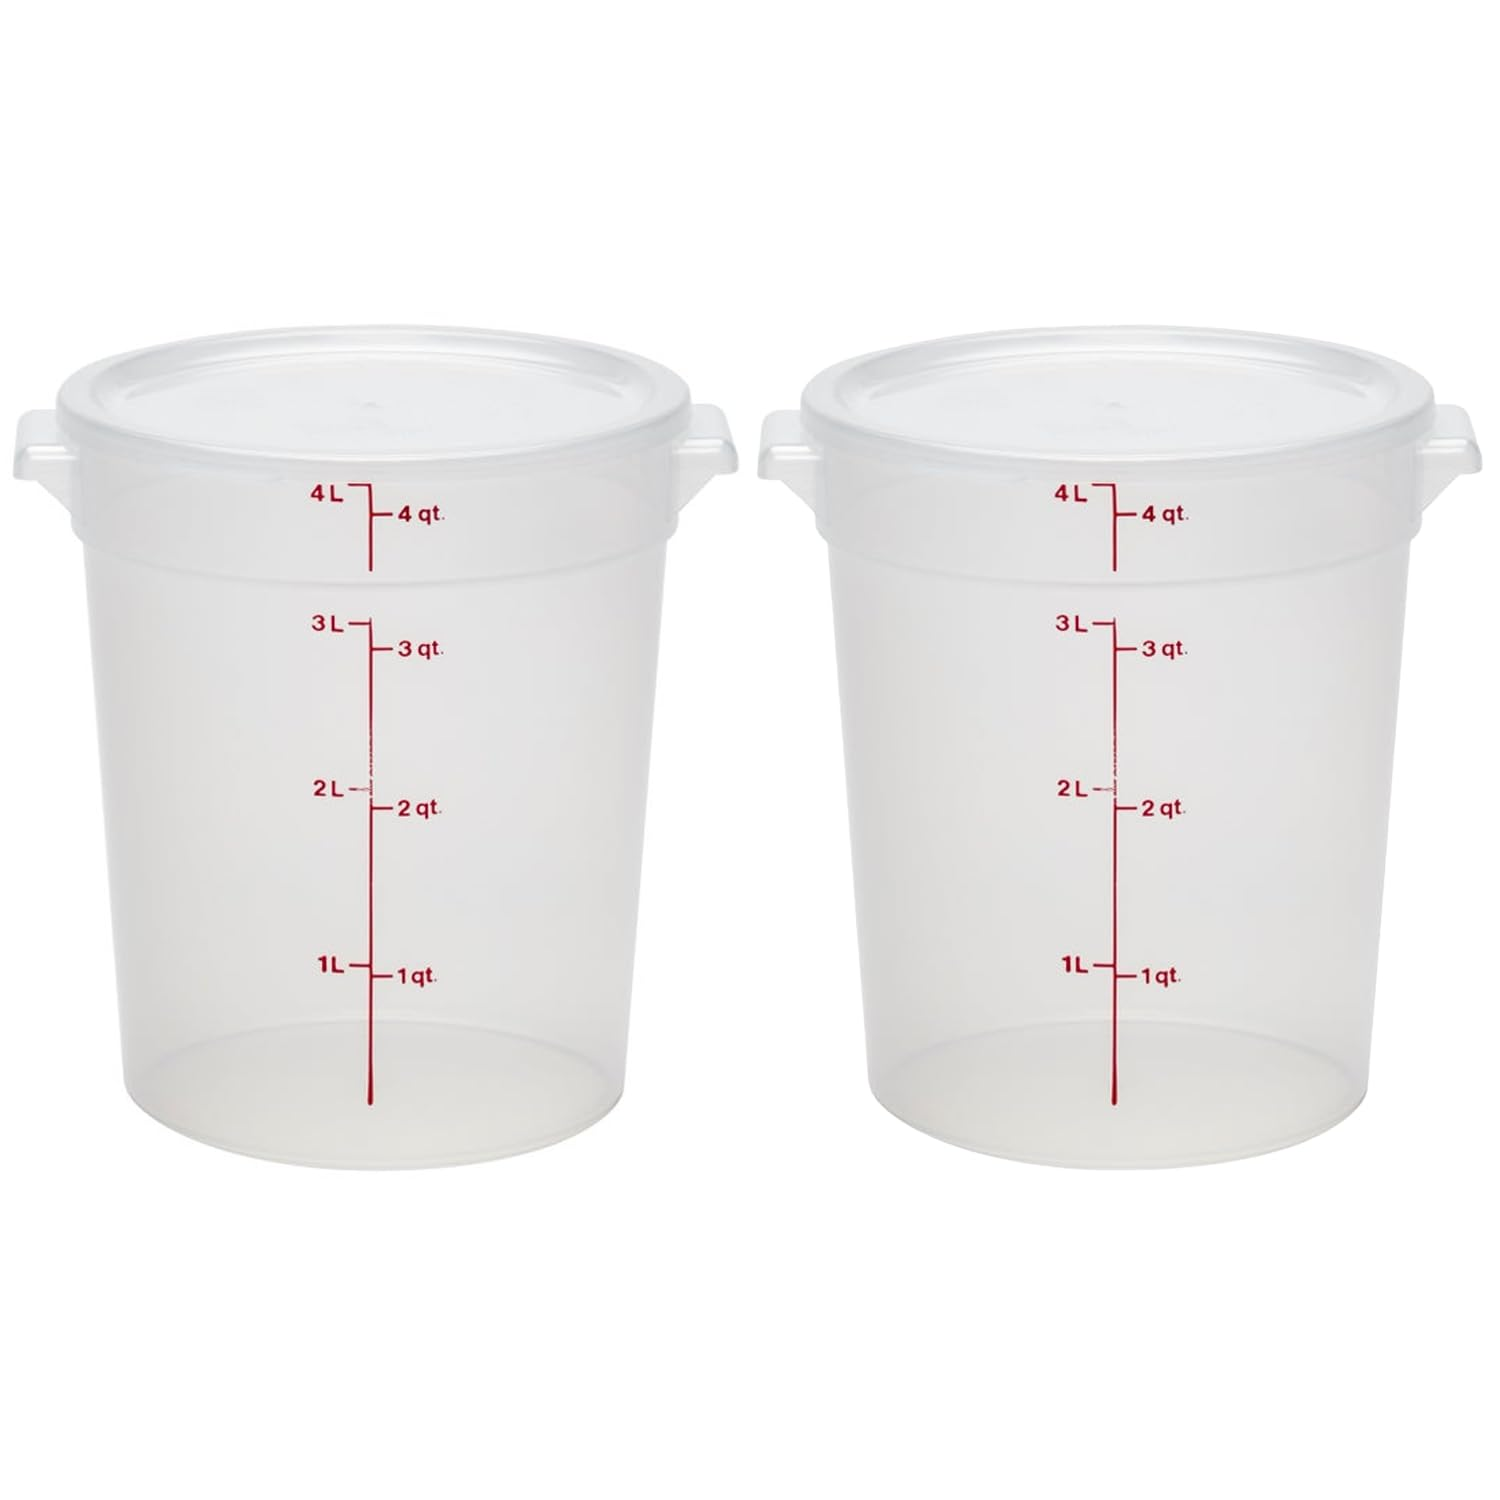
• Use a Bucket: A 6-quart food-grade plastic container (with a loose-fitting lid) is a game-changer.
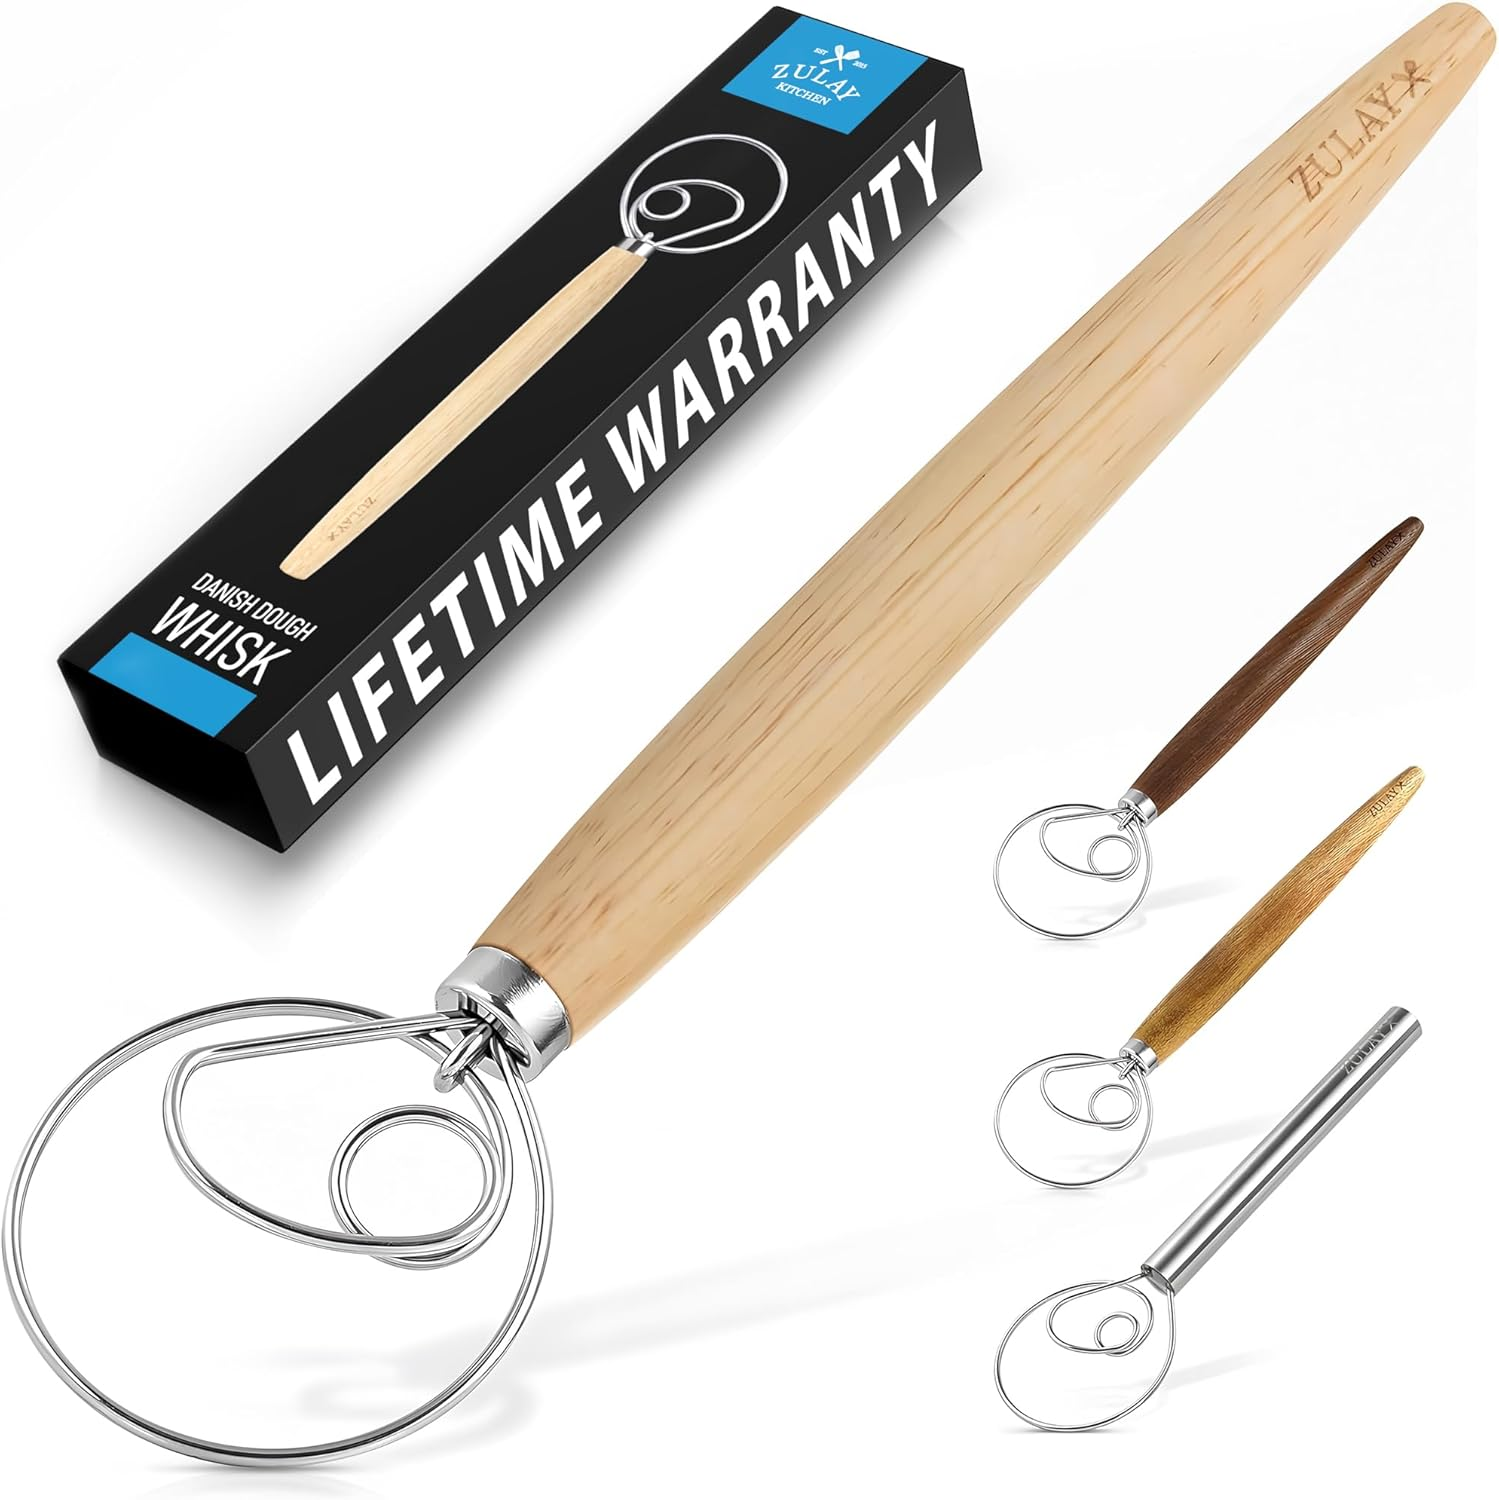
• Danish Dough Whisk: Invest in one. It mixes evenly without overworking the dough.
• Salt Matters: Adjust between 1 to 1.5 tbsp based on the type of salt used.
• Proof in the Dryer: If your kitchen runs cold, proof in the dryer with the light on. Works like a charm.
• Don’t Overwork the Dough: Shape it gently and briefly, or you’ll end up with a dense loaf.
🌱 A Greener Bite of Sustainability
This bread isn’t just delicious—it’s a small act of sustainability. You’re skipping single-use packaging, cutting down on store-bought processed bread, and repurposing kitchen staples you already have. Bonus: it makes food gifts feel more personal and less plastic.

Ingredients & Why They Matter
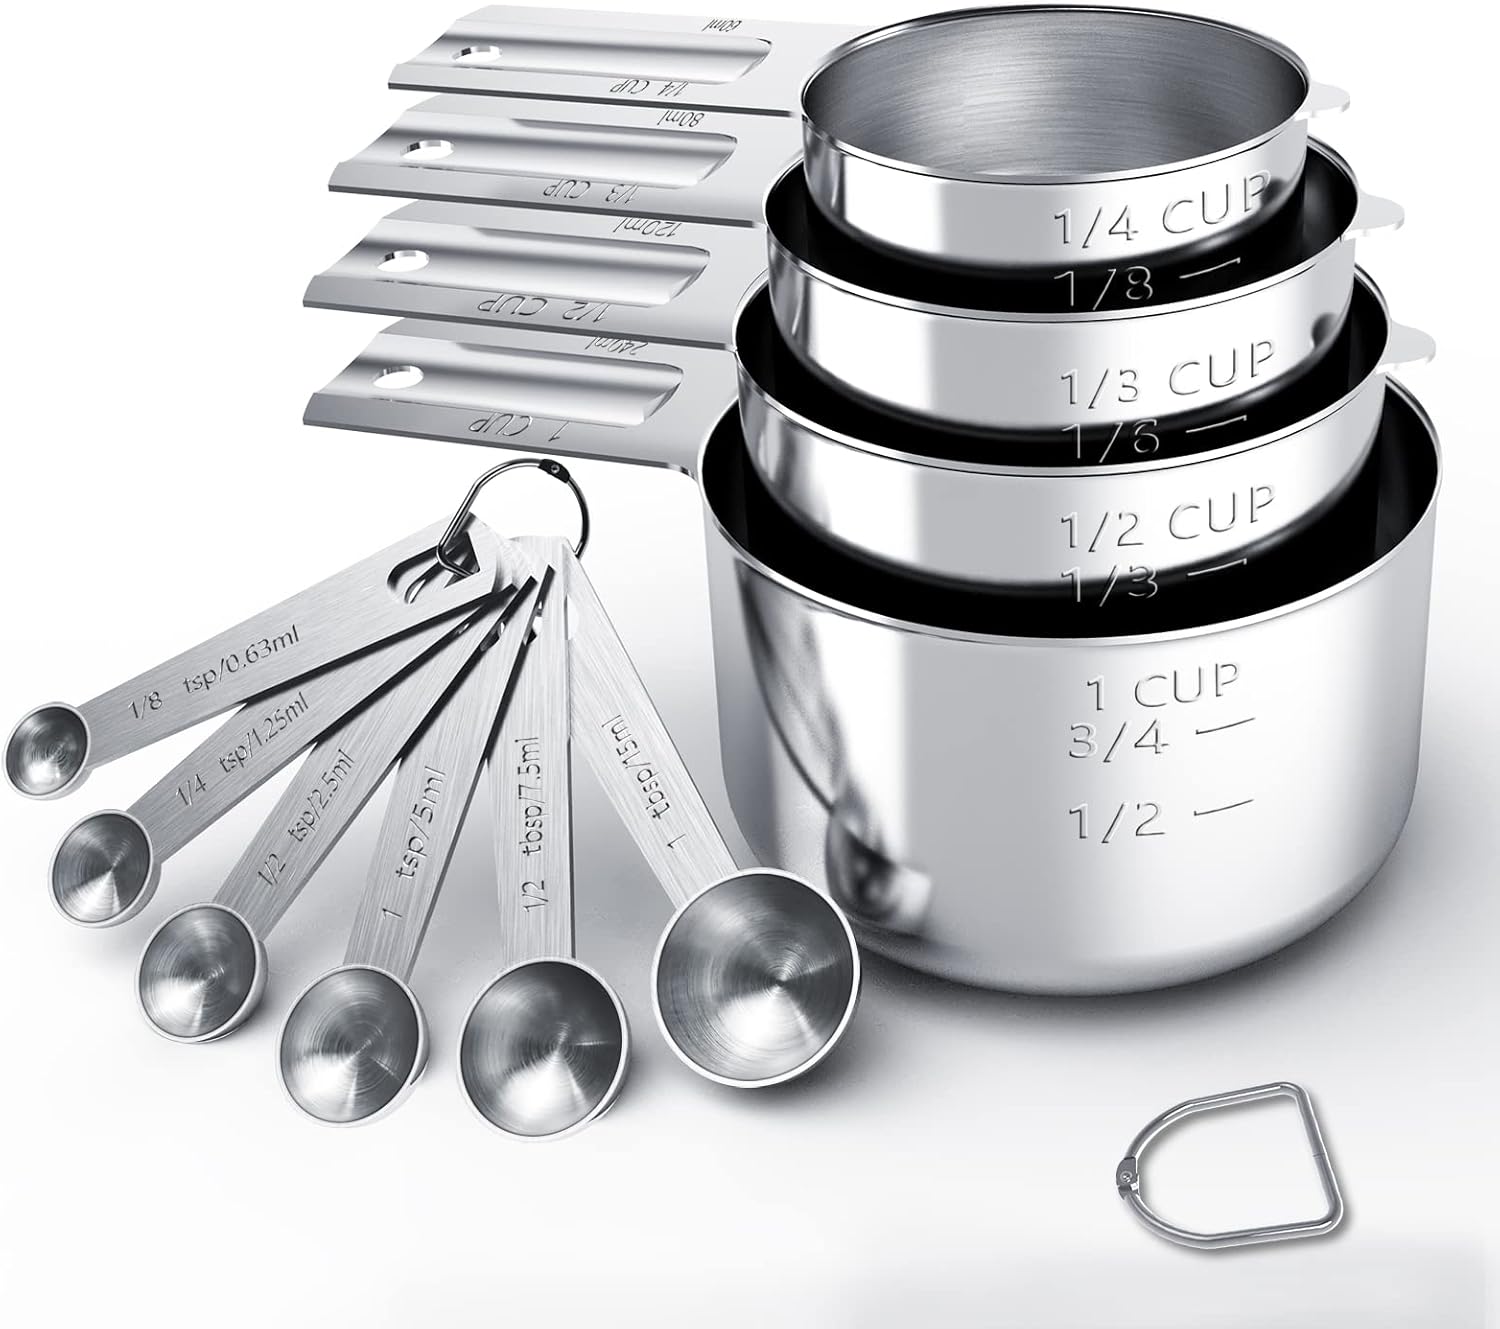
• 3 cups lukewarm water (100°F or below) – The base that activates the yeast. Not too hot!
• 1 tbsp granulated yeast (10g) – Your rise agent. Go fresh.
• 1 to 1½ tbsp kosher salt (17–25g) – Flavor control. Start low, taste, adjust.
• 6½ cups all-purpose flour (910g) – The canvas. Use good-quality AP flour.
How To Make Easy Artisan Bread
This easy artisan bread recipe is foolproof and festive, perfect for holiday gifting with homemade butter. Crusty, chewy, and beginner-friendly!
Mixing and Storing the Dough:
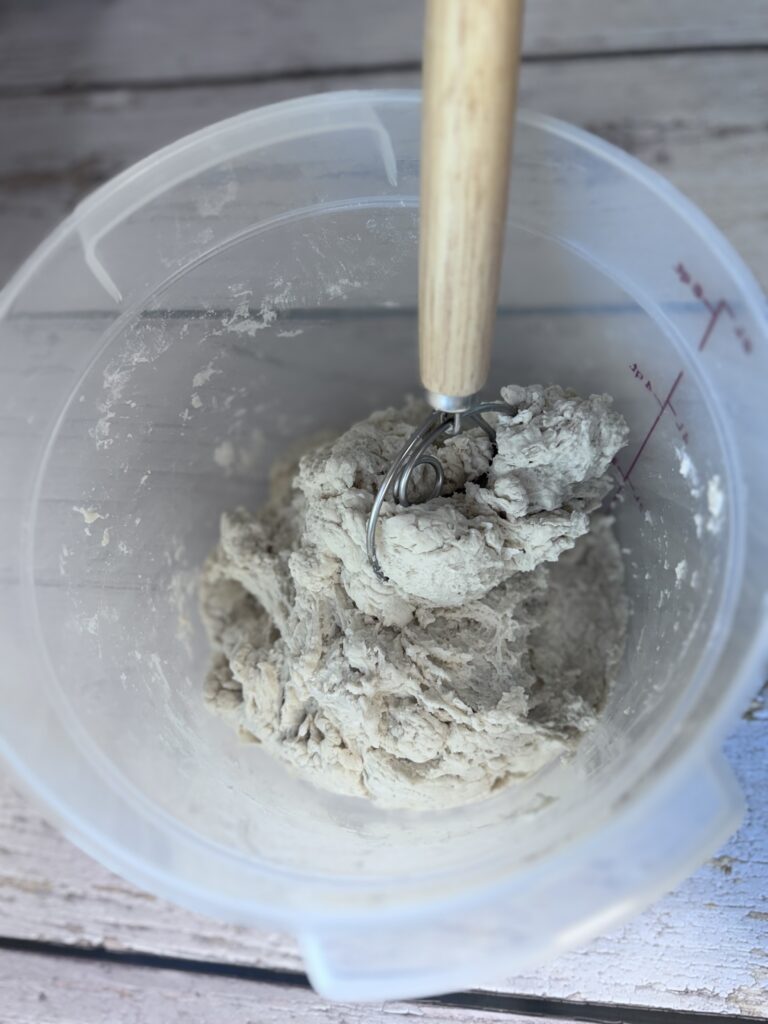
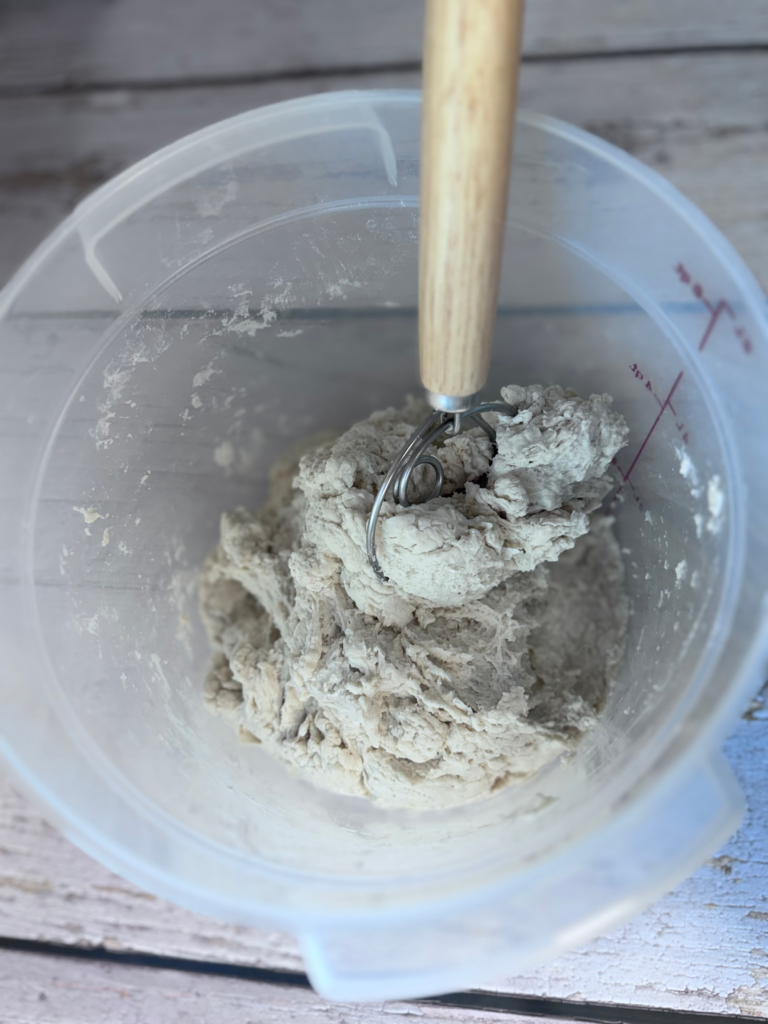
1. In a 6-quart plastic container or large bowl, add lukewarm water and sprinkle in the yeast and salt (no need to dissolve completely). Add the flour all at once. Mix with a wooden spoon or Danish dough whisk until fully combined. No kneading needed! Cover loosely (not airtight) and let rise at room temperature for 2 hours. (I like to proof mine in the dryer—just saying.) Refrigerate the dough for at least 3 hours, or overnight for best results.
📝 Notes
• A Danish dough whisk is stronger than a standard whisk and makes mixing this wet dough much easier.
• Refrigerated dough is easier to handle—don’t be alarmed when it doesn’t rise again in the fridge. That’s totally normal.
• Don’t punch down this dough—you want to retain all that beautiful gas.
• Leftover dough can be refrigerated and used for up to 14 days. Just cut a piece, rest for 40 minutes, and bake.
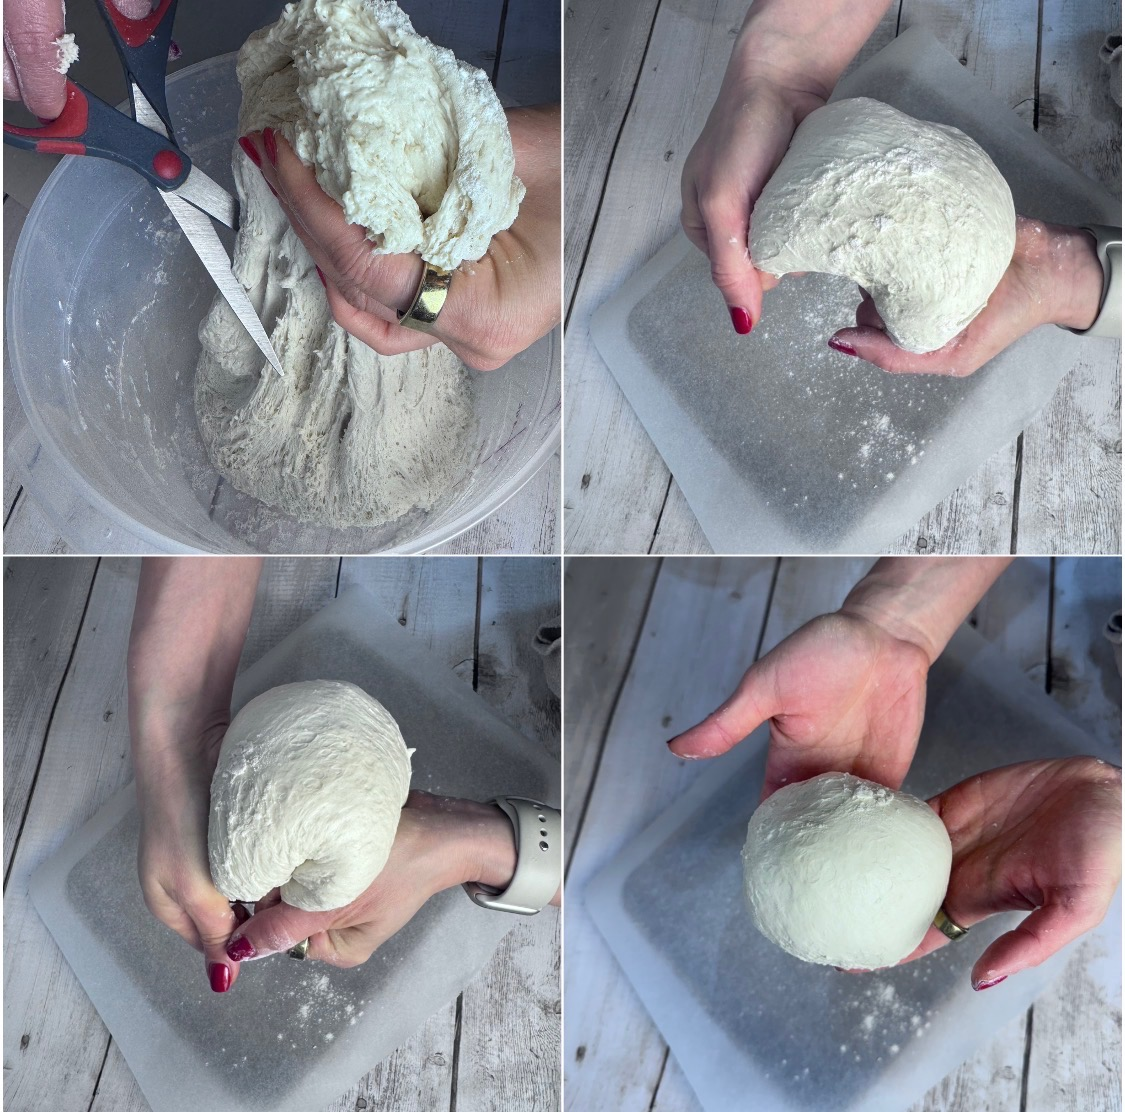
Shaping the Dough:
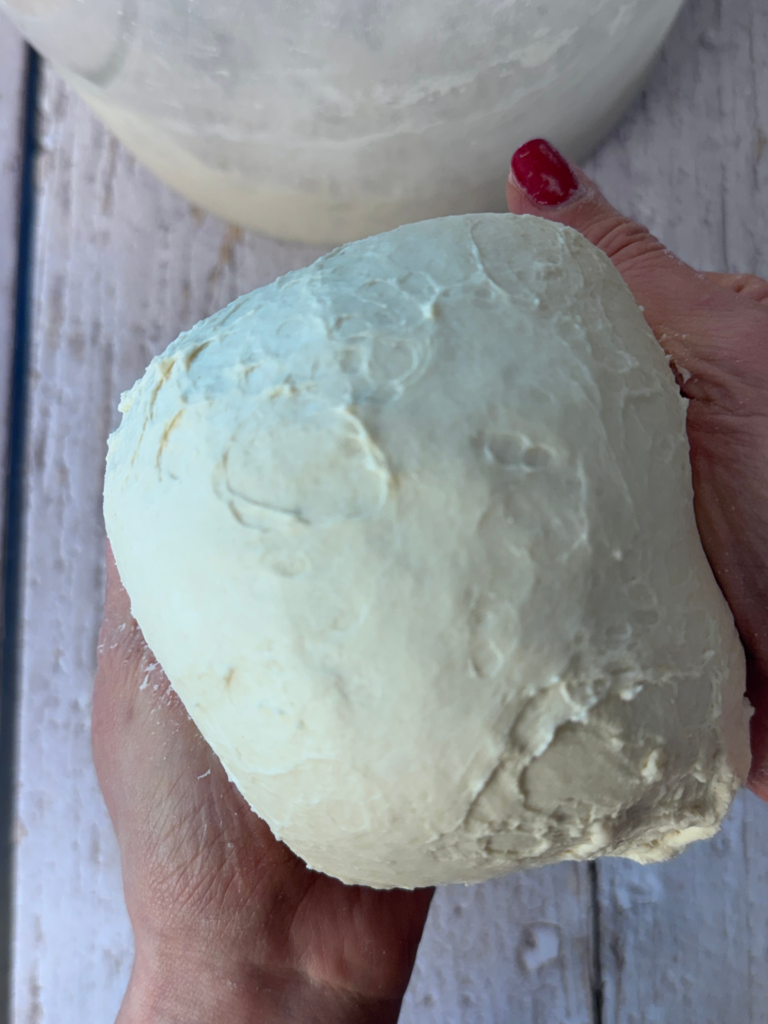
Dust the surface of the dough with flour. Using kitchen shears or a serrated knife, cut a grapefruit-sized piece (about 1 lb). Gently stretch the dough edges toward the bottom, rotating and forming a round boule. This should take less than a minute.
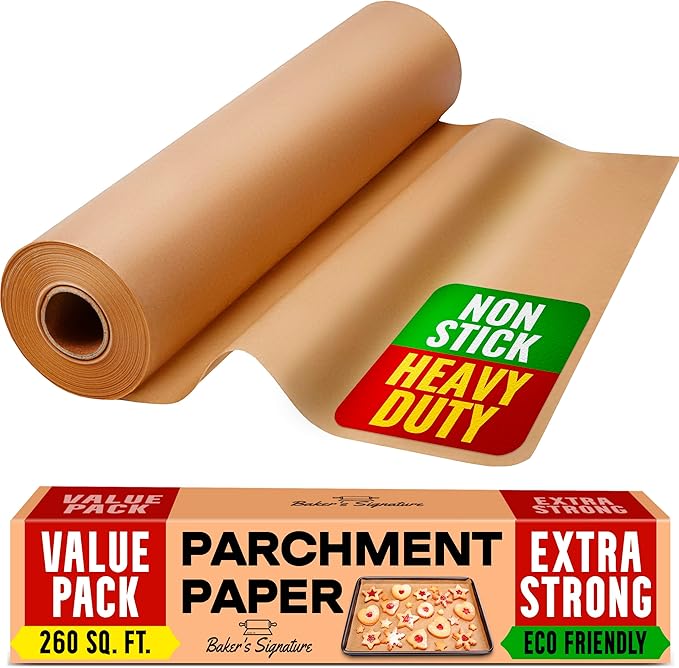
Place it on a parchment-lined baking sheet or pizza peel and let it rest for 40 minutes, uncovered.

Baking the Bread:
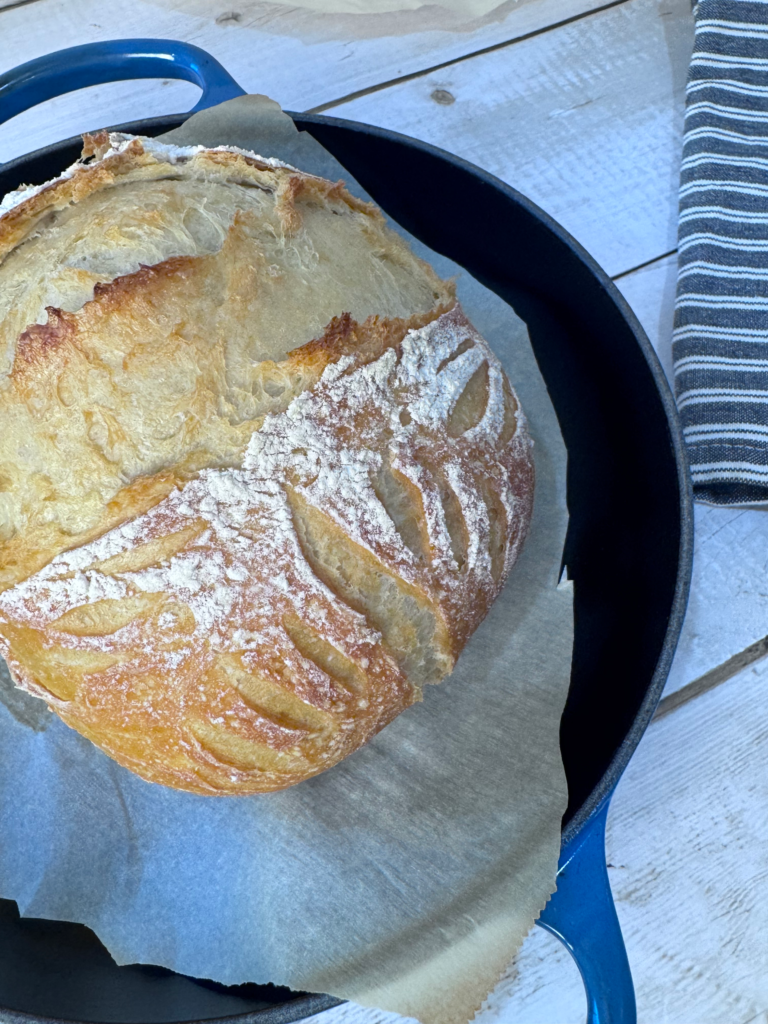
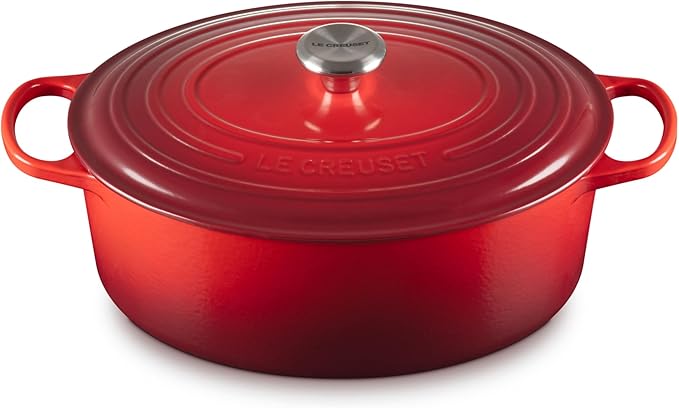
Preheat your oven to 450°F. Place a Dutch oven (with lid) in the oven to heat for 20–30 minutes. Right before baking, dust the top of the dough with flour and score it using a sharp knife or lame. Carefully place the dough (with parchment) inside the Dutch oven. Cover and bake for 30–35 minutes, or until the crust is golden brown and firm.

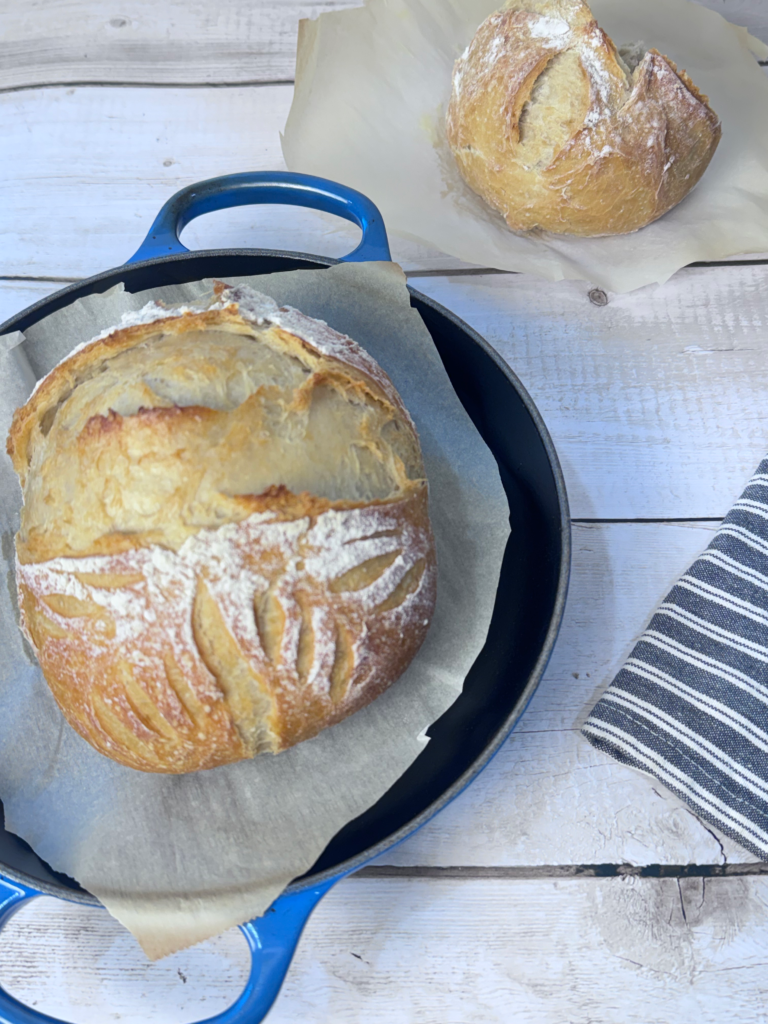
Crust Me, You’ll Be the Favorite
Whether you’re gifting it to someone who deserves a little joy or baking it for yourself as a small act of self-love—this boule is golden, literally. Just remember to stash a slice for yourself before it disappears.
Tell me—who would you gift this loaf to this season? Let’s give the gift of carbs this holiday season!

Easy Artisan Bread
Description
This easy artisan bread recipe is foolproof and festive, perfect for holiday gifting with homemade butter. Crusty, chewy, and beginner-friendly!
Ingredients
How To Easy Artisan Bread
-
Mixing and Storing the Dough
Add the warm water to a 6-quart or preferably, in a lidded (not airtight) food-grade plastic bucket. Don't worry about getting it all dissolve. Mix in the flour---kneading is unnecessary. Using a wooden spoon or a Danish dough whisk (see notes) , mix until the mixture is uniform. Don't knead! It isn't necessary. You're finished when everything is uniformly moist, without dry patches. You will complete this in a matter of minutes. Cover with a lid that fits well to the container but can be cracked open so it's not completely airtight. If using a bowl, cover it loosely with plastic wrap. Allow to rise at room temperature for 2 hours ( I like to proof mines in the dryer)
After letting it rise for 2 hours, refrigerate overnight. If baking same day, a portion of the dough can be used after the 2 hours rise (see notes)
3 cups water, 1 tbs granulated yeast, 1- 1 1/2 tbs kosher salt, 6 1/2 cups all-purpose flour -
Shape the Dough
Dust the surface of the dough with flour. Pull up and cut off 1 pound (grapefruit size) piece of dough using a serrated knife or kitchen shears. Gently stretch the surface of the dough around to the bottom on all four sides, rotating the ball a quarter turn as you go. The dough bottom will appear bunched up but that's ok. This entire process should take no more than 20 to 40 seconds--don't work the dough longer or it may be dense. Place the dough on a parchment lined baking sheet and rest for 40 minutes, uncovered.
Preheat oven to 450°. Place a Dutch oven with the lid in the center of the oven and leave for 20 to 30 minutes.
-
Bake
Dust the top of the loaf liberally with flour, and make a 1/2 inch deep slash cross, scallop, or tic-tac-to pattern using a serrated knife. Carefully remove the hot Dutch oven from the oven and place the dough with the parchment paper inside the Dutch oven. Close the lid and bake for 30 to 35 minutes, or until the crus is richly browned and firm to touch.


Equipment
-
Danish Dough Whisk
-
Food Grade Container with Lid
-
Food Scale

Affiliate Disclosure: This post contains Amazon affiliate links, i.e., when you buy any product using the links below, we get commissions. but it doesn’t cost you anything extra. If you do purchase any product using the given links, we thank you in advance!
Nutritional Value
Nutritional Value
Servings 12
Serving Size 1
- Amount Per Serving
- Calories 148kcal
- % Daily Value *
- Total Fat 0.5g1%
- Sodium 375mg16%
- Potassium 45mg2%
- Total Carbohydrate 30g10%
- Dietary Fiber 1g4%
- Protein 2g4%
- Calcium 8 mg
- Iron 1.6 mg
* Percent Daily Values are based on a 2,000 calorie diet. Your daily value may be higher or lower depending on your calorie needs.
Note
- Amount of Salt will vary depending on type of salt used
- Table Salt: 2 teaspoons
- Morton Kosher Salt: 1 tablespoon
- Diamond Kosher Salt: 1 tablespoon plus 1 teaspoon
- A Danish dough whisk is a great alternative to a wooden spoon. It's much stouter than a flimsy egg-beating whisk, and it incorporates the wet and dry ingredients in no time.
- Fully refrigerated wet dough is less sticky and is easier to work with than dough at room temperature, so the first time you try this method, it's best to refrigerate the dough overnight (or for at least 3 hours). Once refrigerated, the dough will shrink back and it will not rise again in the bucket---that's normal. Do not punch down this dough as you are trying to retain as much gas in the dough as possible with this method.
- Store the remaining dough in the refrigerator in your lidded or loosely plastic-wrapped container and use it over the next 14 days. Just cut off a piece, shape, let it rest for 40 minutes, and bake.


