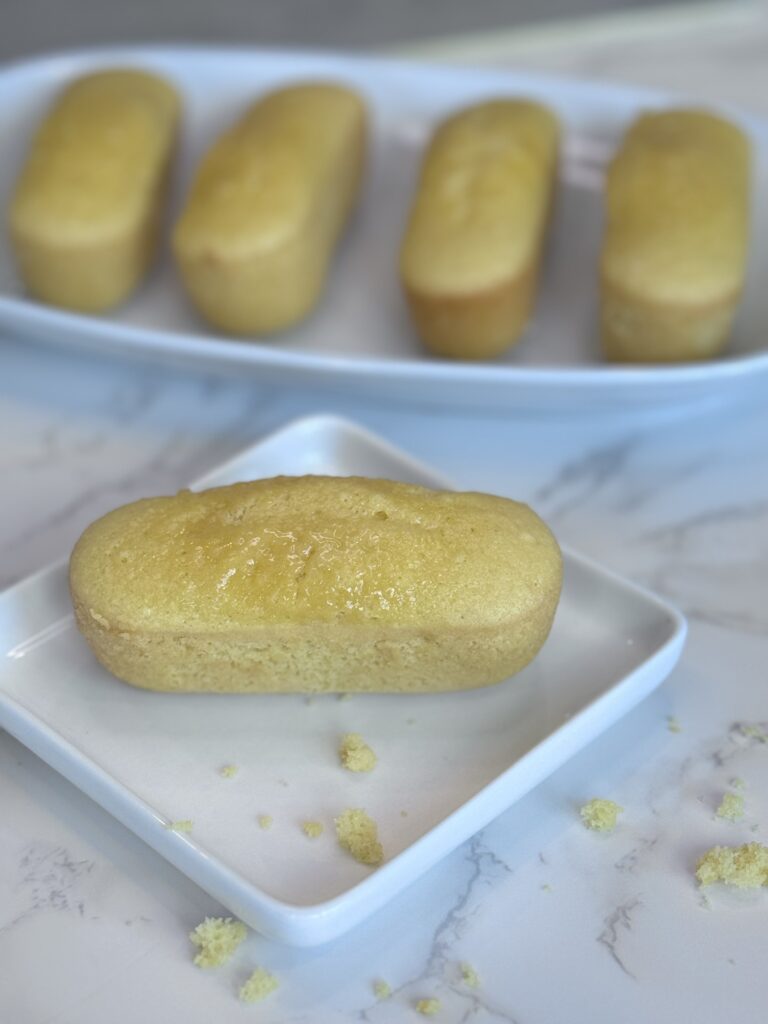
There’s nothing like biting into a Twinkie….nothing. But how about Homemade Twinkies that’s easy and delicious, and do I daresay, healthier? Who doesn’t love a spongey cake with a sweet cream filling? This “junk food” has held a special place in America’s history, remaining an all-time favorite. In fact, it’s so ingrained into society that former President Bill Clinton once put one in a time capsule to represent our way of life. From lunch boxes to urban legends and criminal defenses, Twinkies have become much more than just a snack cake.
And who could forget the “Twinkie Scare” of 2012 when Hostess filed for bankruptcy and Twinkie production was shut down, causing a shortage of Twinkies and other Hostess products? This created a shortage for 8 months and led to inflated prices at stores and Twinkies being sold on Ebay and Craigslist for up to $10,000. Americans flocked the grocery stores hoarding Twinkies and Ding Dongs, whimpering about their fading childhoods. Rest assured, you no longer have to hoard Twinkies with my easy Homemade Twinkies recipe.
WHERE DID TWINKIES COME FROM
Twinkies were first produced in 1930 by James A. Dewar, a manager of the Continental’s Bakery in Chicago, a plant known for specializing in strawberry shortcakes. He was inspired by the bakery molds for shortcakes that were only sold during strawberry season. Because the equipment sat idle when strawberries were out of season, he came up with the idea to inject spongey yellow cakes with a fluffy, cream filling. He named it “Twinkie” after noticing a billboard advertising “Twinkle Toe Shoes” on a business trip.
Continental Bakery went through several ownerships, being sold to Interstate Bakeries Corporation in the 1990s. The company filed for Chapter 11 bankruptcy protection due to changing tastes, diets, and health priorities. This was also around the same time the low-carb Atkins and South Beach diets emerged. In 2009, the company emerged from bankruptcy and renamed the company Hostess, but was back in bankruptcy court three years later, in 2012. This time, Hostess liquidated, closing its U.S. plants, laying off more than 18,000 employees, and ceasing production of Twinkies. Enter the “Twinkie Scare of 2012.”
In 2013, the company (along with its intellectual propery and recipes) we bought by a private equity firms Apollo Global Manangment and Metropoulos & Co for around $410 million. The new company got rid of the bread line and focused mainly on snacks, and soon, the Twinkie was resurrected. In 2016, it went public and was purchased by another private equity firm, Gores Group. Hostess is today worth about $3.3 billion.
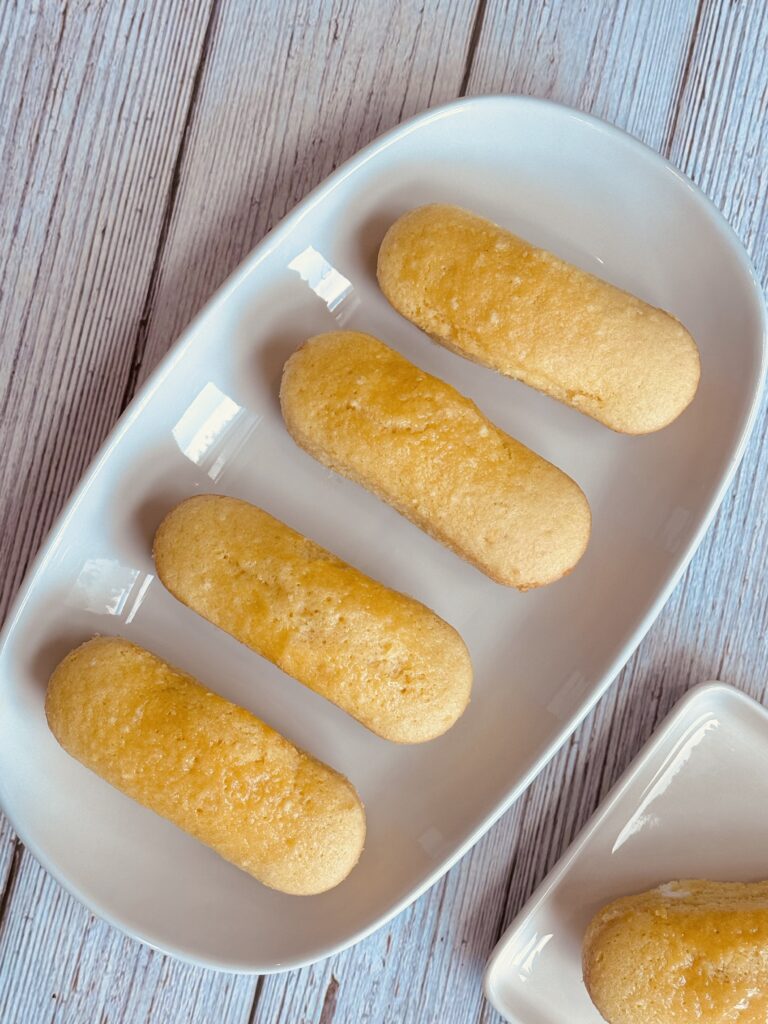
When it was first invented in 1930, Twinkies cost only five cents for two pastries, making it an affordable treat during the Great Depresion.
WHAT’S IN A TWINKIE
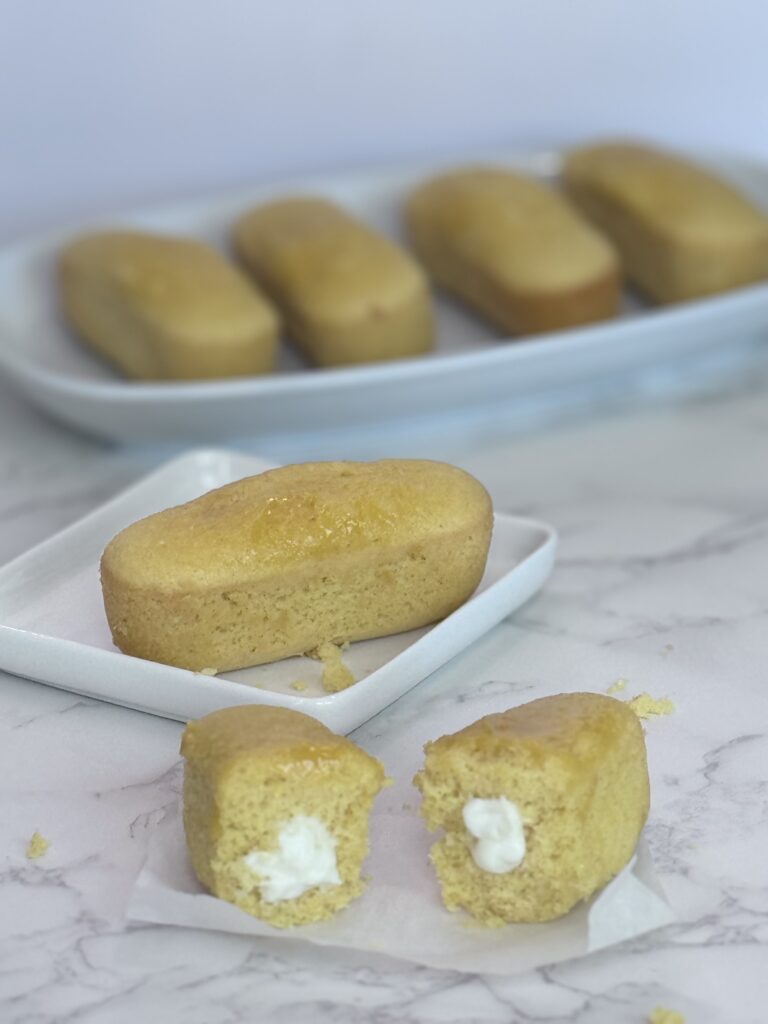
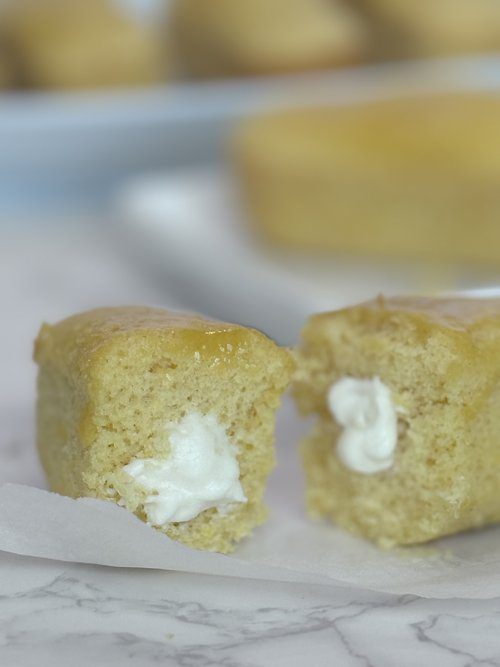
So what’s so special about a Twinkle you ask? Well, it starts off with an ultra-moist vanilla sponge cake baked in an eclair-shaped pan call a canoe pan. It’s cake is rich in vanilla flavor, springy, and tender. Now the filling—that’s somewhat of a mystery. It’s too light to be a marshmallow fluff, too dense to be whipped cream, and not dense enough to be buttercream frosting.
The original Twinkie recipe had a banana filling, made of a sweet mixture of sugar, shortening, milk, and bananas. But in World War II, there was a shortage of bananas, and vanilla replaced the the banana to become the standard flavor. While the exact ingredient list has largely remained a secret, scientists have been able to pinpoint what makes up the creamy filling of the inside of a Twinkie.
In 1995, the T.W.I.N.K.I.E.S. project, which stands for Tests with Inorganic Noxious Kakes in Extreme Situations, was launched by scientists Christopher Scott Gouge and Todd William Stadler to discover the scientific properties of the Twinkies. It turns out, Twinkies white filling was made up of a sugar and vegetable shortening mix that has been blended with corn syrup, water, salt, and cellulose gum. The cellulose gum keeps the cream moist, shiny, and slippery long after the cake has been packaged.
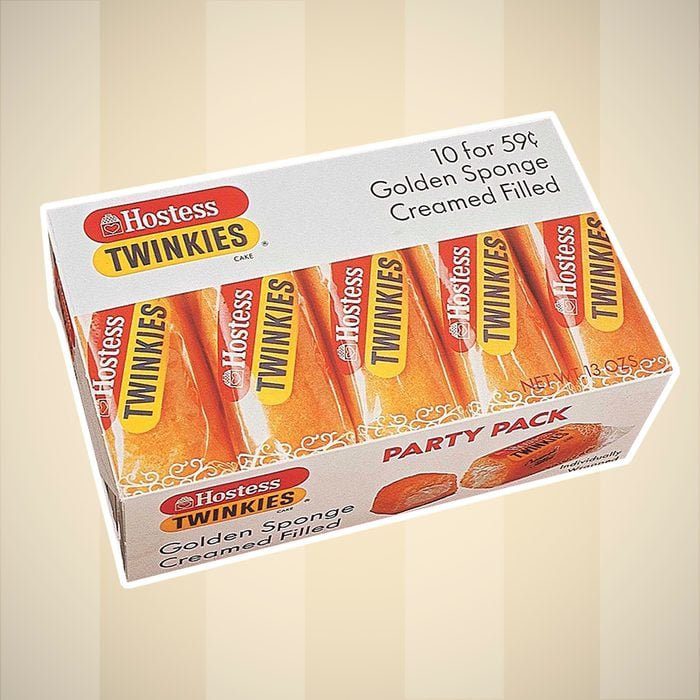
Below is a list of ingredients from the Twinkies packaging label. While my Homemade Twinkies recipe does not contain this much ingredients, at least you can pronounce them, so yes, they are healthier.
SUGAR, WATER, ENRICHED FLOUR (BLEACHED WHEAT FLOUR, NIACIN, FERROUS SULFATE OR REDUCED IRON, THIAMINE MONONITRATE, RIBOFLAVIN, FOLIC ACID), HIGH FRUCTOSE CORN SYRUP, TALLOW, DEXTROSE, EGG, CONTAINS 2% OR LESS: SOYBEAN OIL, MODIFIED FOOD STARCH, WHEY, GLYCERIN, CORN STARCH, SALT, NATURAL AND ARTIFICIAL FLAVORS, CORN SYRUP, SODIUM ACID PYROPHOSPHATE, BAKING SODA, HYDROGENATED TALLOW, COTTONSEED OIL, MONO AND DIGLYCERIDES, CELLULOSE GUM, SORBIC ACID AND POTASSIUM SORBATE (TO RETAIN FRESHNESS), SODIUM STEAROYL LACTYLATE, SOY LECITHIN, XANTHAN GUM, POLYSORBATE 60, MONOCALCIUM PHOSPHATE, ENZYMES, YELLOW 5. RED 40.
CAN A TWINKIE LAST FOREVER?
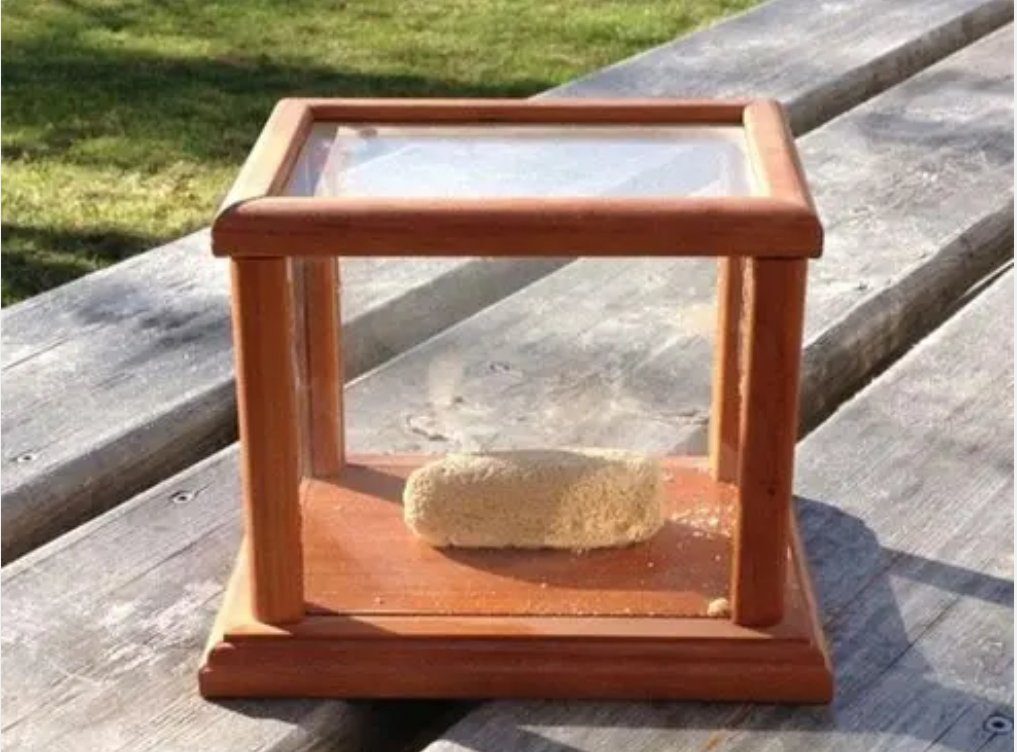
There are numerous urban legends of Twinkies being told of how they can last for decades, such as a story of one kept in a high school science classroom for 37 years. There is also the story But contrary to popular belief, the shelf life of a Twinkie is really only about 25 days. After about a month, Twinkies start to get hard and brittle. Steve Ettlinger, author of the book “Twinkie, Deconstructed,” says Twinkies get hard, but that doesn’t mean you can’t eat them. So Twinkies can last 37 years, but they might not be that fun to eat.
ARE TWINKIES BAD FOR YOU?
Ok, here’s where I break the news to you (that you already knew) that Twinkies are not great for you. By now, most consumers recognize that Twinkies aren’t homemade cakes made with natural, organic, or unprocessed ingredients. The main ingredients are enriched bleached white flour, water, sugar, corn syrup and high fructose corn syrup, shortening, and eggs.
In Steve Ettinger’s book, the notes that Twinkies also contain calcium sulfate, which is used in construction to make walls. And that cellulose gum I mentioned earlier, well that is used to make rocket fuel, and corn dextrin, which is found in glue. It also contains a small amount of sodium stearate, which is the most common ingredient found in soap.
Now you’re probably wondering why would I ever want to make this then. Luckily, this recipe for Homemade Twinkies does not contain half the unpronounceable ingredients and doesn’t contain the preservatives found in Hostess Twinkies. If you’re a Twinkie fan, this is a whole lot healthier!
HOW TO MAKE HOMEMADE TWINKIES
So now that you know how bad Twinkies are, let’s make some! But seriously, yes, they are not that great for your health. Yes, the Twinkie Diet may have helped someone lose 27 pounds, but I would not recommend incorporating this into your lifestyle. While the store-bought version contains 37 ingredients, with only 5 being “‘recognizable,’ I still love these treats every now and then. This Twinkie recipe is not loaded with suspicious ingredients, making it more “healthy.”
This Homemade Twinkie recipe is easy if you plan it out, making it a piece of spongey cake! I recommend making the marshmallow cream ahead, then tackling the cake the next day. The marshmallow cream can be refrigerated for up to 3 weeks in an airtight container or frozen for 2 months.
This Homemade Twinkie Recipe will make eight Twinkies.
VANILLA MARSHMALLOW CREME
- 1 1/2 teaspoons unflavored gelatin powder
- 2 tablespoons (1oz) cool water to bloom the gelatin
- 1 1/2 teaspoons vanilla extract and/or 1 vanilla bean
- 1/4 cup (2oz) water for sugar syrup
- 1/4 cup (2 3/4oz) light corn syrup
- 3/4 cup (5oz) sugar
- 1/4 plus 1/8 teaspoon Diamond Kosher salt (half as much if iodized)
- 1/4 cup (2oz) milk
- 3 tablespoons (3/4oz) powdered milk
- 1 1/2 cup (12oz) heavy cream
VANILLA SPONGE CAKE
- 1 cup (4 oz) bleached cake flour, such as Swans Down
- 3/4 teaspoon baking powder
- 6 large egg yolks (1/3 cup or 3.5oz)
- 1/2 cup (3.5oz) sugar
- 1/8 teaspoon Diamond Kosher salt (half as much if iodized)
- 1 teaspoon vanilla extract
- 2 tablespoons (3/4 oz) safflower oil, or another neutral oil
- 1/2 cup (4oz) club soda, still fizzy
- 1/2 recipe (2 cups or 12oz) Vanilla Marshmallow Cream (recipe follows)
EQUIPMENT NEEDEDQ2W1
- Canoe Pan
- Hand Mixer
- Stand Mixer
- Candy Thermometer
- Mixing Bowls
- 1/4 inch Piping Tip
- Piping Bags or Piping Bags and Tip Set
MAKE THE VANILLA MARSHMALLOW CREAM
Step 1: In a small bowl, mix the gelatin with 2 tablespoons (1oz) cool water and vanilla extract, if using. Or split the vanilla bean lengthwise with a paring knife, run the flat of the blade down each half to scrape out seeds, and add to the gelatin without stirring.
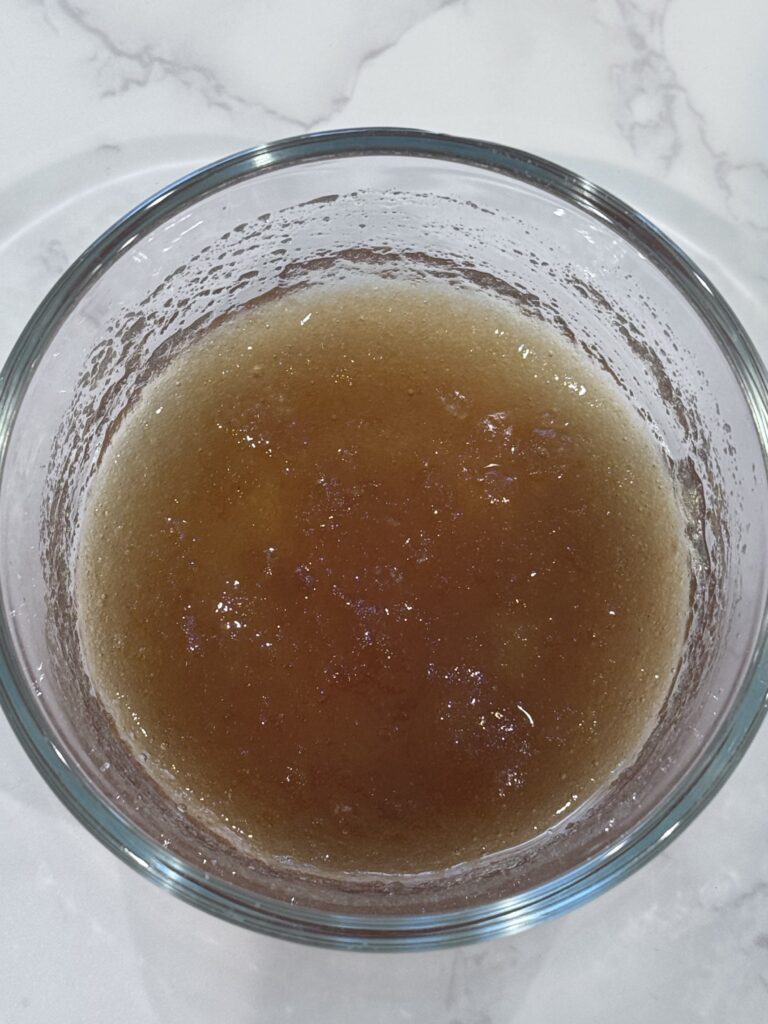
Step 2: Combine remaining 1/4 cup (2oz) water, corn syrup, sugar, and salt in a 1-quart stainless steel pot over medium heat. Stir with a fork until the mixture is bubbling hard around the edges, about 3 minutes, then increase heat to medium-high. Clip on a digital thermometer and cook, without stirring, until the syrup registers 250°F, about 4 minutes.
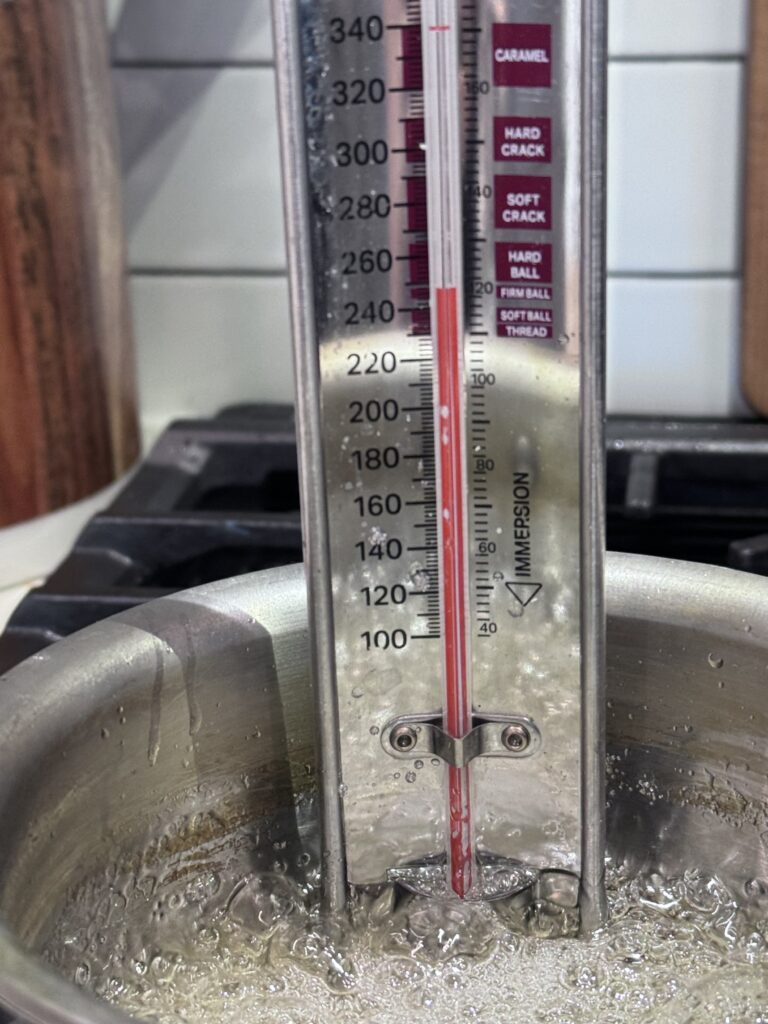
Step 3: Transfer thermometer to a large heat-safe bowl and pour in the hot syrup all at once, scraping the pot with a heat-resistant spatula. Cool to exactly 212°F, about 4 minutes. Do not walk away to ensure the right temperature is achieved.
Step 4: Add gelatin and, with a hand mixer, whip on medium-high until thick, snowy white, and roughly tripled in volume, about 10 minutes.
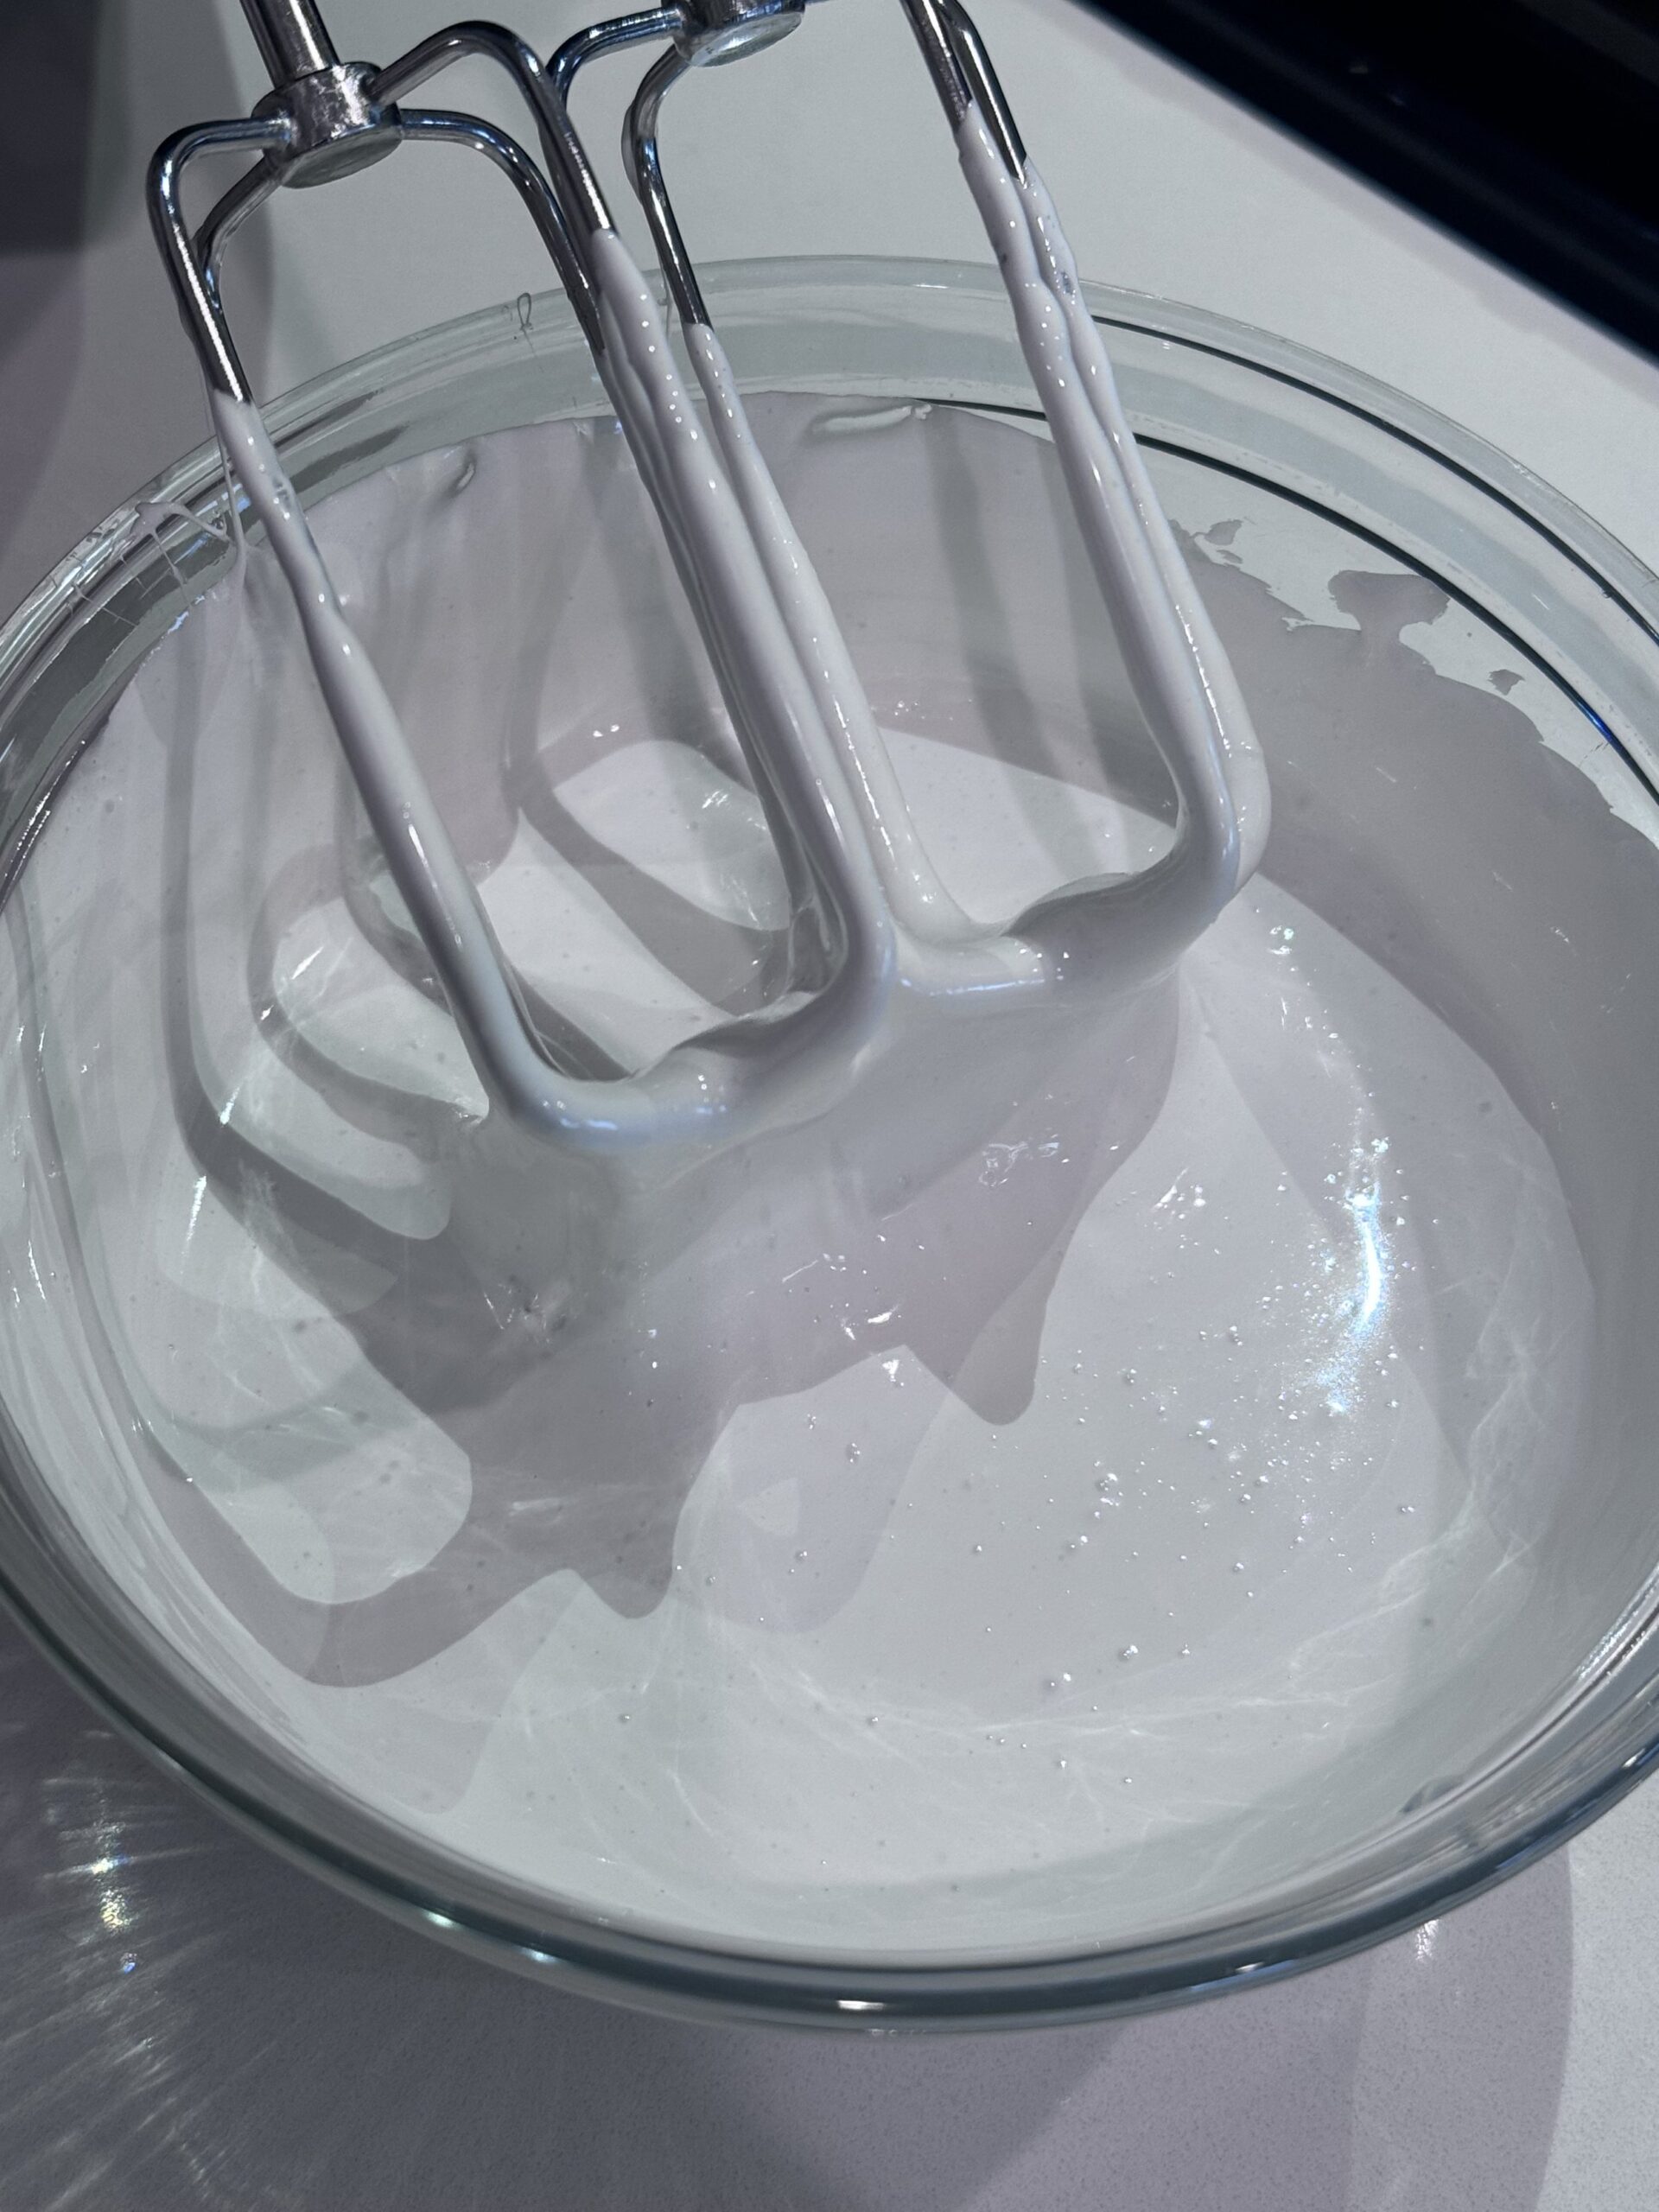
Step 5: Whisk 1/4 cup (2oz) milk with 3 tablespoons (3/4oz) powdered milk in a small bowl. Add this to the marshmallow mixture, then transfer to a greased container, cover, and let stand at room temperature until stiff, about 2 hours.
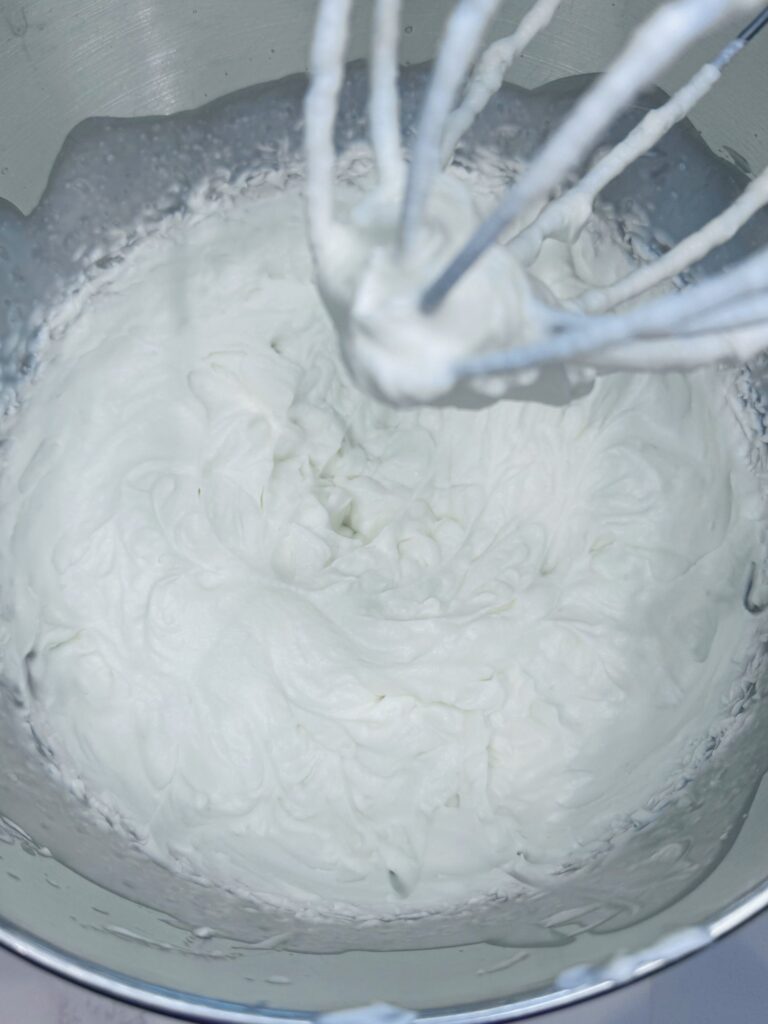
Step 6: Transfer mixture to a bowl of a stand mixer fitted with a whisk attachment, along with 1 1/2 cup (12oz) of heavy cream. Mix on medium-low to roughly combine, then increase to medium-high and whip until thick, stiff, and creamy, about 5 minutes. Refrigerate up to 3 weeks in an airtight container or freeze for 2 months.
MAKE THE TWINKIE CAKE
Step 1: Adjust oven rack to middle position and preheat to 350°F.
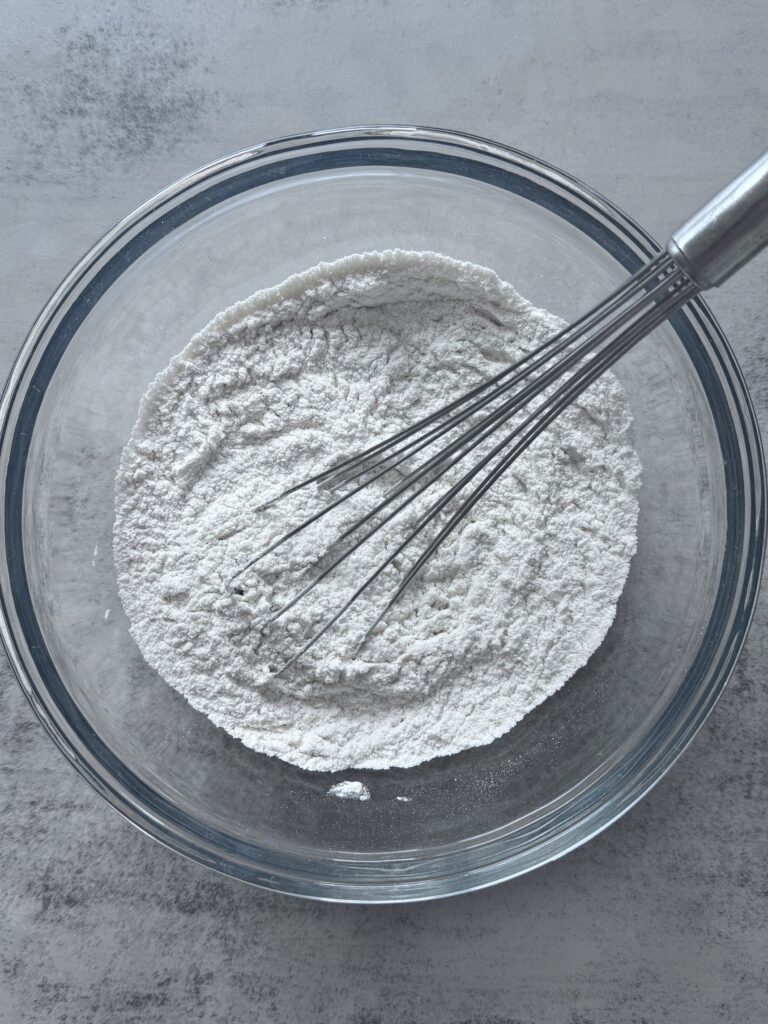
Step 2: Sift flour into a medium bowl. Whisk in baking powder.
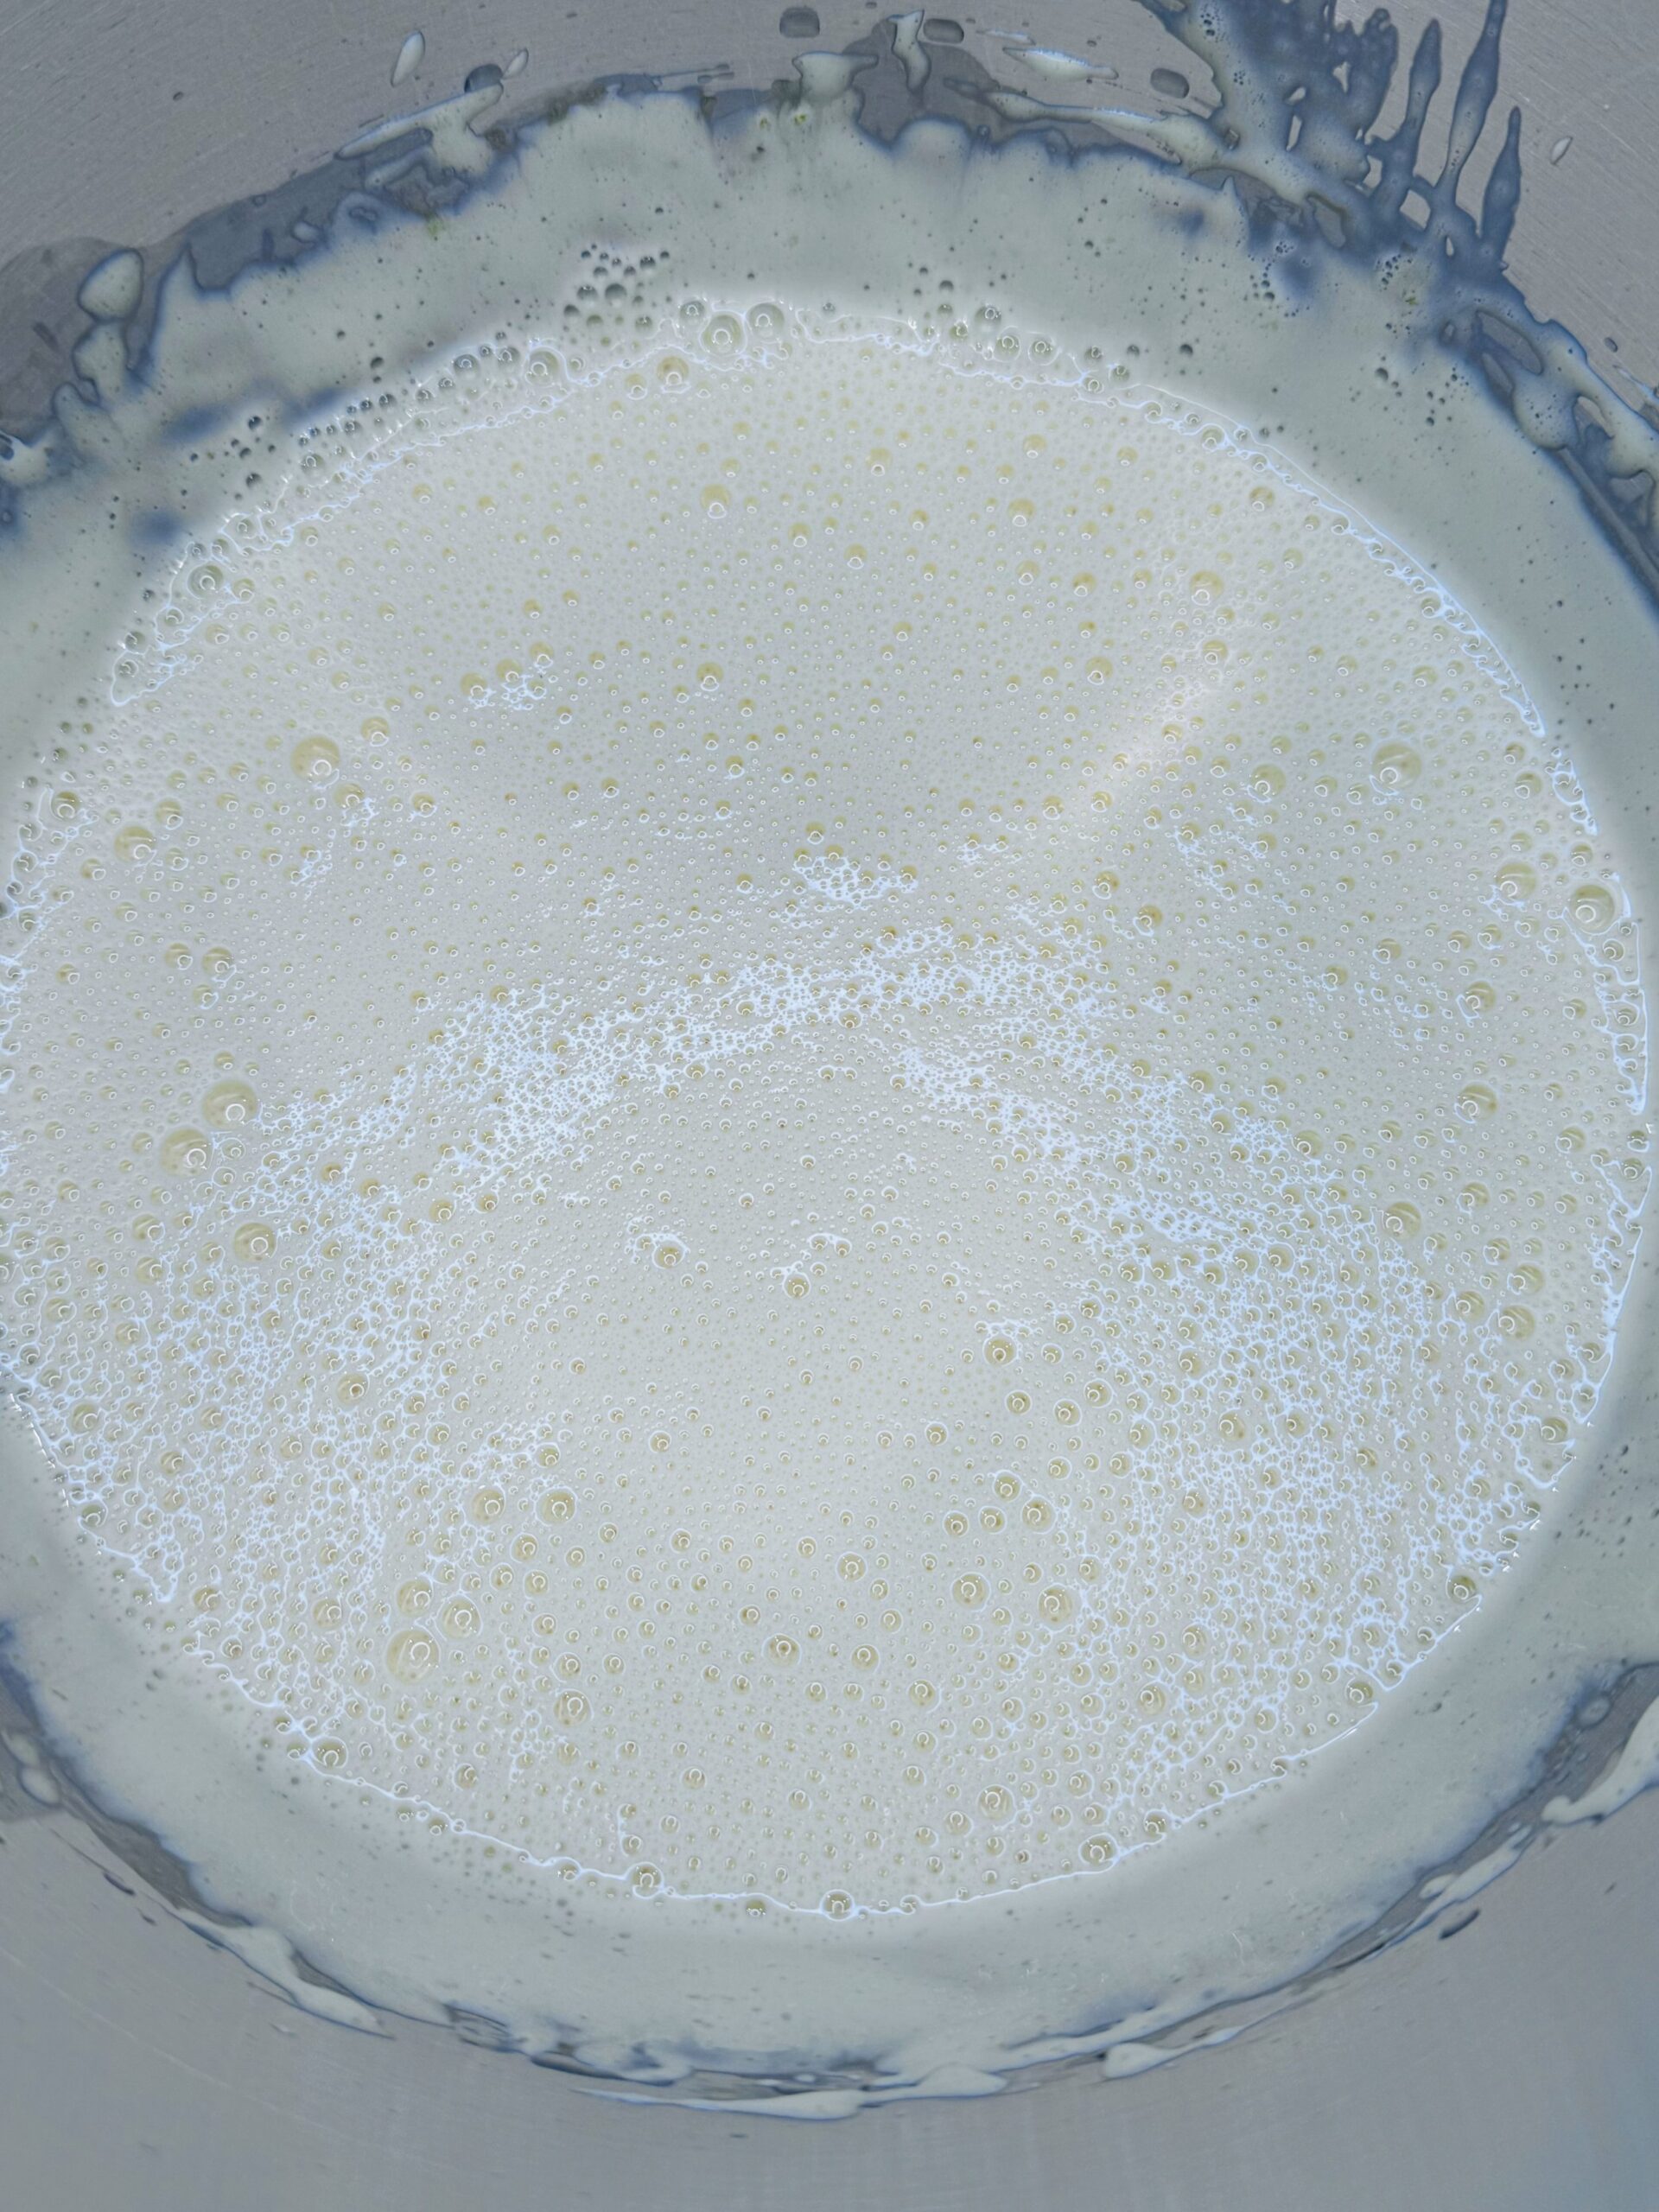
Step 3: Combine egg yolks, sugar, salt, and vanilla in the bowl of a stand mixer fitted with the whisk attachment. Mix on low speed to moisten, then pause to scrape the bowl. Increase to medium-high and whip until thick and roughly doubled in volume, with a clear vortex pattern left by the whisk, about 5 minutes. Do not overbeat, as this will destabilize the foam.
Batter for Homemade Twinkie
Step 4: Reduce speed to medium-low and drizzle in oil, followed by club soda. As soon as you’ve added the last drop, shut off the mixer and remove the bowl. The batter will look thin and foamy.
Step 5: Add cake flour and gently combine with a whisk. Use a flexible spatula to fold the thin batter once or twice from the bottom up.
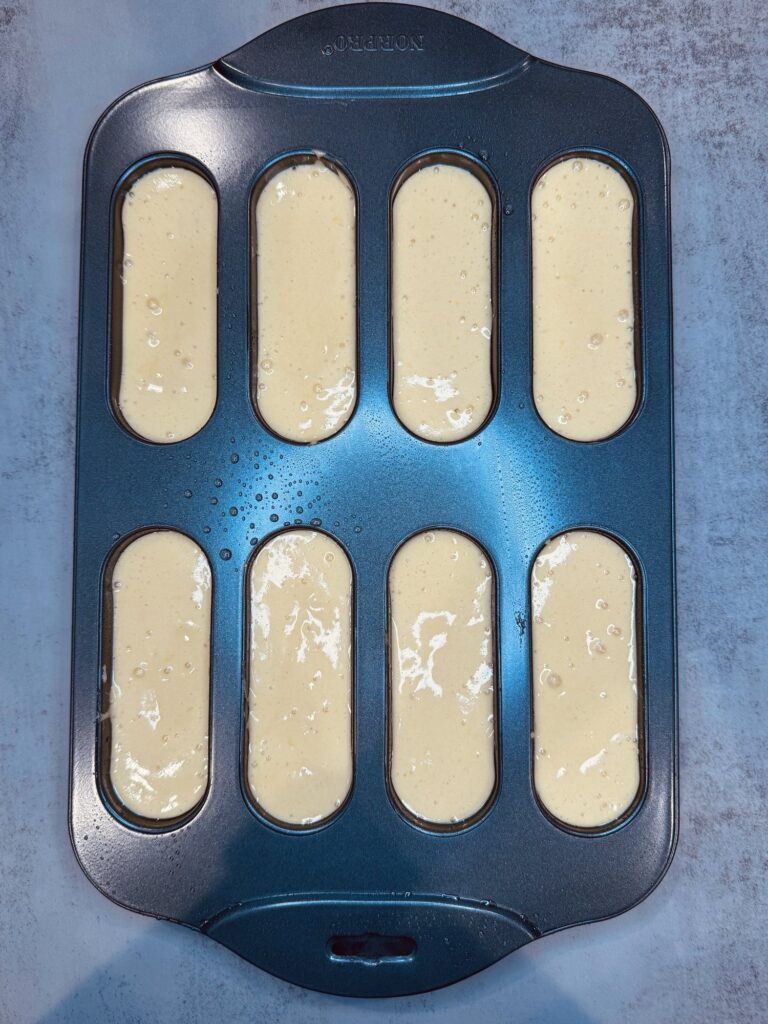
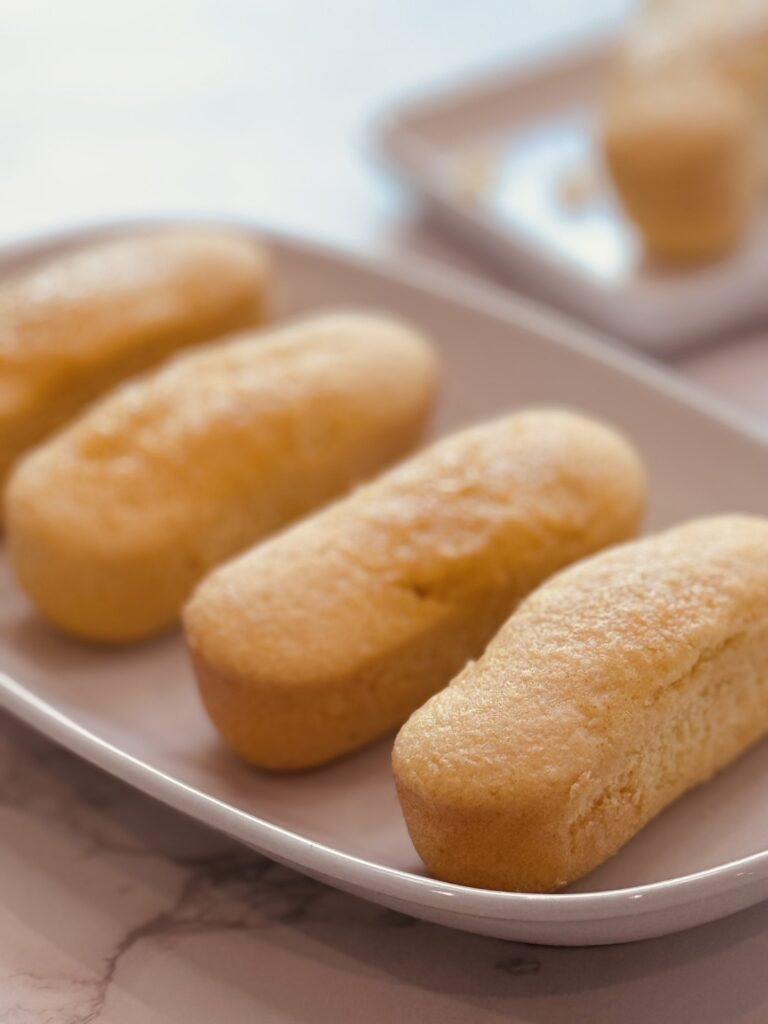
Step 6: Lightly grease a nonstick canoe pan with pan spray—do not do this in advance–and fill each mold three-quarters full (about 1 3/4oz). Bake until cakes have domed above the pan and spring back to the touch, though your fingertip will leave a light impression in the pale crust, about 12 minutes.
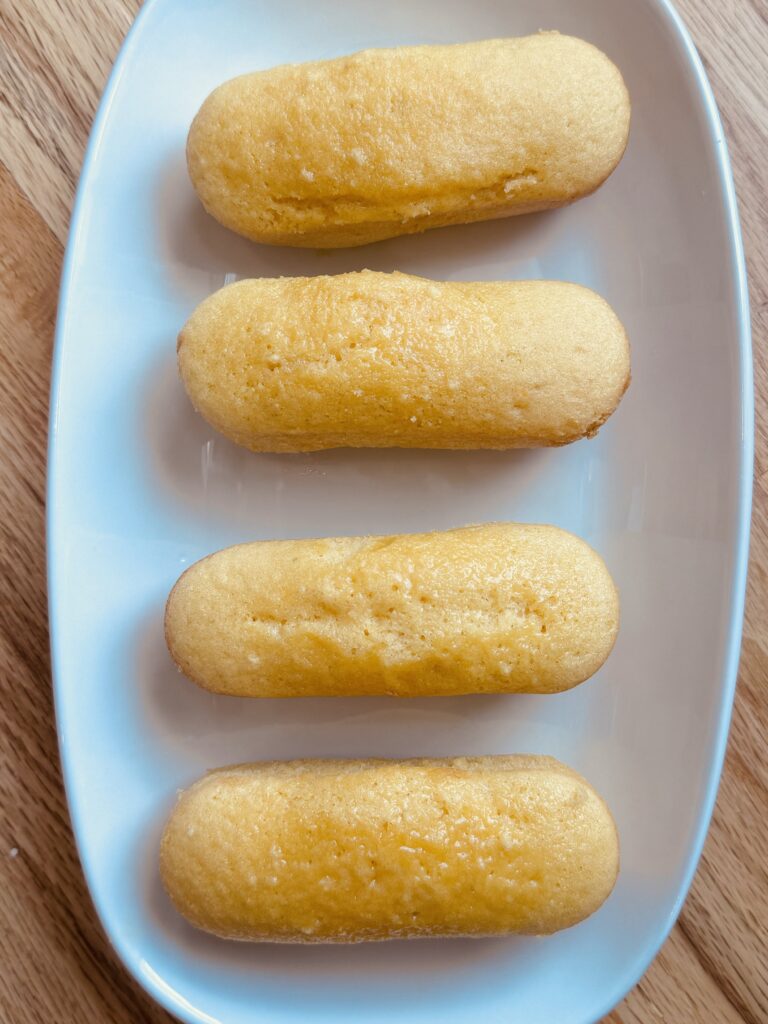
Step 7: Cool 10 minutes, then pry the cakes from the pan while still warm and flexible. Store in an airtight container at room temperature for up to 24 hours.
FILL THE CAKES
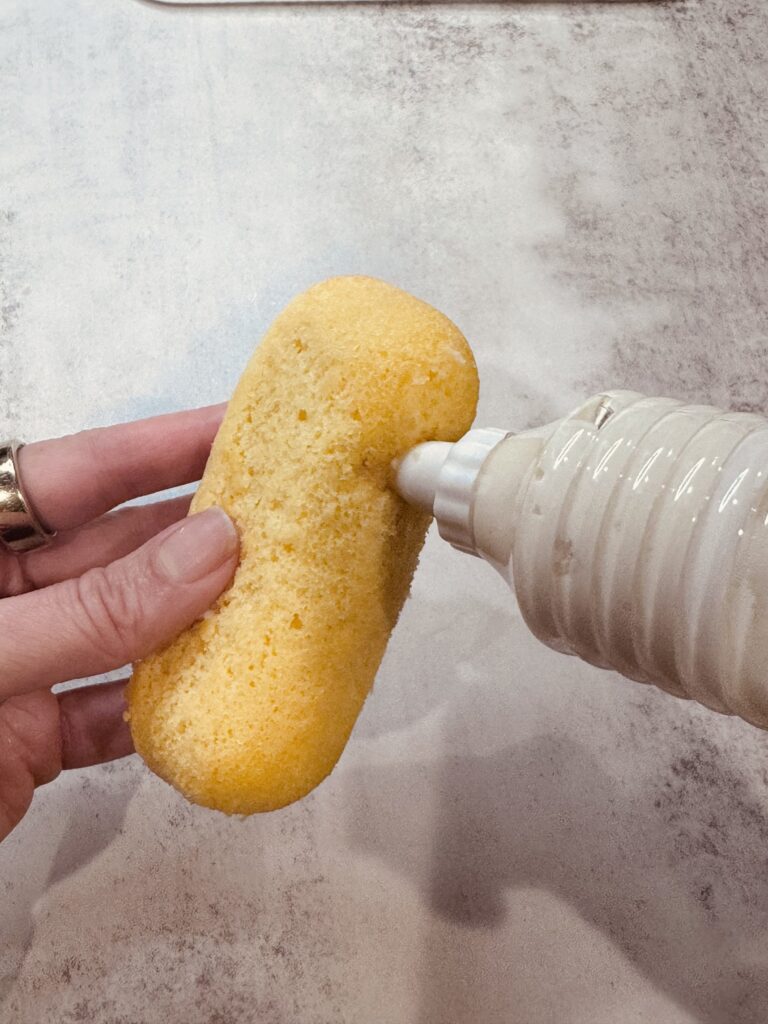
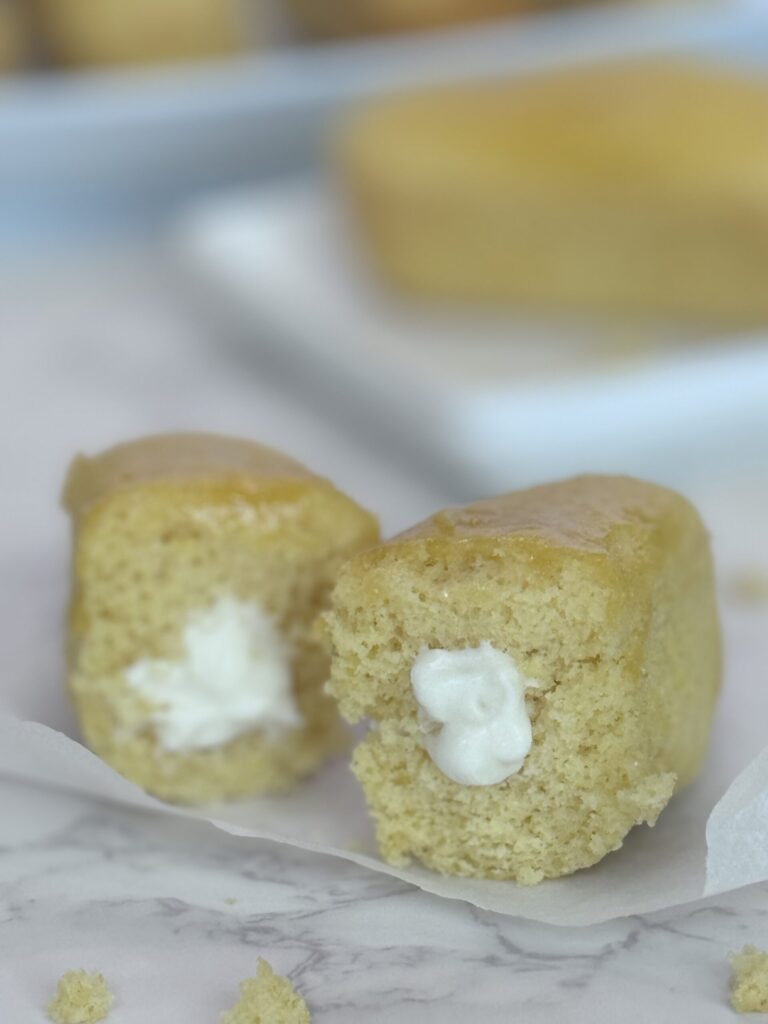
Transfer Vanilla Marshmallow Cream to a piping bag fitted with a 1/4-inch plain tip. Poke the piping tip into a cake from the bottom, about 1 inch from one end, and give the bag a gentle squeeze. Wait a second for the filling to settle, then repeat on the other side. Repeat with remaining cakes and filling.
Recipe Courtesy of Bravetart.
✅ Quick Tips: Read the recipe in its entirety before you start cooking. This will help you understand the ingredients, steps, and timing involved, and allow you to prepare any necessary equipment or ingredients beforehand.
Homemade Twinkies
Ingredients
VANILLA MARSHMALLOW CREME
VANILLA SPONGE CAKE
Nutritional Value
Nutritional Value
Servings 6
- Amount Per Serving
- Calories 535kcal
- % Daily Value *
- Total Fat 32g50%
- Saturated Fat 17g85%
- Trans Fat 0.001g
- Cholesterol 266mg89%
- Sodium 256mg11%
- Potassium 145mg5%
- Total Carbohydrate 57g19%
- Dietary Fiber 0.002g1%
- Sugars 56g
- Protein 7g15%
- Calcium 142 mg
- Iron 1 mg
* Percent Daily Values are based on a 2,000 calorie diet. Your daily value may be higher or lower depending on your calorie needs.
Note
- Do not substitute the bleached cake flour for all-purpose flour or unbleached flour. The high pH and starch content of unbleached cake flour will cause these cakes to collapse as well as the high protein content of all-purpose flour.
- Club soda, seltzer water, and sparkling water can all be used. Do not use mineral water or tonic water as it contains variable sodium.
- This batter cannot be made in advance.
- Most marshmallow mishaps are temperature-related. The filling will be thick and rubbery if cooked to above 250°F, soft and runny if not cooled to 212°F, or impossibly thick if the syrup drops below 205°F as it cooks. Avoid these problems with an accurate thermometer.
- Do not walk away from your thermometer while waiting for it to cool to 212°F.
- When beating the marshmallow mixture when it is 212°F, it’s best to use a hand mixer, which is better able to whip the small quantity of syrup. If using a stand mixer, double the recipe.
