
The weather is heating up, which in my house means one thing: ice cream season is officially open. (Though let’s be real—did it ever actually close?) After eyeing the Ninja Creami for months and assuming it was just another overhyped kitchen gadget destined for the back of the cabinet, I caved. And guess what? It’s absolutely worth the counter space.
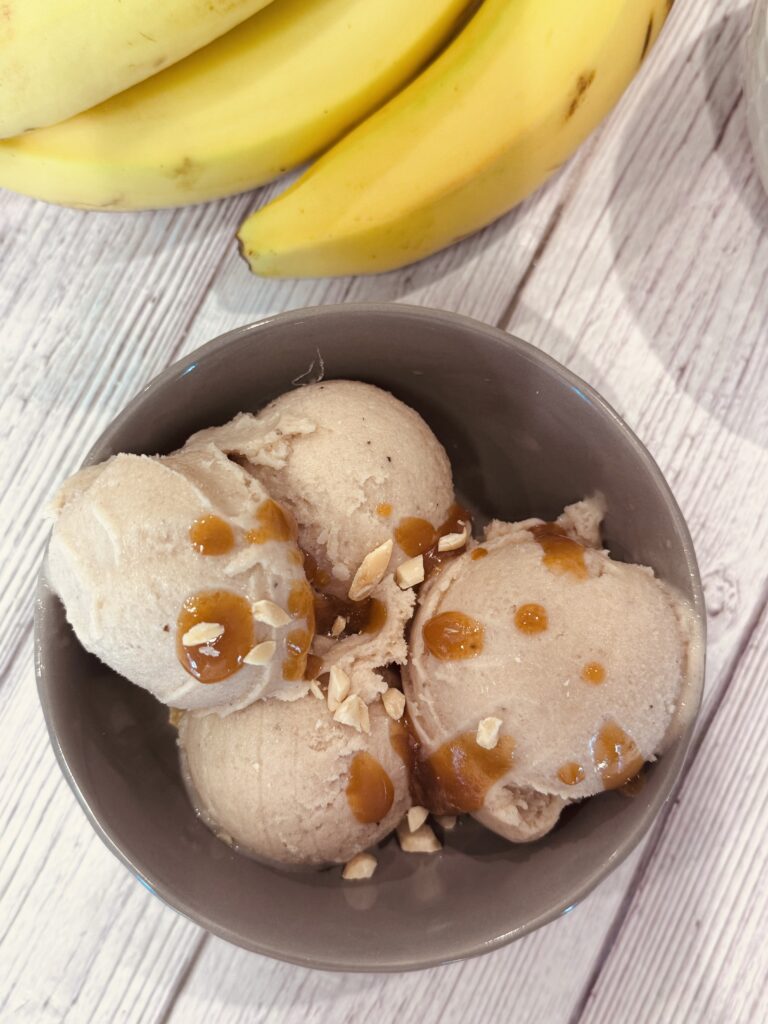
This Roasted Banana Ice Cream is the perfect way to break it in. It’s creamy, rich, and packed with deep banana flavor—basically what happens when banana bread decides it wants to be a summer treat.
This recipe takes bananas to their final form—roasted, caramelized, and blended into silky perfection. There’s no fancy custard base or tempering of eggs involved. It’s as low-effort as it gets for something that tastes like you put in a lot of effort.
Why This Recipe Works
•Roasting the bananas caramelizes the sugars and brings out a rich, deep flavor—far superior to raw banana.
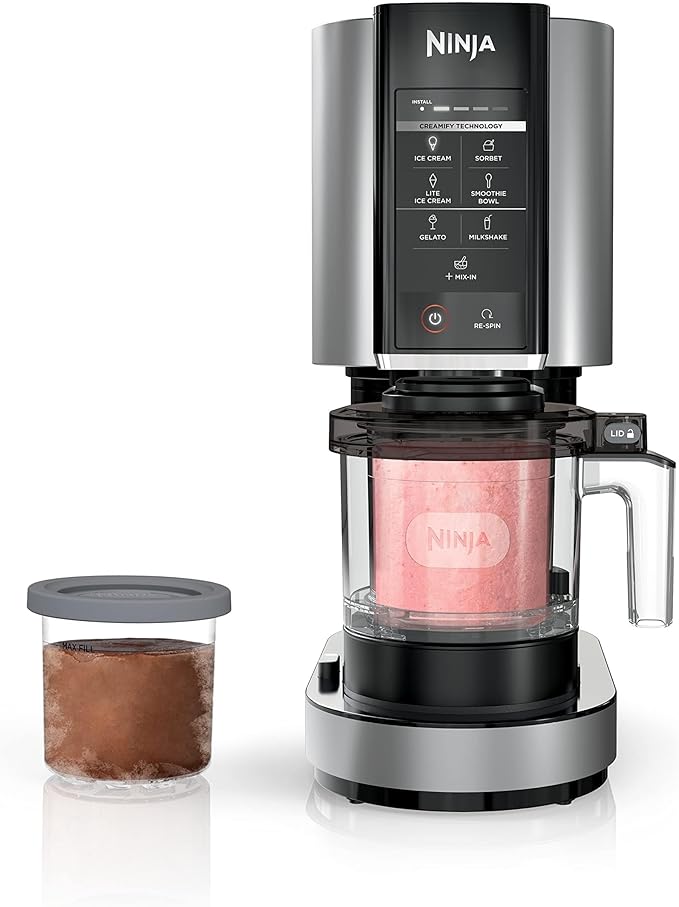
•Ninja Creami magic means no need for an ice cream maker or churning—just blend, freeze, and press a button.
•A touch of lemon juice balances the sweetness and keeps the banana flavor bright, not flat.
•Super customizable: Add chopped nuts, swirl in caramel, or sprinkle with crushed cookies before processing.
Tips for Making Roasted Banana Ice Cream
•Use ripe bananas with plenty of brown spots—they roast better and bring more flavor.
•Don’t skip the roasting step—it’s where the flavor really develops.
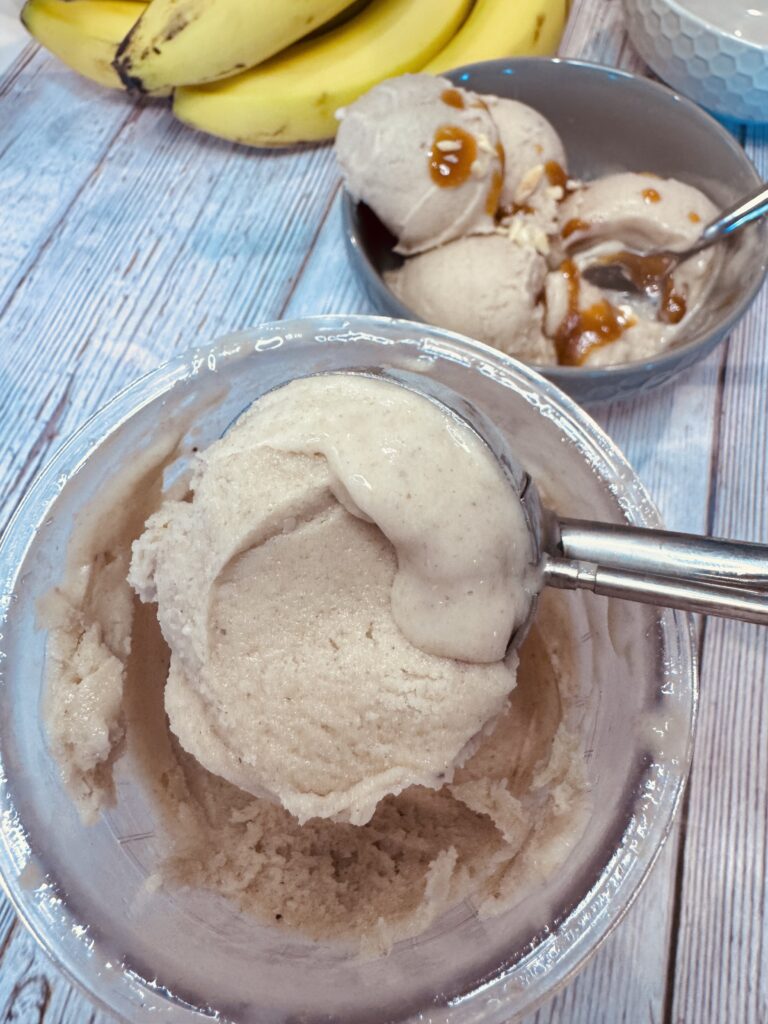
•Let it freeze for the full 24 hours before processing in the Creami for the best texture.
•Re-spin if needed after the first processing cycle to get that ultra-creamy consistency.
•Top it off! Try a drizzle of salted caramel sauce and some chopped peanuts or candied pecans for a sundae situation.

Roast the Bananas
1.Preheat your oven to 400°F.
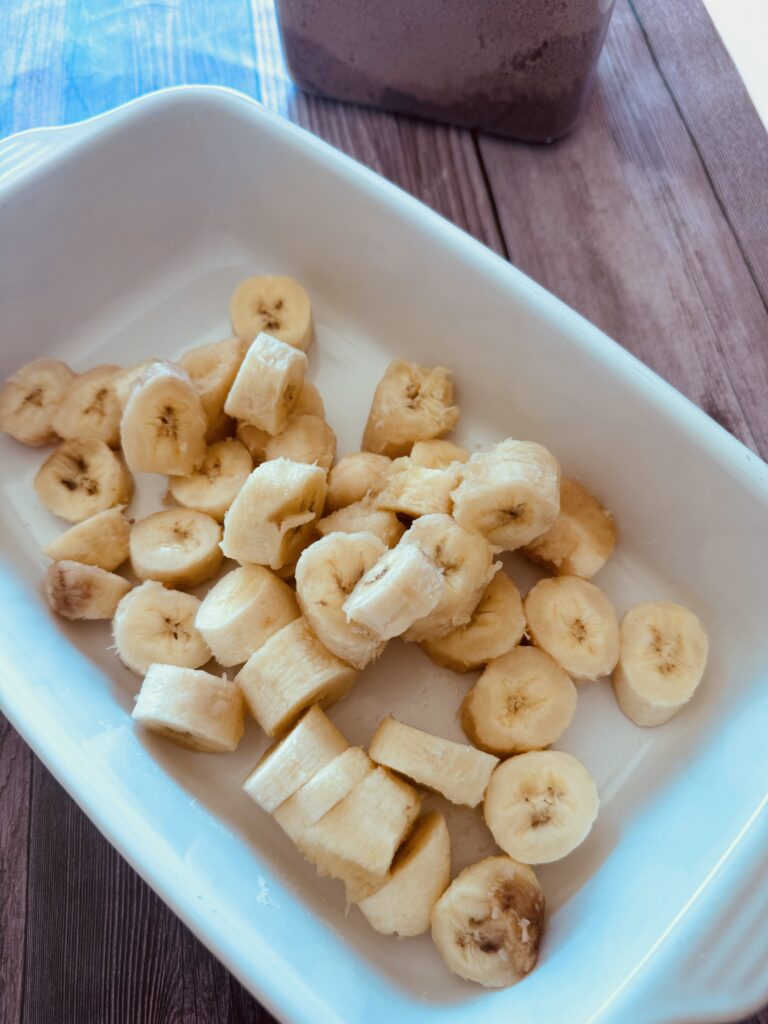
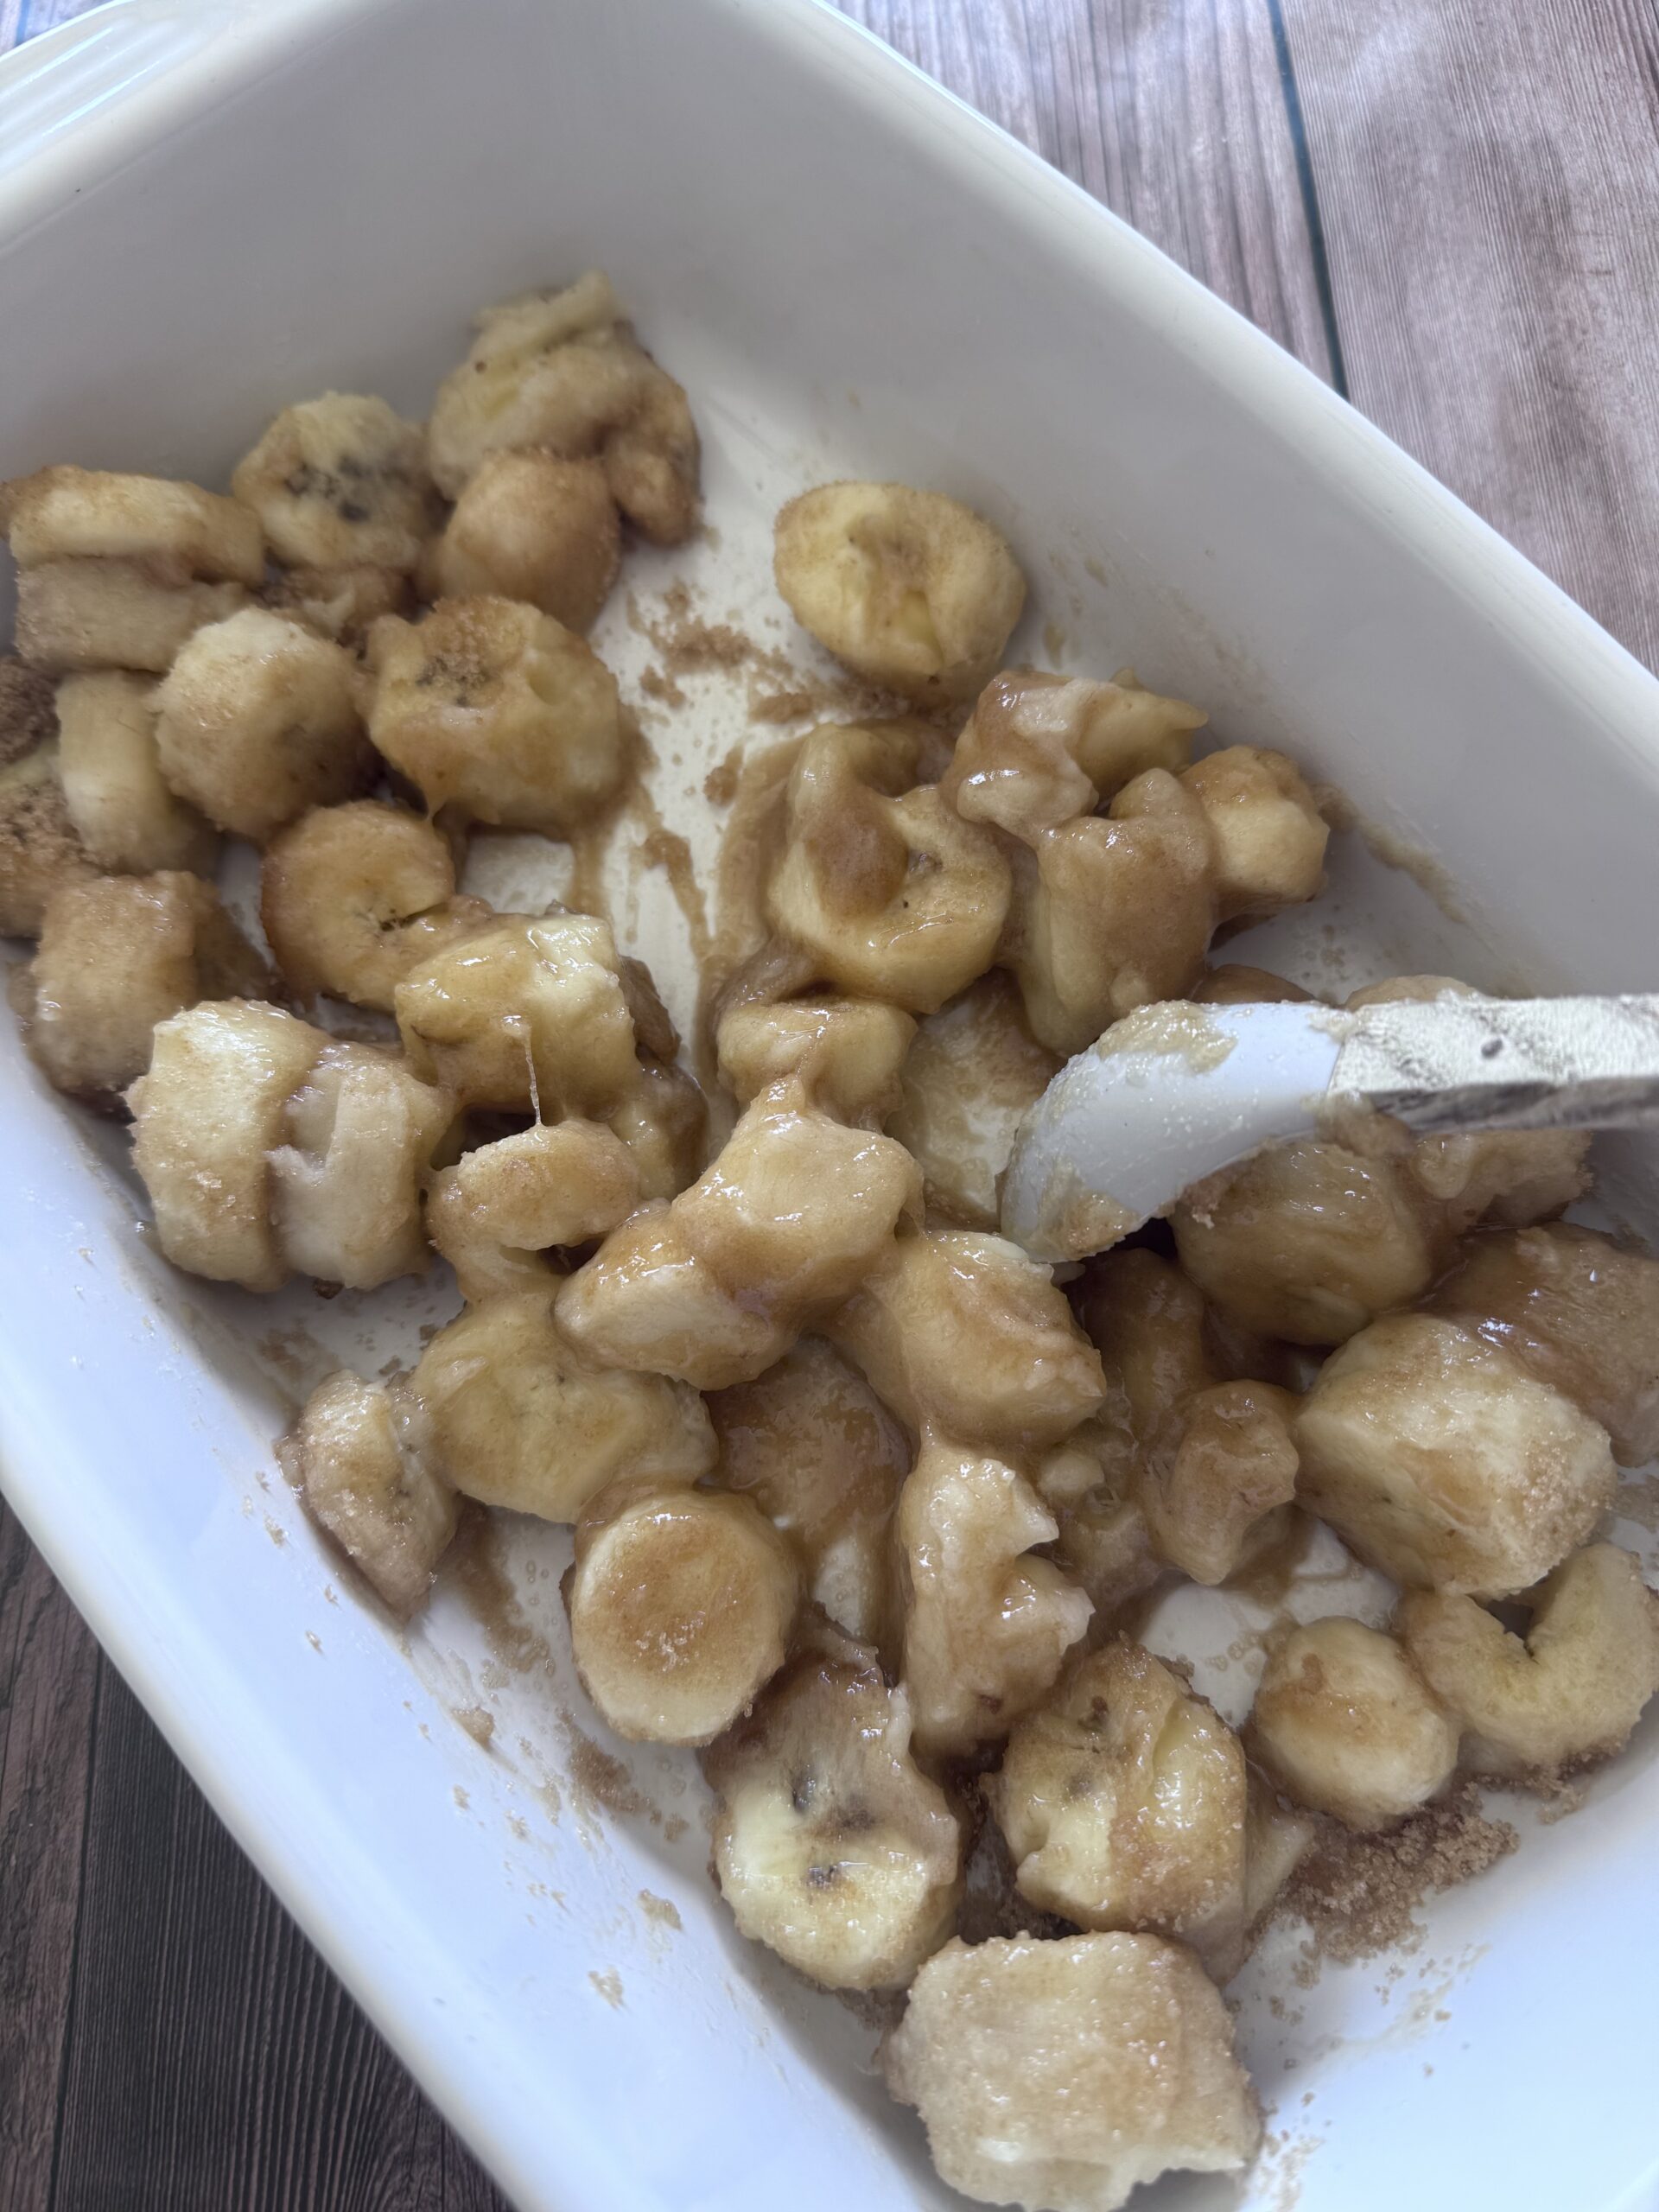
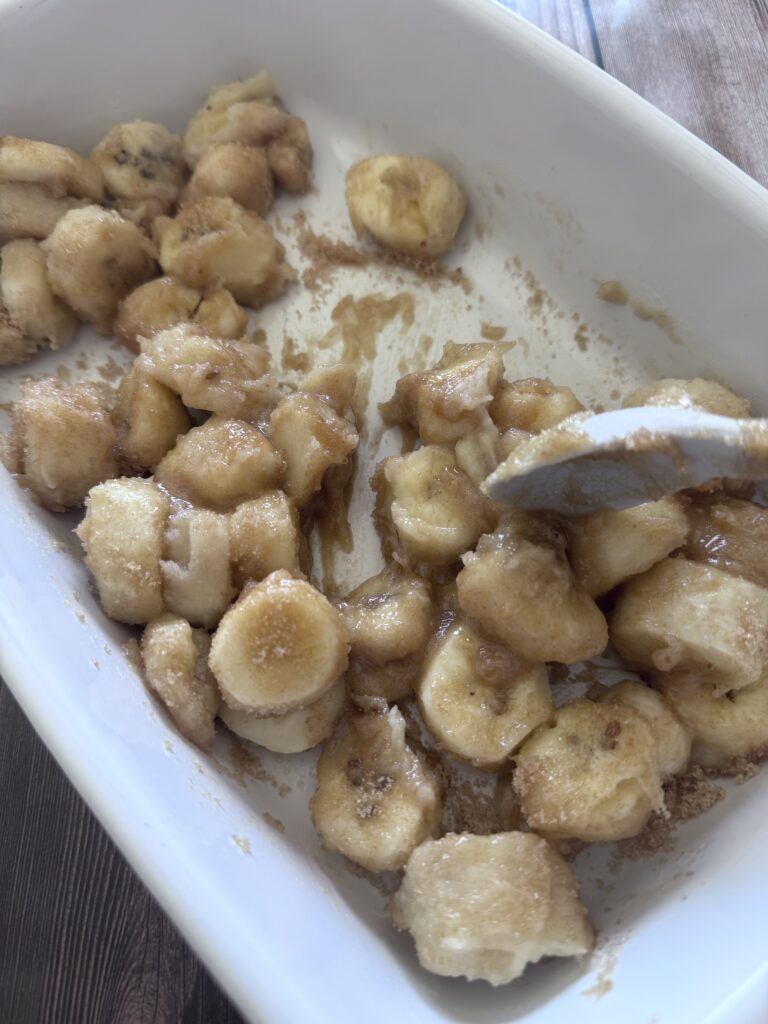
2.Slice bananas into 1/2-inch pieces and toss them with brown sugar and butter in a 2-quart baking dish.
3.Bake for 40 minutes, stirring once halfway through, until the bananas are caramelized and soft.
Make the Ice Cream Base
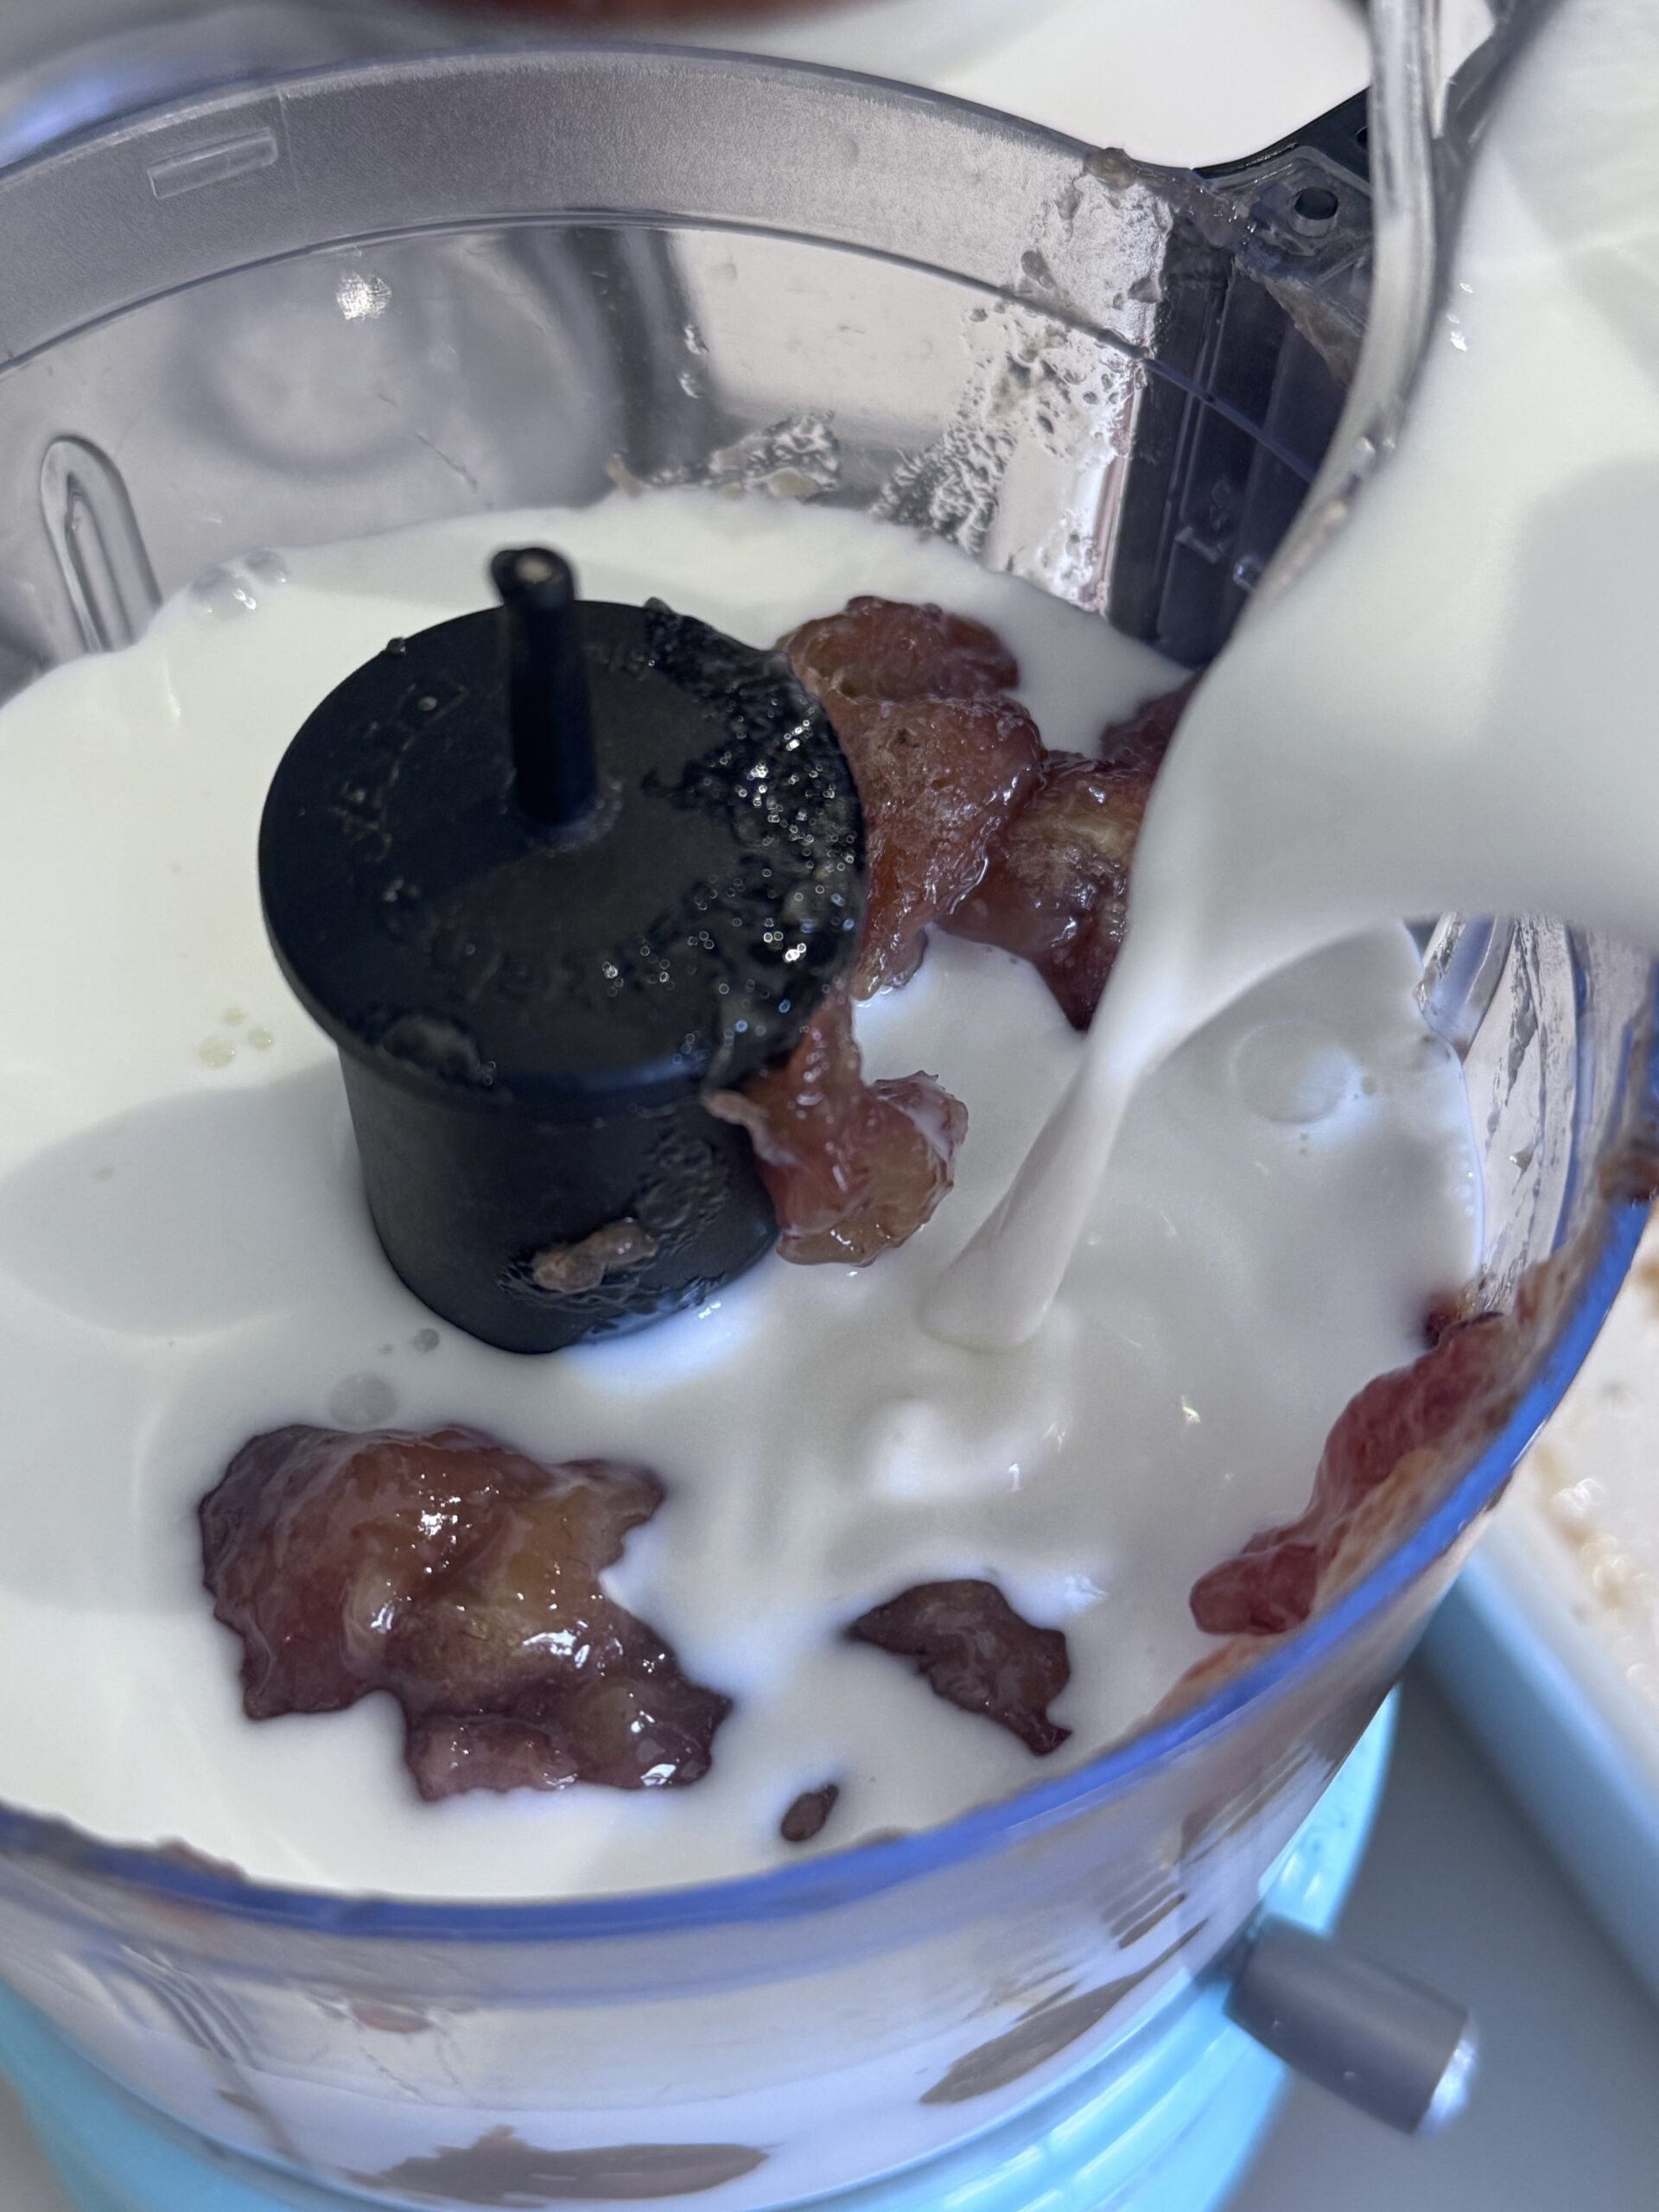
1. Scrape the roasted bananas and syrup into a blender or food processor.
2.Add whole milk, granulated sugar, vanilla extract, lemon juice, and salt.
3.Blend until the mixture is smooth and creamy.

Freeze and Process
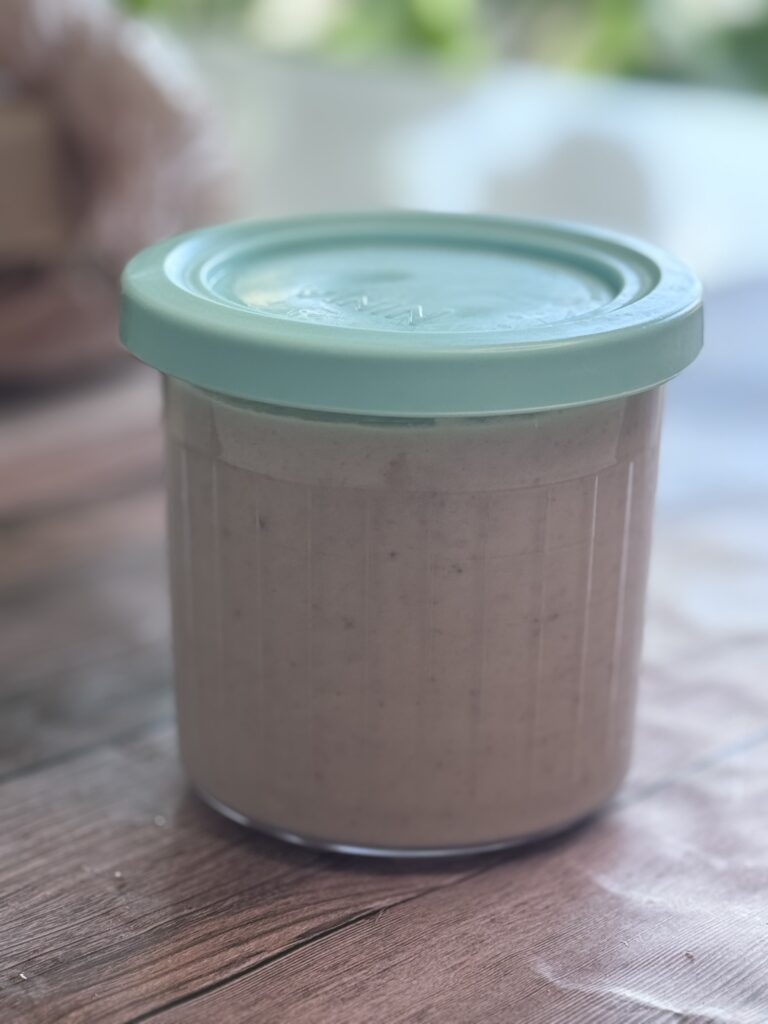
1. Pour the mixture into your Ninja Creami pint container and freeze for at least 24 hours.
2.When ready, process using the Ice Cream function.
3.If it looks crumbly after the first spin, do a “re-spin” to smooth it out.

A Peel-ing Ending (Get it?)
This Roasted Banana Ice Cream is proof that the Ninja Creami is no one-hit wonder—and that bananas are far more exciting than just a breakfast topping. With just a handful of ingredients and almost no effort, you get a creamy, dreamy dessert that hits all the right notes. Make it once, and you’ll never toss an overripe banana again.
Give this one a try, and let me know—are you officially a Creami convert too?

✅ Quick Tips: Read the recipe in its entirety before you start cooking. This will help you understand the ingredients, steps, and timing involved, and allow you to prepare any necessary equipment or ingredients beforehand.
Ninja Creami Roasted Banana Ice Cream
Description
Roasting bananas in butter and brown sugar gives them a deep, rich butterscotch flavor, which enhances their abundant natural sweetness.
Ingredients
Instructions
-
Roast the Bananas
- Preheat the oven to 400°F.
- Slice the bananas into 1/2- inch pieces and toss them with the brown sugar and butter in a 2-quart baking dish. Bake for 40 minutes, stirring just once during the baking, until the bananas are browned and cooked through.

-
Puree the Banana Mixture
- Scrape the bananas and the thick syrup in the baking dish into a blender or a food processor. Add the milk, sugar, vanilla, lemon juice and salt and puree until smooth.
-
Freeze and Process
- Pour the banana mixture into the Ninja Creami container and freeze for 24 hours. After 24 hours, process in Ninja Creami using the ice cream function.
This recipe works with all ice cream maker. After pureeing, chill the mixture throughly in the fridge, then freeze it in your ice cream make according to the manufacturer's instructions. If the chill mixture is too thick to pour into your machine, whisking will think it out.

Equipment
Affiliate Disclosure: This post contains Amazon affiliate links, i.e., when you buy any product using the links below, we get commissions. but it doesn’t cost you anything extra. If you do purchase any product using the given links, we thank you in advance!
Nutritional Value
Nutritional Value
Servings 6
Serving Size 1
- Amount Per Serving
- Calories 142.67kcal
- % Daily Value *
- Total Fat 3.47g6%
- Saturated Fat 2.13g11%
- Cholesterol 10.67mg4%
- Sodium 233.33mg10%
- Potassium 265.33mg8%
- Total Carbohydrate 26.4g9%
- Dietary Fiber 1.47g6%
- Sugars 20.27g
- Protein 2.67g6%
- Vitamin A 162.67 IU
- Vitamin C 6.33 mg
- Calcium 92 mg
- Iron 0.27 mg
* Percent Daily Values are based on a 2,000 calorie diet. Your daily value may be higher or lower depending on your calorie needs.
Note
This recipe works with all ice cream maker. After pureeing, chill the mixture in the refrigerator, then freeze in your ice cream maker according to manufacturer's instruction.


